 |
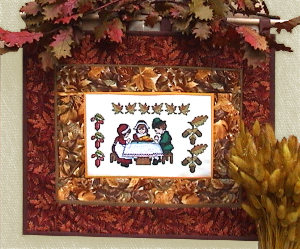
Step One: Stitch out the designs and iron the results. With a removing pencil draw a rectangle measuring 9 1/2" x 6" (24 x 15 cm) on the fabric with the embroidery and cut it out, leaving 1/2" allowance for seams. Prepare a matching ribbon: we used a yellow one. You will need 31". Stitch it to the borders of the rectangle. |
 |
Step Two: Cut out two strips measuring 2 1/2" x 7" and two strips measuring 14 1/2" x 2 1/2" out of patterned fabric (this includes a seam allowance of 1/2"). We have chosen a matching fabric with a pattern of autumn leaves in golden shades. Step Three: Stitch the shorter strips to the right and left sides of the embroidered rectangle and the longer strips to the lower and upper sides. Don't forget to press the seams. Stitch a matching ribbon to the edges of your workpiece. We have chosen a light brown color. You will need about 50" of it, 48" to be more exact. |
 |
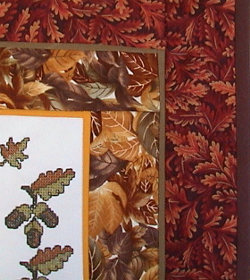
Step Four: Cut two strips measuring 14 1/2" x 3" (this includes a seam allowance of 1/2") out of another patterned fabric. Stitch them to the upper and lower sides of your workpiece. We have chosen fabric with a pattern of autumn leaves in red-brown shades. Step Five: Cut two strips measuring 15" x 3" out of the same fabric and stitch them to the left and right sides of your workpiece. |
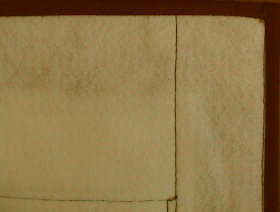 |
Step Six: Cut out a felt rectangle for the backing. It should measure 15" x 18 1/2". Place the backing on an even surface and cover it with the embroidered part. Stitch both layers together along the seams. |
 |
Step Seven: Prepare a matching bias strip (you'll need about 68") and finish the raw edges. |
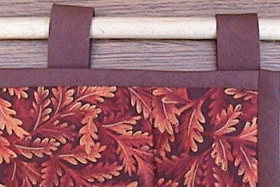 |
Step Eight: Cut six strips 3" long out of any matching ribbon, fold them as loops and stitch to the upper edge of the hanging. Insert a rod into the loops. |


