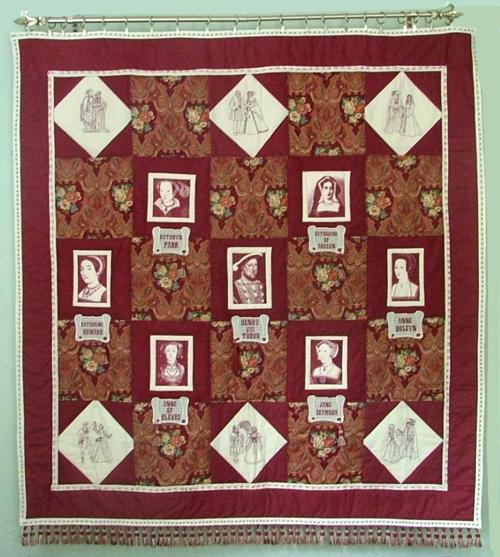
This historical Tudor wall quilt uses the designs Henry VIII and His Wives, Tudor Ladies and Gentlemen Bluework Set, and Name Plates for Tudor Quilt. If you purchase the first two sets together, you will get the Name Plates free. To order the two sets together and get the third set free click here. Not only is the quilt beautiful and a real eye-catcher, but now we remember all the dates and names by heart.
The final size of the quilt is 62"x62".
For the quilt, you'll need: about 2 yards plain naturally-colored cotton fabric for embroidered squares; about 2 yards of floral-patterned fabric; about 2 yards of fabric with a small pattern; a piece of fusible polyester batting about 74' x 74"; cotton muslin for backing measuring 74" x 74"; quilt binding tape; heat-away stabilizer; water-soluble stabilizer for the Freestanding Lace and tassels for decoration.
The choice of colors is up to you. Pre-wash all fabrics.
Out of plain naturally-colored cotton fabric, cut out 13 squares. Their final size should be 10" x 10", but add 1" for seam allowance. Mark the centers with a removable marker.
Out of the floral-patterned fabric cut out twelve 10" x 10" squares, also with seam allowance.
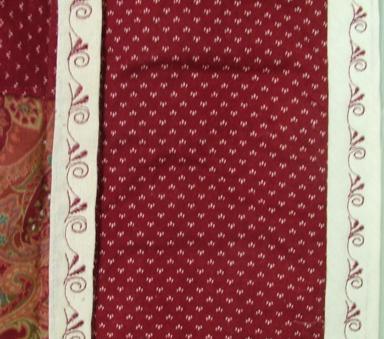
Out of the fabric with the small pattern, cut out twenty four squares measuring 5" x 5", adding 1" seam allowance; and cut out the borders of the quilt, two strips measuring 5" x 50" and two strips 5" x 62", adding seam allowance as well.
Some more cutting will have to be done after the embroidery is finished.
Do the embroidery on the plain squares. Try to hoop the fabric so that the center of the square is in the center of the hoop. We used heat-away stabilizer, which can be removed by ironing.
We chose a dark red color scheme for the quilt, and the colors of the embroidery were chosen accordingly.
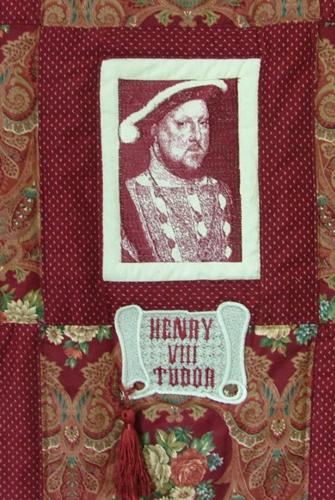
After you embroider the portraits, you will need to add a frame to each one. With the removable marker, draw a line 1/2" away from the edge of each embroidery. Since each design has a different size, the frames will also be of different sizes. Measure the distance between the line you just drew and the edge of the fabric. Out of the fabric with the small pattern, cut out strips to frame each portrait.
For the portrait of Henry VIII, for example, you'll have to cut two strips measuring 1 1/4" x 5" and two strips measuring 2 1/2" x 10". Machine stitch them around the embroidery to make a frame.
Repeat for all seven portrait blocks.
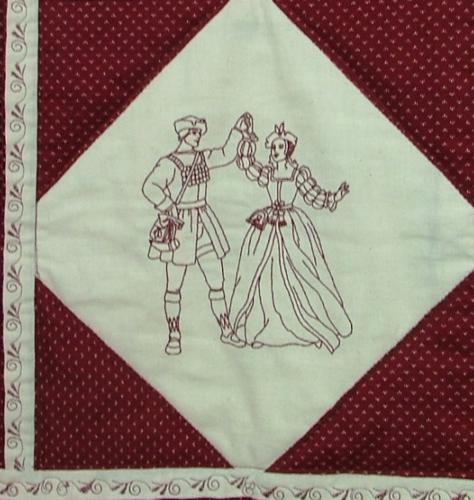
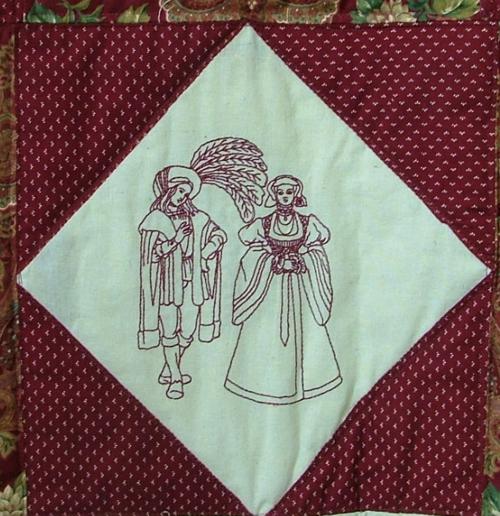
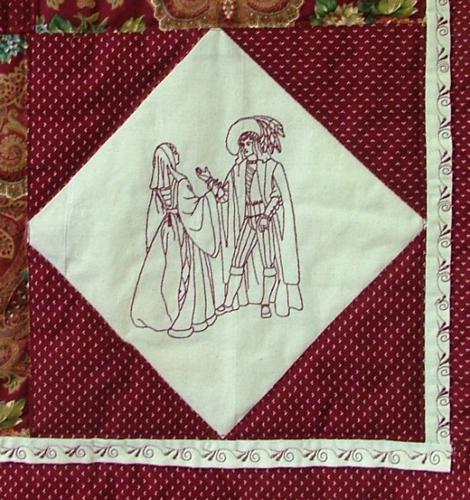
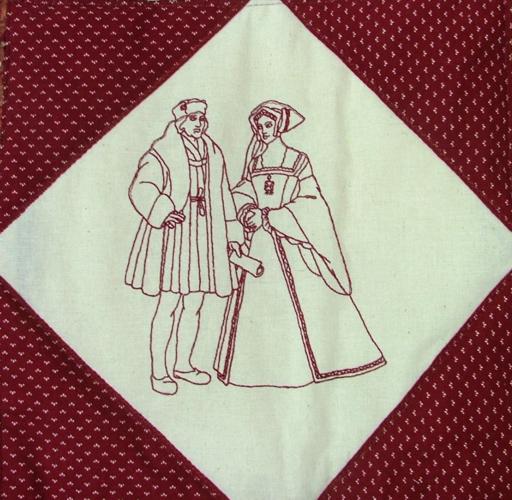
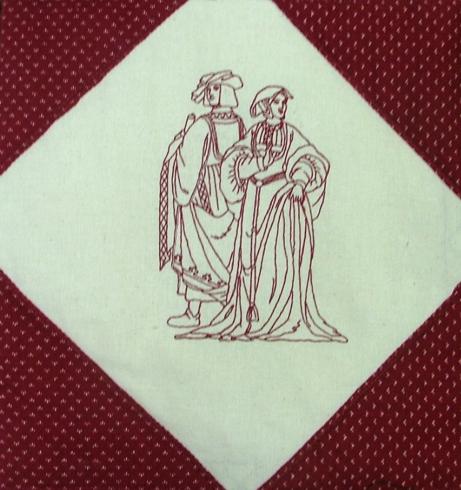
Take one of the embroidered squares with the Ladies and Gentlemen and four of the 5" x 5" squares. Lay the 5" x 5" squares on top of the embroidered square, covering it completely. Draw diagonals across the small squares, as shown on the diagram, and machine-stitch along them. Cut away excess fabric and fold outwards. Press the seams.
Now it's time to assemble the quilt's top. First put together the rows, then stitch them together. Don't forget to press the seams open.
The 1st row has 3 Lady and Gentleman blocks, alternating with 2 floral-patterned blocks.
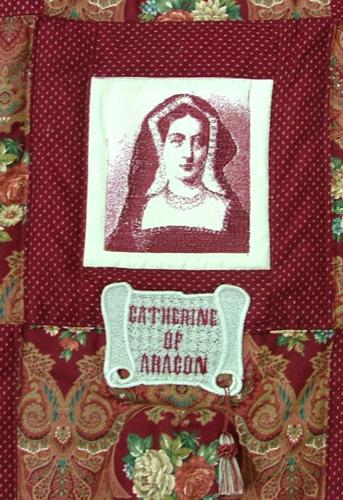
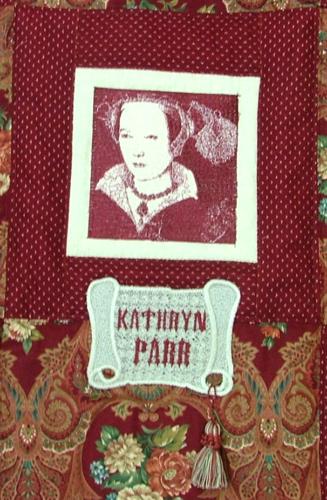
The 2nd row has 2 portrait blocks (Kathryn Parr and Catherine of Aragon), alternating with 3 floral-patterned blocks.
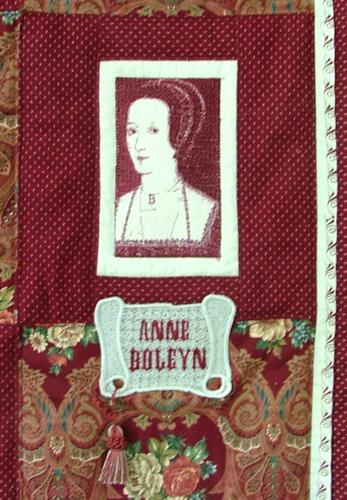
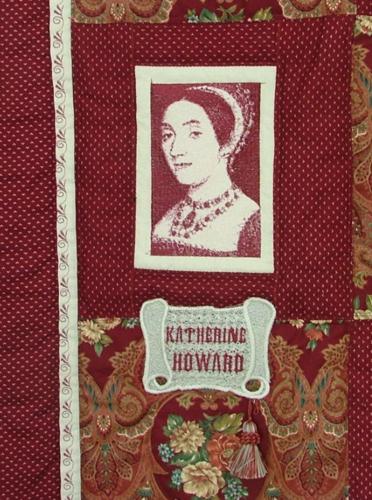
The 3rd row has 3 portrait blocks (Katherine Howard, Henry VIII in the center and Anne Boleyn), alternating with 2 floral-patterned blocks.
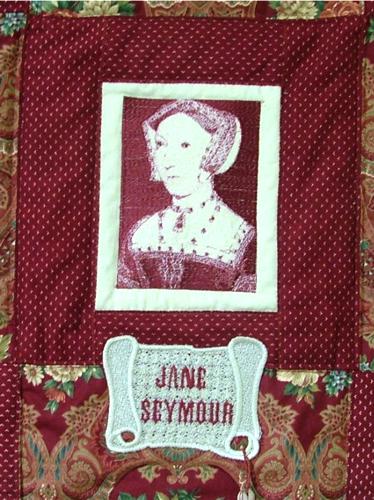
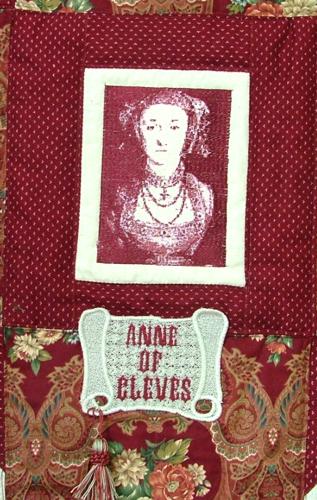
The 4th row is like the 2nd row, except that if features the portraits of Anne of Cleves and Jane Seymour.
The 5th row is like the 1st row.
Stitch bias tape around the edges and attach the borders of the quilt.
On a large even surface, table or floor, spread the muslin backing, cover it with batting and then cover with the quilt's top. Pin all layers together with the safety quilter's pins.
Start quilting. We quilted in the ditch of all the seams and along the flowers on the floral-patterned blocks. Then we embroidered the bias tape through all three layers with a decorative stitch from our machine.
Align all edges and finish with the quilt binding. We then embroidered the binding as well. You are basically finished, but there are a few more touches you can add.
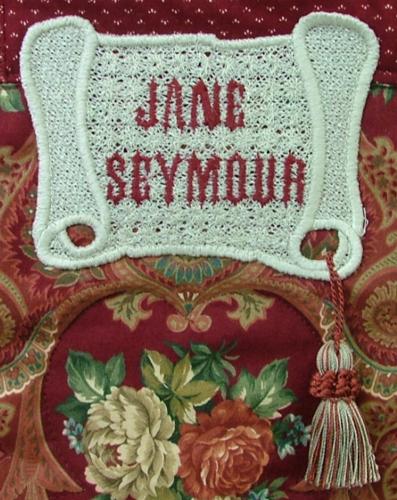
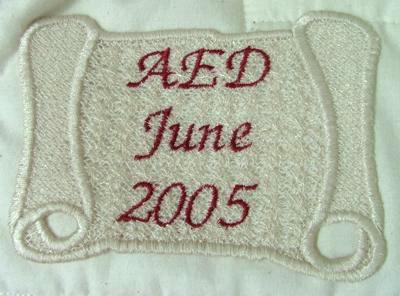
Embroider the nameplates, using 2 layers of Vilene-type water-soluble stabilizer. After you are done, rinse away the stabilizer and leave to air dry. Press with steam. The plates are ready. Stitch them to the quilt. You can decorate them with a tassel or two each. On the blank plate, you can embroider whatever you like. We wrote "AED. June 2005" and attached it to the back of the quilt.