What is a ZIP file?
A ZIP file is a special type of file that contains other files. In our case, the files inside the ZIP are the design file(s) in the format that you ordered and a color card.
Before you can copy the design file to a floppy disk, USB stick or a blank embroidery card for your machine, you need to take it out of the ZIP file, or unzip it, which is what this tutorial explains.
Step One: Downloading the ZIP file to your computer
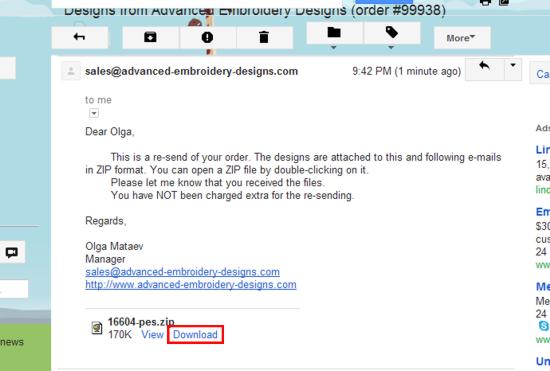
First, you need to save the ZIP file somewhere on your computer. For this, open the e-mail that we sent you and look for a link that says "download", "download attachment" or "save attachment". In Gmail, the link is called "download" and it can be found at the bottom of the e-mail (it's circled in red on the picture). Click the link.
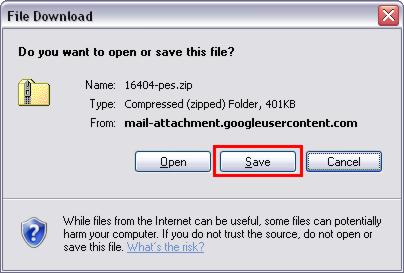
Your browser will ask you if you want to save or open the file. You need to select "save".
Note: the screenshot below is from our computer. The screen might look different on your computer. However, it will ask you the same thing.
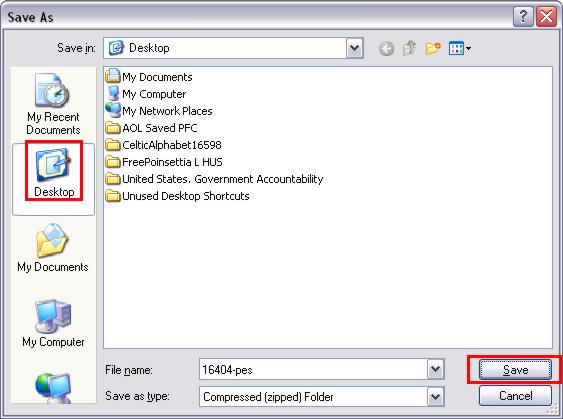
Your computer will ask you where you want to save the file. We recommend saving the file on your desktop. Click "desktop" on the left, then click "save".
Step Two: Unzipping the File
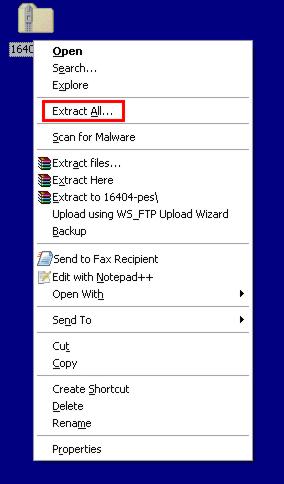
Locate the file on your desktop and right-click it. A menu will come up. You need to select the option that says "Extract all..."
After you click on "Extract all...", you will see the following window:
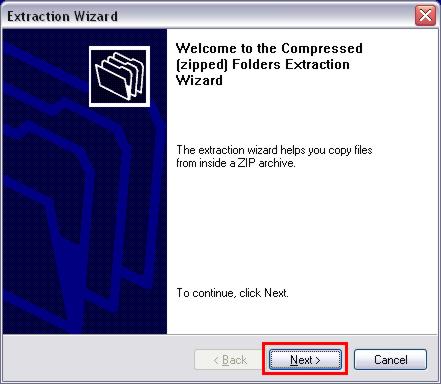
Click "Next >".
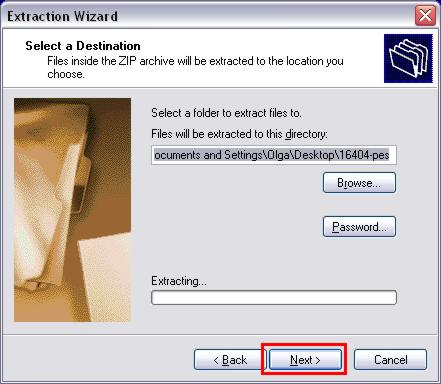
The next screen will ask you where you want to extract the files to. The default option that will already be selected for you is to save the files to a folder on your desktop. We recommend sticking with this option. Click "Next >".
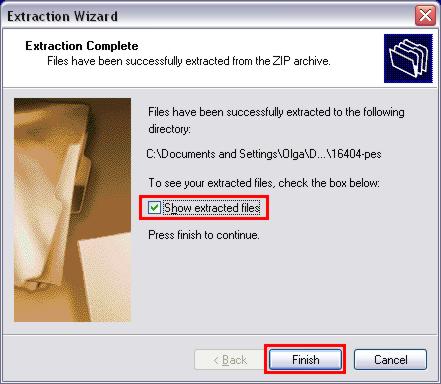
The computer will extract the files and show you the following screen. Make sure the option "Show extracted files" is checked and click "Finish".
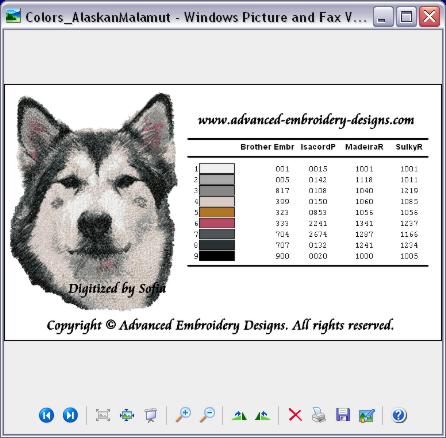
The computer will show you the folder with the files you have just extracted. In this case, there are two files: a color card and an embroidery file. At this point, you can open the embroidery file using your embroidery software, or copy it to a floppy disk, a USB memory stick or a memory card.
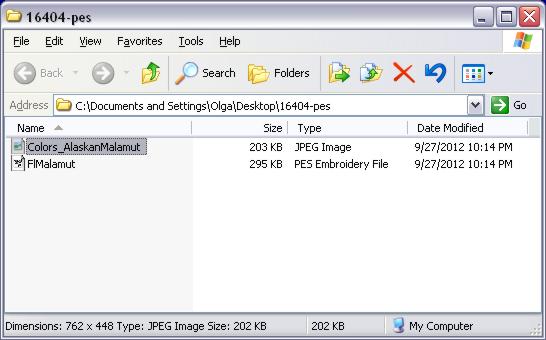
You can open the color card by double clicking on it:
That's it! Happy Embroidering!
If you have any more questions, please don't hesitate to Contact Us.


