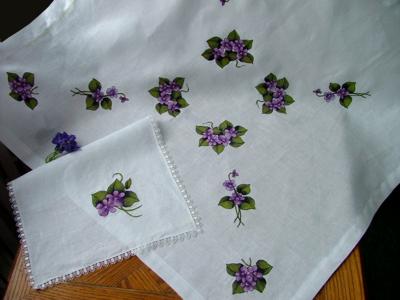
For the table topper you will need: a square measuring 36" x 36" of white heavy-weight linen and water-soluble stabilizer (we used 3 layers of Solvy by Sulky). The finished topper will be about 34" x 34".
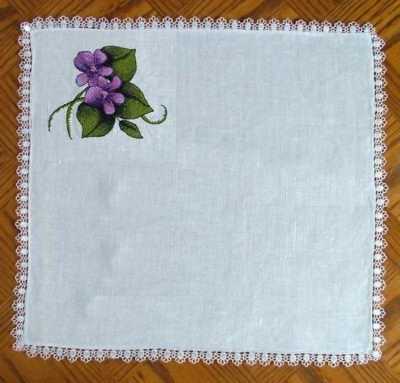
For the doily (or napkin) you will need a 14" x 14" (it will be about 13"x13" when finished) square of the same fabric as the table topper, about 53" of ready lace ribbon and water-soluble stabilizer.
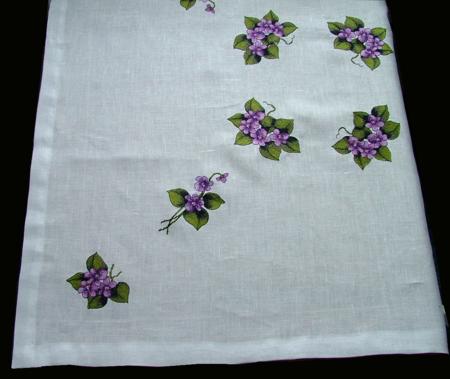
Step One: With the removable marker draw two diagonals on the piece of fabric measuring 36" x 36". They should intersect in the center. We will use these diagonals to mark the centers the designs.
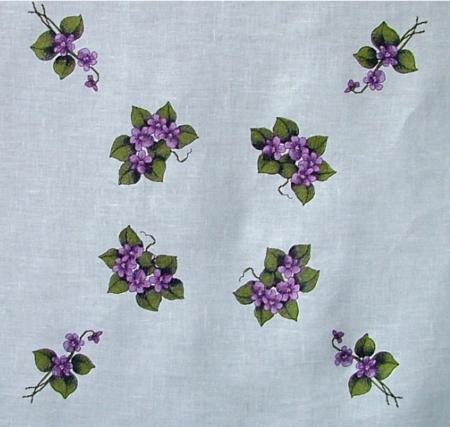
The centers of the first four designs should be 5" from the center of the topper (shown with black crosses on the diagram). Mark these spots with your removable marker. The next four designs should be 11 1/2" from the center (shown with a blue cross on the diagram). Again, mark the spots on the fabric. The last four designs should be 18 1/2" from the center (green crosses on the diagram). Mark these spots as well.
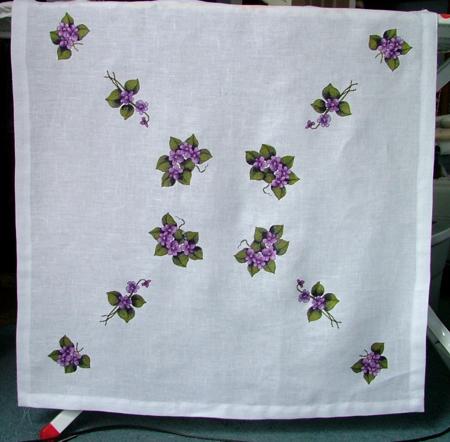
Step Two: Embroider all the designs one by one, starting from the center. When hooping, make sure that the spots that you marked for the designs are located in the center of the hoop (use a grid if needed).
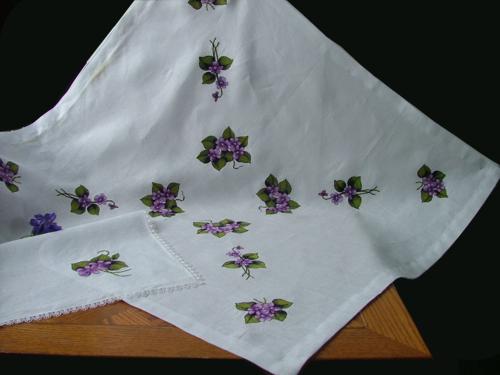
Step Three: When you finish the embroidery, cut away the excess stabilizer. Press the edges only -- don't press the whole thing as the stabilizer has not been dissolved yet! Finish the raw edges.
Step Four: Place in a bowl with warm water and leave for several hours. For better results, change the water several times. Though Solvy dissolves easily, three layers of it and the density of cross-stitch will slow the process.
Step Five: Hang to air dry. Press with steam.
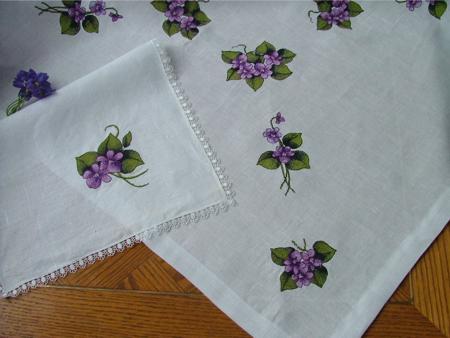
To make the napkin, take the piece of fabric measuring 14" x 14" and hoop it as close to one corner as possible.
 |
 |


