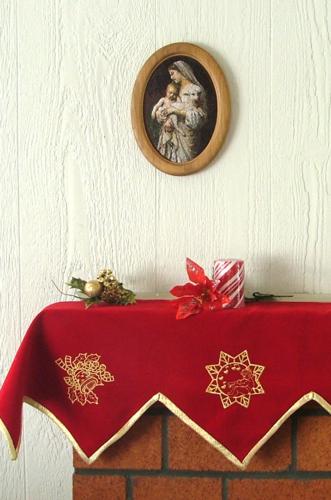
Christmas Mantle Scarf with Embroidery
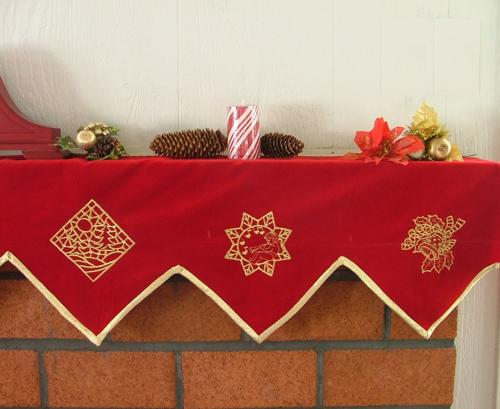
For this mantle scarf we used the designs from our Christmas Cutwork Lace section:
Merry Christmas, Christmas Eve Lace, Fir-Tree in Snow, Star of Bethlehem, and Cristmas Bell II.
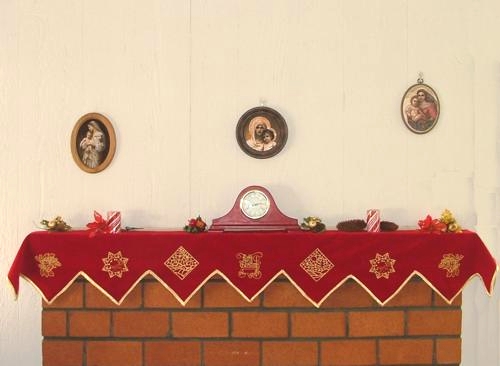
This mantle scarf is very easy and quick to make. First measure your mantlepiece's length and width. Add 10" to the width and 20" to the length. You will need red fabric of that size. We used cotton velvet.
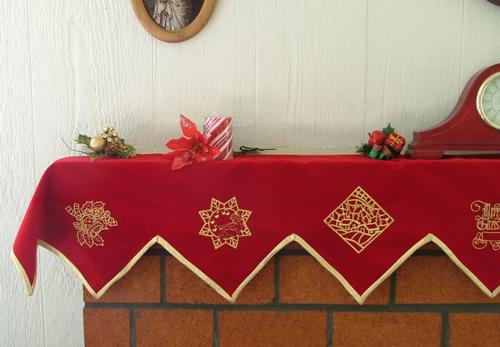
Step One: Place your fabric on a flat surface. Measure 10" from one long edge and draw a line with a removable fabric marker or chalk pencil. Find and mark the center of the line. Mark it. Measure 10" to the right and left, marking the spots. Again measure 10" to the right and left and mark. Repeat until you have 10" to 15" of fabric left on each side.
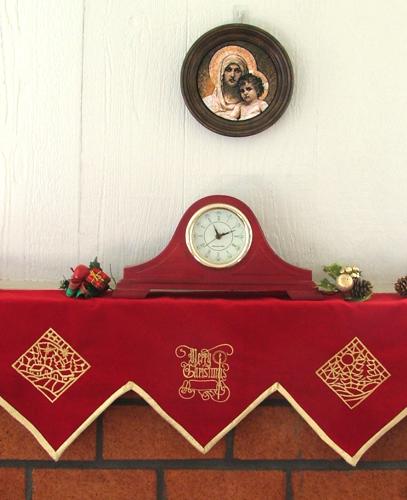
Step Two: Stabilize the fabric in the place where your first mark is with light-weight tear-away stabilizer, hoop so that the mark is in the center of your hoop. Embroider the first design.
Step Three: Take the hoop out. Tear the stabilizer away. Press the embroidery. Stabilising the fabric in turn, embroider the patterns in the marked spots. Do not forget to tear the stabilizer away and press the scarf after each embroidery.
Step Four: When the embroidery is finished, cut angles in the scarf, as shown in the diagram above. Finish the raw edges with bias tape. You can also decorate the angles with tassels.
The scarf is ready. Enjoy!
Back to Projects Page


