Advanced Embroidery Designs -- Online Center for Machine Embroidery Designs
Shopping Cart

Online Center for Machine Embroidery Designs

 0
Menu
Home
Free Designs
New Designs
Catalog of Designs
Embroidery Club
Projects
Tutorials
Help
Guestbook
Links
About Us
Contact Us
 
Mailing List
Enter your e-mail to receive regular updates.

 
0

Cristmas Ornaments with Embroidery

This page offers a way to make these easy-to-do Christmas-tree ornaments with embroidery. You'll need craft felt of all colors - white, pink, lavender, blue, green, yellow, red, etc. - embroidery threads, trims, ribbons and beads (optional).
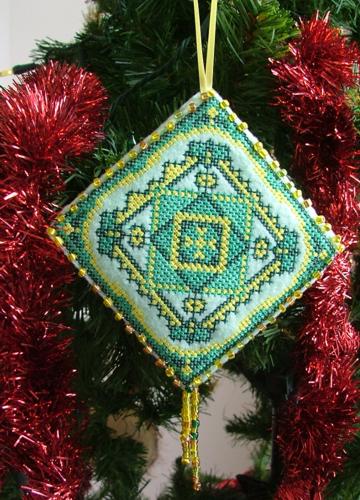
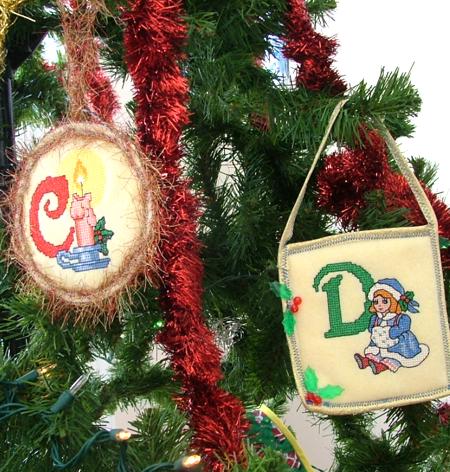
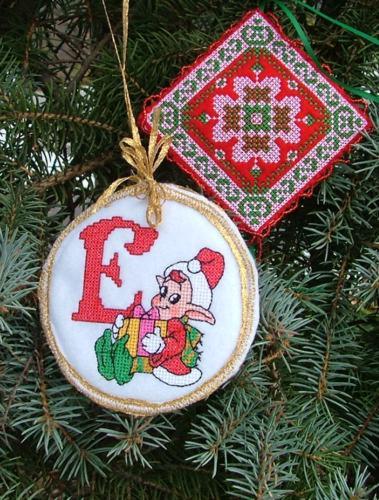
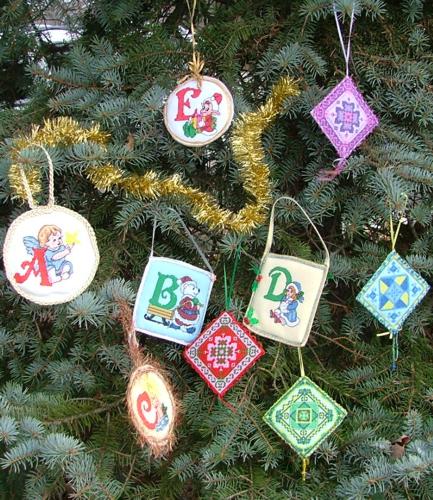
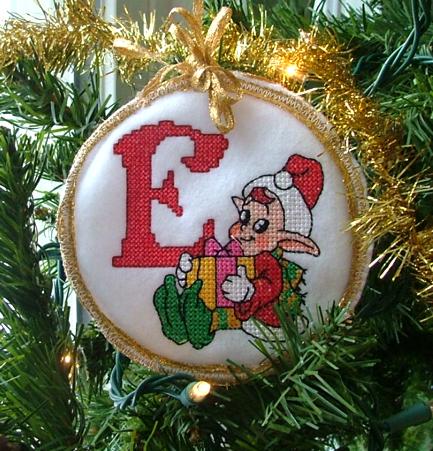
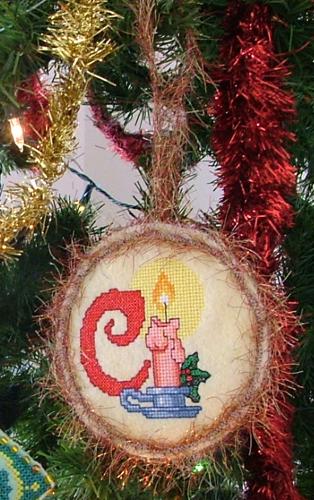
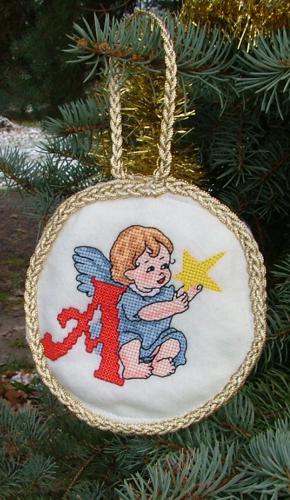
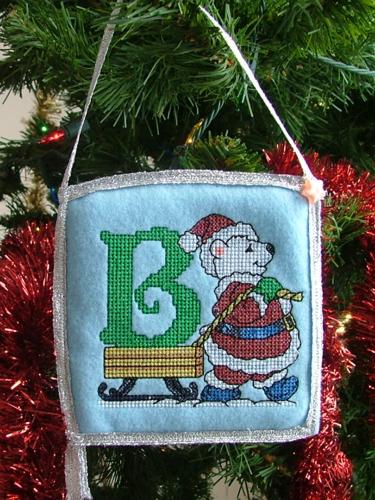
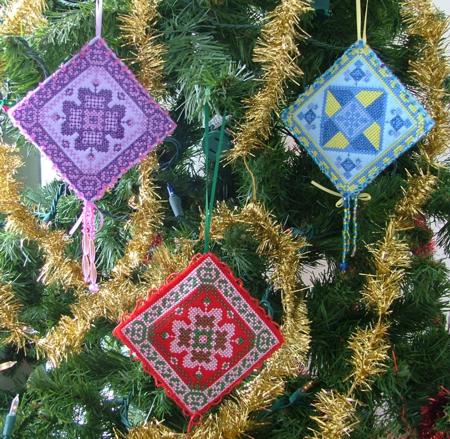
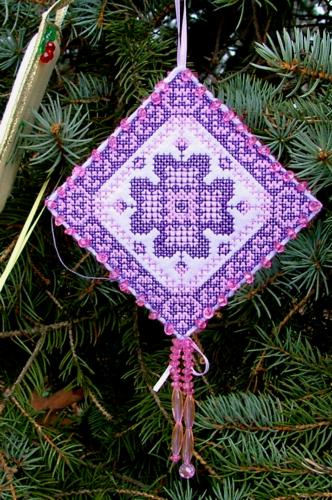
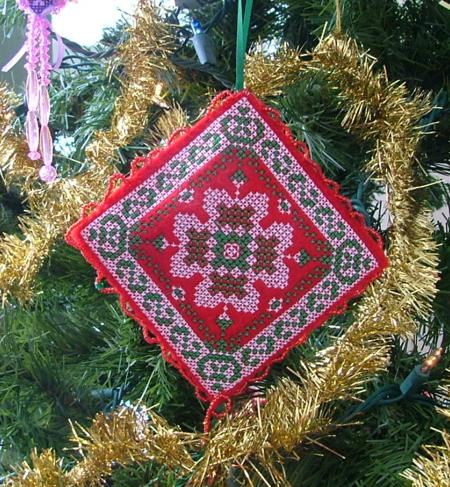
For these ornaments we used two sets of designs - the Christmas ABC Set and Quilt Ornament Set.
Step One: Choose a design you're going to embroider on the front of the ornament. Hoop two layers of craft felt - the upper layer is for embroidery, the lower layer will serve as a stabilizer and a batting. Embroider the design. 
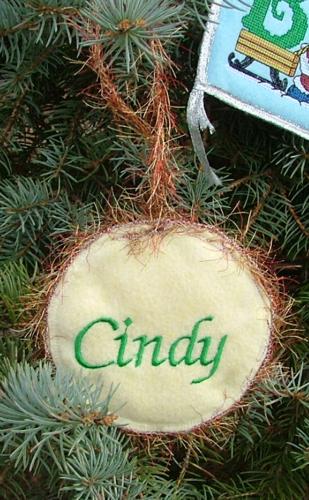
Step Two: Hoop another two layers of craft felt to embroider the back of the ornament. We embroidered a child's name on it, but you can choose to embroider something else.
Step Three: Decide on which shape the ornament will be, draw this shape with a pencil around the embroidery and cut it out. Our "E - Eddy" ornament is a circle. Repeat with the back of the ornament.
Step Four: With a pair of scissors trim the lower layer of the felt (the one that served as a stabilizer) to be 1/4" smaller than the upper layer, on both the front and the back of the ornament. Place the front and the back together with the embroidery facing outwards and zigzag them together, over the edge.
Step Five:  Pin a trim to the raw edge and make a loop out of the ends of the trim. Stitch the trim to the ornament. It's ready.
Here are some more pictures of ornaments made using the Christmas ABC Set:
For the second set of ornaments we used Quilt Ornament Set.
Basically, they are made like the ABC ornaments, except that we embroidered the designs twice - on the front and on the back, and all of them have a square shape. 
When we stitched the face and the back together, we made a loop out of a narrow ribbon and placed  it between the layers, then we stitched the layers together. 
If you havee beads, or crystals, add them for extra sparkle.
The ornaments are ready. We hope that you like our idea.
Back to Projects Page
 
 
a
 
Special Offer
Bonus design on all orders over $55
Redwork Wild Flowers Set
 
Announcement
Best Project Contest
Win up to $500!
 
Featured Project
Check out our latest project Black-and-White Quilted Tote Bag with One-Color Embroidery
 
Tutorials
Never heard of photo stitch? - Check out our What is Photo Stitch? page
 
Most Popular Designs
Golden Cream Roses
FSL Battenberg Bridal Fingerless Lace Gloves
FSL Battenberg Lace Summer Hat
Geranium
Early Spring Wall Hanging Quilt Kit
FSL Battenberg Lace Summer Hat
Irises in a Vase
Antique Quilt Applique Set

 More popular designs

|| Home || Free Designs || New Designs || Catalog of Designs ||
|| Embroidery Club || Projects || Tips || Help || Links || About Us || Contact Us ||