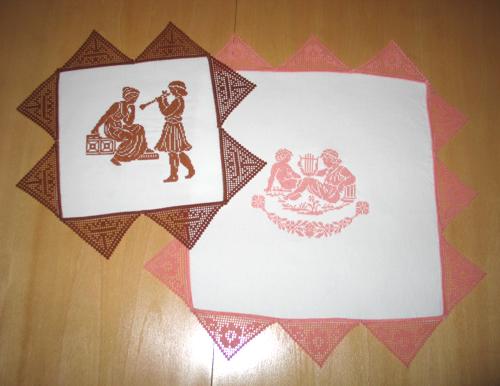
You will need an 11" x 11" and a 16" x 16" piece of cotton or linen cloth (we used cotton fabric), water-soluble Vilene stabilizer and 60-weight cotton embroidery threads. The finished size of the smaller doily is about 15" x 15" and the larger one is about 20" x 20".
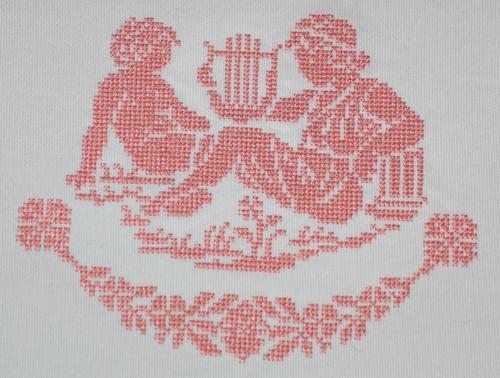
Step One: Pre-wash the fabric. Embroider the fabric inserts, trim the jumps and set them aside for a while. Any water-soluble stabilizer can be used for stabilizing the fabric, but we used Vilene. Dissolve the stabilizer. Do not use hot water. Spread flat and leave to air dry. Press.
Before proceeding to step two, please read the General Guidelines and Step-by-Step Guide to Embroidering our Crochet-Style FSL designs.
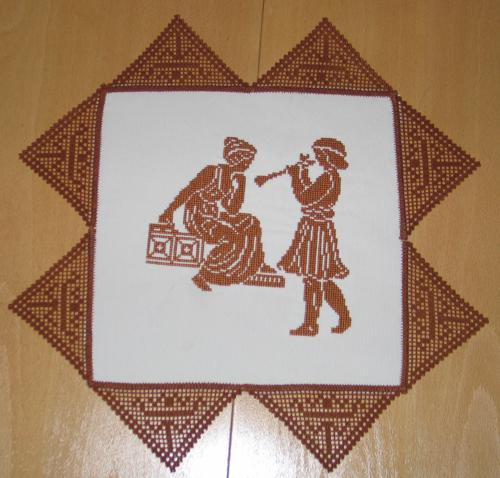
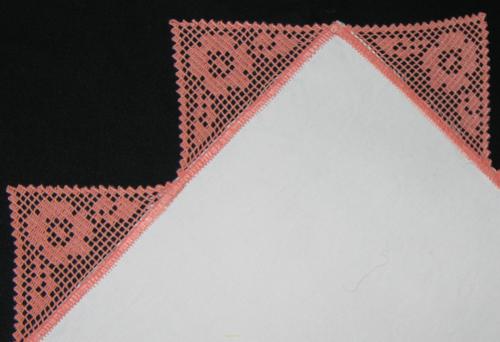
Step Two: For the smaller doily, embroider one of the edge crochet pattern eight times.
For the larger doily, embroider the other edge crochet pattern twelve times.
Dissolve the stabilizer in warm water. To make the lace soft, leave the peaces in a bowl of warm water for about an hour, change water several times. Spread flat on an even surface and leave to air dry. Press with steam.
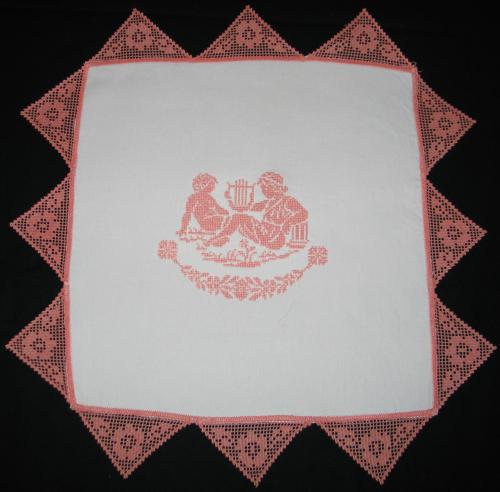
Step Three: With a removable marker draw a 10" x 10" around the embroidery for the smaller doily and 15" x 15" square for the larger doily. Do not trim the excess fabric!
Place the edge lace pieces along the drawn lines, pin or baste them, then zigzag in place with short and very dence stitch. Now trim the excess fabric under the lace. use the same thread with which you embroidered the lace for both the needle and the bobbin.
 |
|
 |
|
 |
|


