For this doily, you will need 9 4"x 4" squares of cotton fabric, water-soluble Vilene stabilizer and 40-, 50- or 60-weight cotton embroidery threads. For this project we used Signature machine quilting thread.
It's very important to make a test stitch-out. Make sure to wash away the stabilizer. Until the stabilizer is washed away you will not be able to see whether the embroidery is sewn correctly.
Check over the stitch-out; if you are satisfied with it, you can proceed with your work. If you are not satisfied, you might need to change any of the following: the choice of threads, needles, fabric or the settings of the machine. Do not proceed with your work until you are satisfied with the test stitch-out.
Please read our General Guidelines and Step-by-Step Guide to Embroidering our Crochet-Style FSL designs; this might be helpful.
Some points to remember from the General Guidelines:
Use Vilene water soluble stabilizer;
Use cotton embroidery threads;
Use the same thread for the needle and the bobbin;
DO NOT embroider several designs in one hoop.
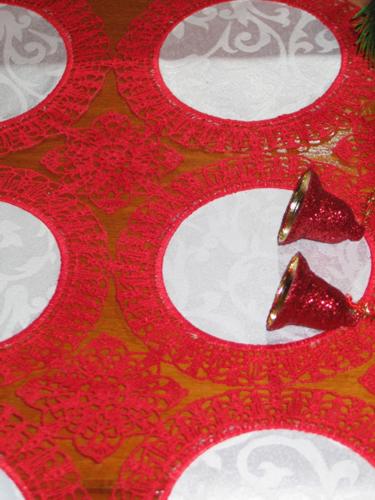
Step One: To embroider one applique part, hoop the stabilizer and start embroidering. The machine will stitch out a circle and stop. Place a fabric square right over the embroidered circle and start the machine.
The machine will embroider a circle over the fabric and stop. WITHOUT taking the working piece out of the hoop, cut away the excess fabric as close to the stitching as possible. Be careful not to cut the stabilizer. Return the hoop into the machine and start it.
The machine will embroider the frills and stop.
You will need 9 applique parts.
Step Two: To embroider the second, joining, part, follow our General Guidelines and Step-by-Step Guide to Embroidering our Crochet-Style FSL designs. You will need 4 joining parts for this doily.
Step Three: Cut away the excess stabilizer and rinse the stabilizer from the embroidered pieces. To do this, place them in a bowl with warm water for about an hour. Change the water several times. Spread evenly to air dry. Press with steam.
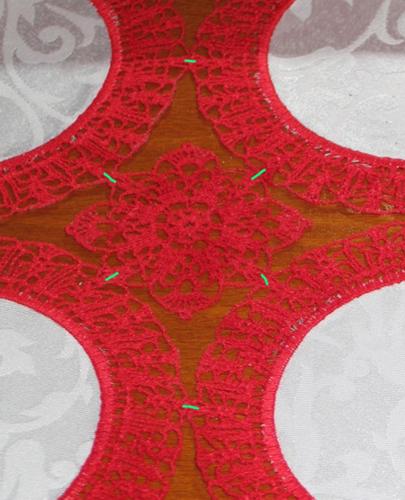
Step Four: Thread a needle with the same thead with which you made the embroidery, and join the parts in the places marked on the photo. This has to be done manually.