You will need water-soluble Vilene stabilizer and 40-, 50- or 60-weight cotton embroidery threads.
There are two version of the garland that you can make. The first version uses the combined leaf-flower part. You should embroider the leaf-flower part twice with green threads and stitch them together, as shown in the picture below.
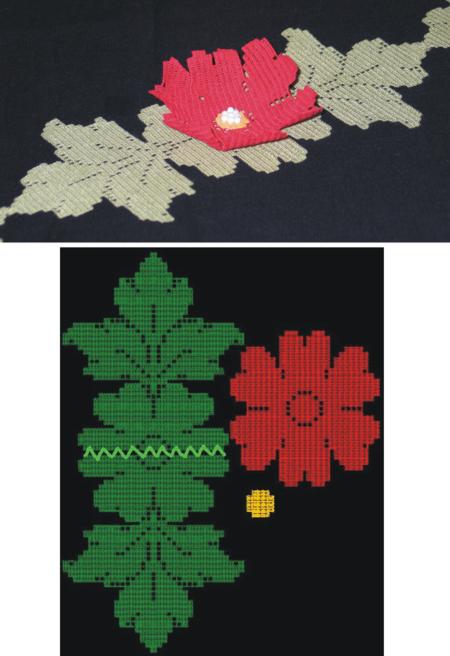
The second version does not use the combined part. Embroider the leaf part twice in green, and the flower part twice in red and stitch them together as shown on the picture below.
Note: To get a flat flower, wash away the stabilizer thoroughly, spread the parts to air dry, then press with steam.
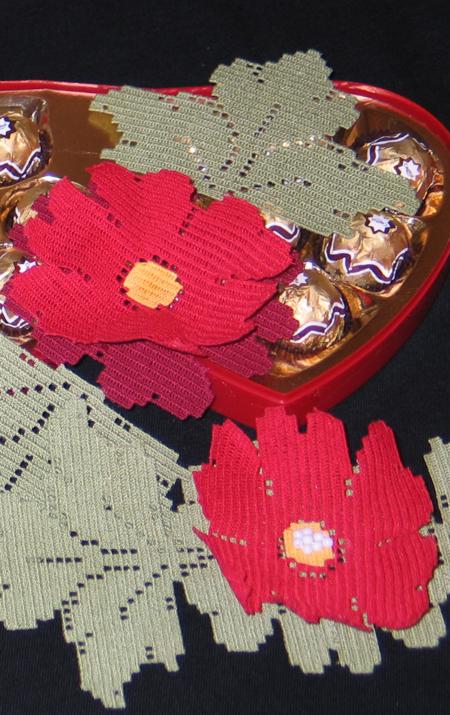
To give the flower a 3D shape, place the embroidered part into luke warm water to only "melt" the stabilizer. DO NOT wash it away thoroughly, as the final product should be stiff.
Leave to air dry. Do not press.

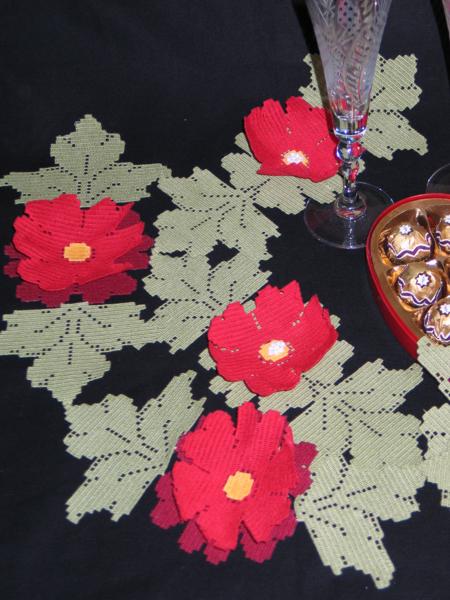
When assembling, glue or stitch the central (yellow) part into the flower. You can add hot fix crystals or beads. Then, attach the flower to the leaves.
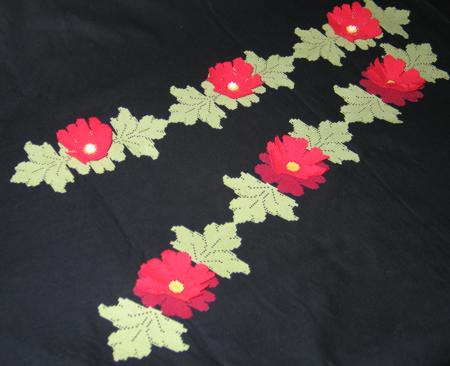
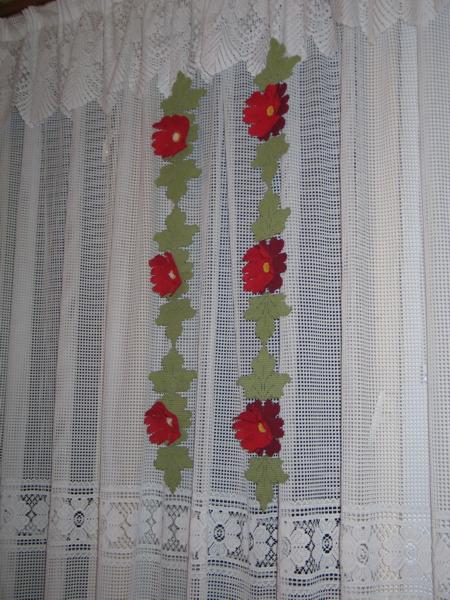
You can connect the finished garland into long chains to make hanging decorations.
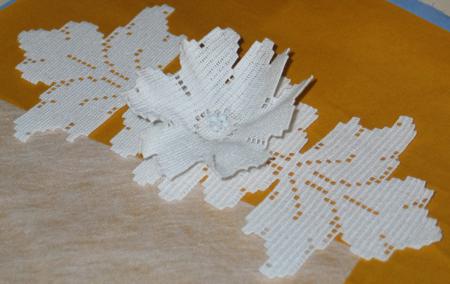
You can get a completely different effect if you embroider the garland in white.
We hope that you liked the FSL Crochet 3D Poinsettia Garland!