 |
 |
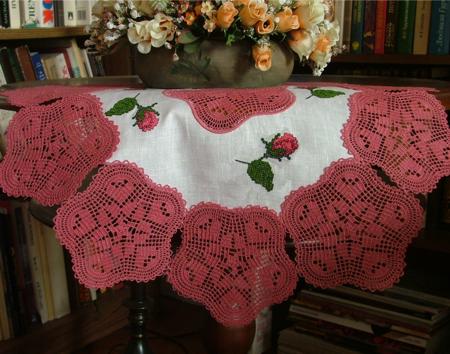
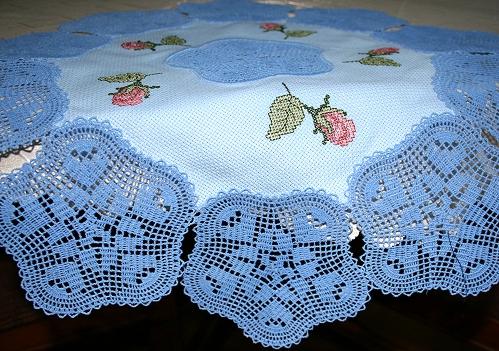
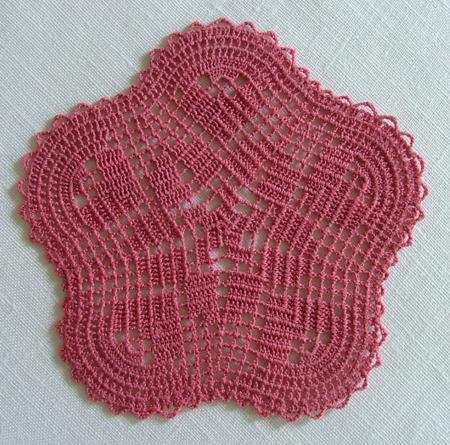
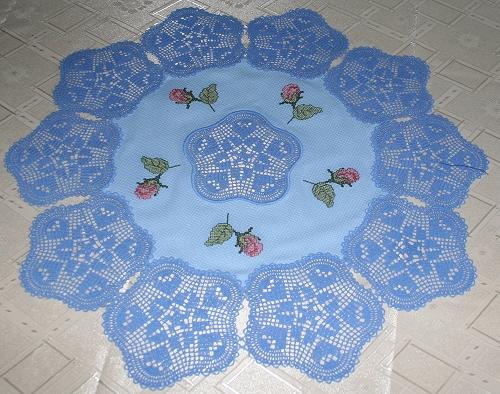
We made a small doily with these designs, but all kinds of table linen, curtains, pillow cases and so on can be decorated with them.

The finished size of this doily is about 18" in diameter. You will need Vilene water-soluble stabilizer and 100% cotton embroidery thread. We used the 40-weight 100% cotton Signature thread for machine quilting. You will also need a piece of cotton or linen fabric measuring about 18 inches and rayon embroidery threads for the rose.
If you have never made our FSL crochet before, please read the General Guidelines and Step-by-Step Guide to Embroidering our Crochet-Style FSL designs.
Some points to remember from the General Guidelines:
Use Vilene water soluble stabilizer;
Use cotton thread;
Use the same thread for the needle and bobbin.
DO NOT embroider several designs in one hoop.
Make sure you use a sharp needle.
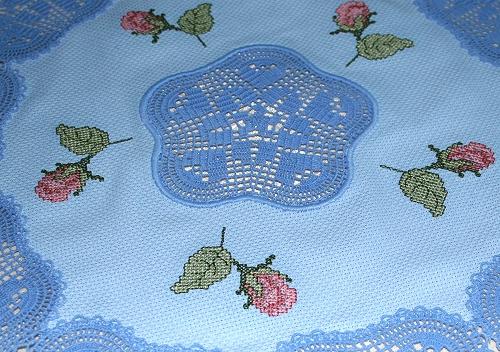
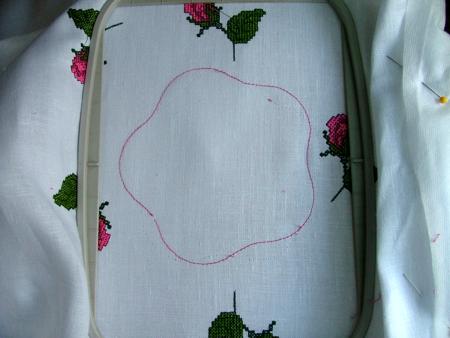
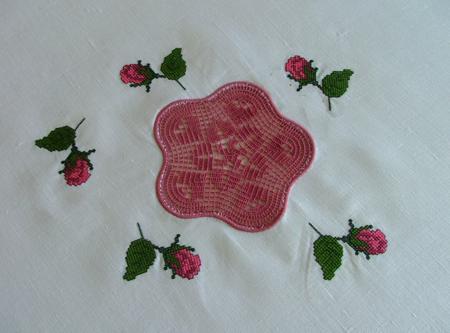
Step One: Make a print-out of the lace insert. Using removable fabric marker, mark the position of the design in the center on the fabric.
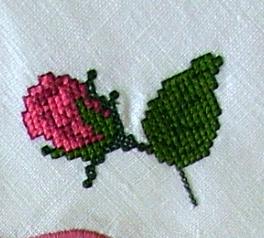
Make a print-out of the rose and mark the positions of the roses around the insert. We embroidered 5 roses at about 1/2" from the insert.
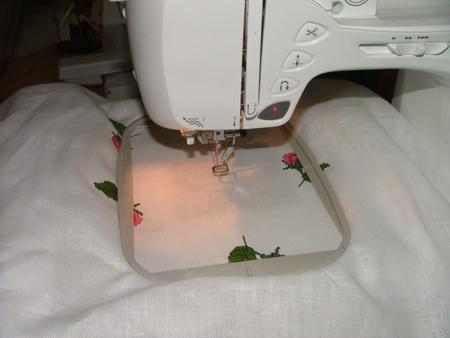
Step Two: Embroider the roses one by one. We used the Vilene water-soluble stabilizer, though technically, any water-soluble stabilizer will work with this small cross-stitch design.
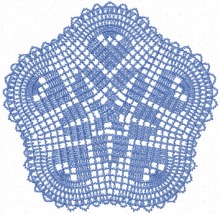
Step Three: To embroider the lace insert, hoop the fabric with Vilene water-soluble stabilizer. Thread the needle and the bobbin with the same cotton thread and start embroidering.
The machine will make an outline and stop. Take the hoop out. DO NOT unhoop the fabric!
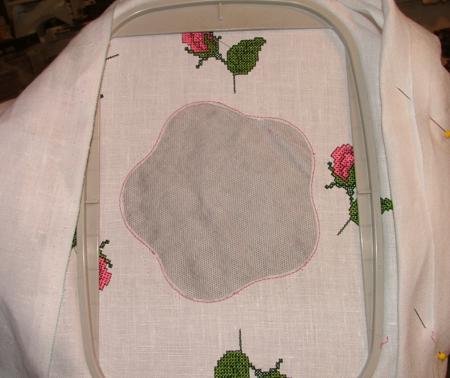
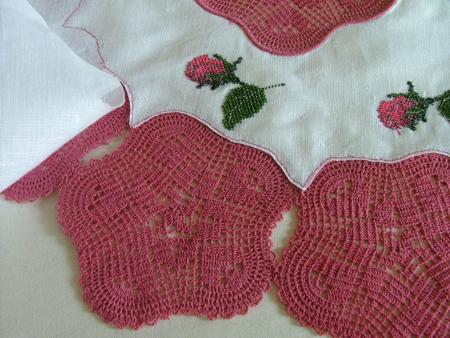
Inset the hoop into the machine and finish the embroidery. It should look something like the photo below.
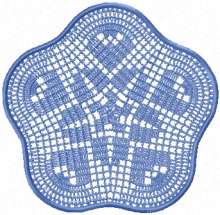
Step Four: Now hoop the water-soluble Vilene and embroider the second crochet motif. For our doily, you'll need ten of them.
Step Five: Dissolve the stabilizer. Spread all pieces evenly and leave to air dry. Then press with steam.
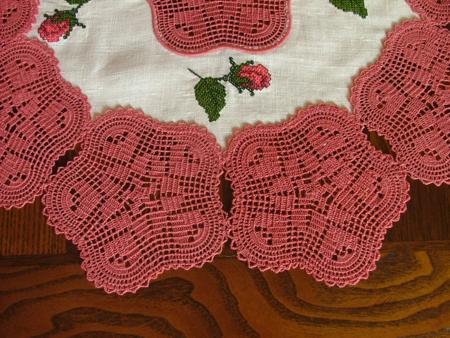
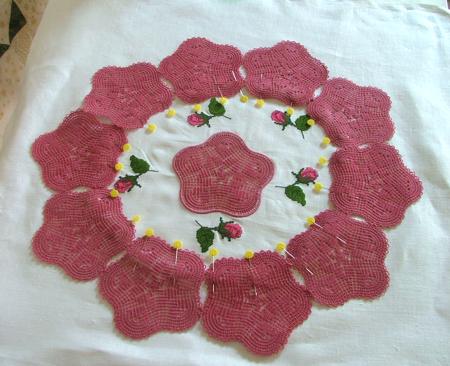
Step Six: Lay the crochet parts in a circle on your table, thread a needle with the same thread with which you embroidered the parts and connect the parts in the spots where the edges touch each other. This has to be done manually! You'll get a round lace frame.
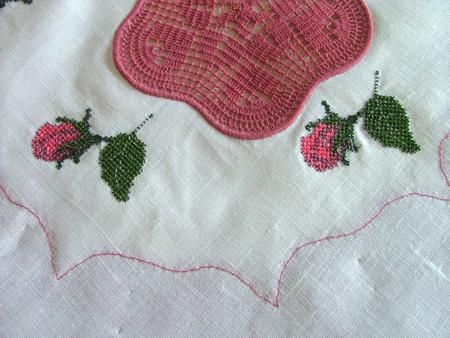
Step Seven: Place the lace frame over the embroidered fabric and pin it in place.
Using a straight stitch on your machine, stitch the lace in place close to the inner edge of the lace frame. Use the same thread with which you embroidered the lace both in the needle and in the bobbin! On the picture below you can see the back side of the doily after this step.
Now cut away the excess fabric as close to the stitch as possible. Retuen to your machine and with a short and dense zigzag stitch the fabric to the lace over the edge. Work from the back of the doily.