For this doily, you will need a 17" x 17" piece of cotton or linen cloth, water-soluble Vilene stabilizer and 50- or 60-weight cotton embroidery threads. The finished size of the doily is about 18" x 18".
Step One: The Crochet Swirl Doily is an FSL crochet-style design and should be embroidered according to the General Guidelines and Step-by-Step Guide to Embroidering our Crochet-Style FSL designs.

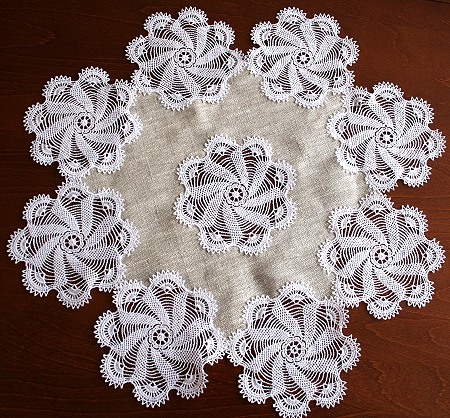
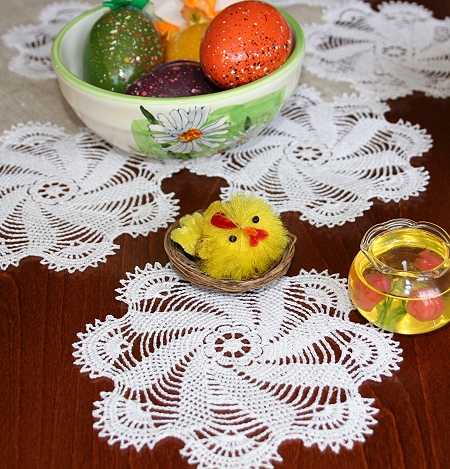
Step Two: For our doily, embroider the design nine times.
If you wish to make a larger project, embroider it as many times as you need.
Wash the stabilizer away and spread on an even surface to air dry. Press with steam.
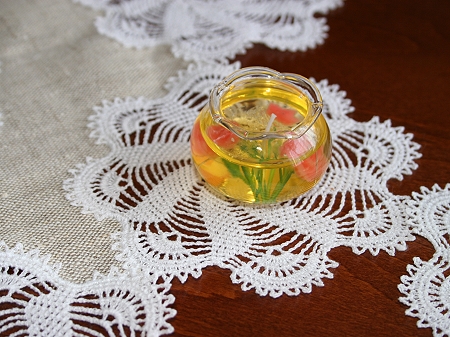
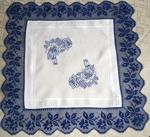
Step Three: Lay out eight crochet parts on your fabric in a circle.
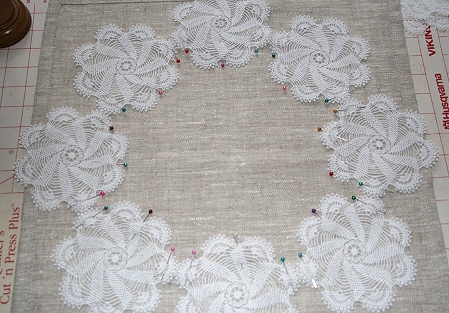
Baste or pin in place.
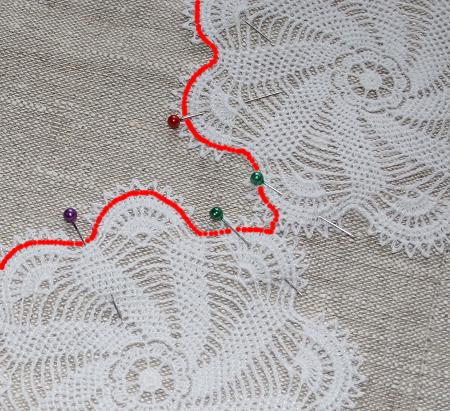
Step Four: Thread your machine with the threads you used for embroidery and, using short but NOT dense zigzag, stitch along the inner edge of the lace (shown in red) to secure the lace.
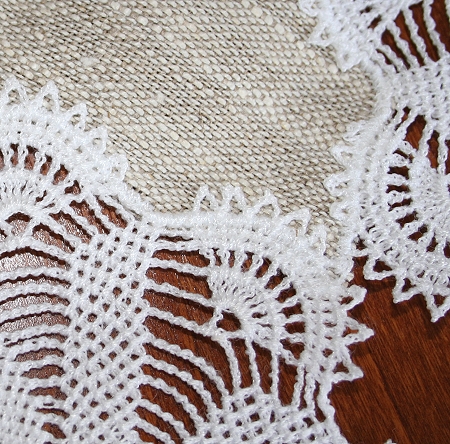
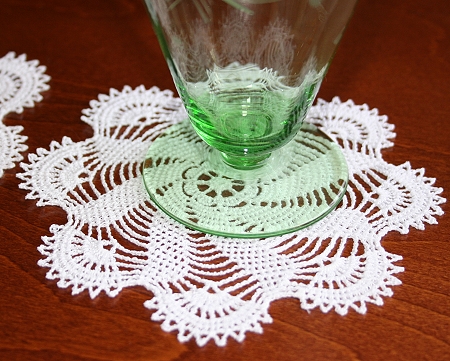
Step Five: Using a pair of sharp scissors, cut away the excess fabric from under the lace. Return to your machine and using a very dense zigzag, of the same width as the lace edge, stitch along the edge of the fabric. Continue to use the same thread with which you embroidered the design.
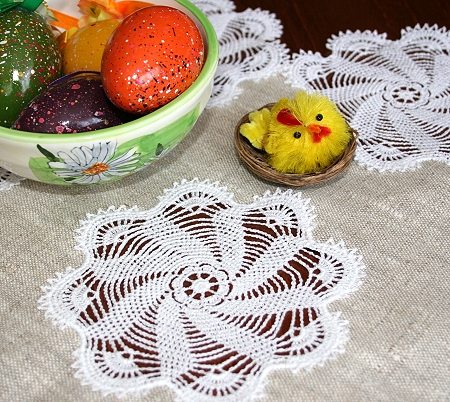
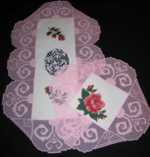
Step Six: Sew the ninth part as lace insert in the center of the doily. Follow the procedure described above.
 |
|
 |
|
 |
|
 |
|
 |
|


