You will need Vilene water-soluble stabilizer, and 40-, 50- or 60-weight white cotton embroidery threads. For this project we used Signature machine quilting cotton thread. The thinner the thread, the finer the finished lace will be. You will also need a piece of fabric measuring about 45" x 45". We used medium-weight silver-colored polyester silk and silver tassels.
Before we start, please read our General Guidelines and Step-by-Step Guide to Embroidering our Crochet-Style FSL designs; this might be helpful.
Step One: Check over the test stitch-out - if you are satisfied with it, you can proceed with your work, if you are not satisfied, you might need to change any of the following: the choice of threads, needles, fabric or the settings of the machine. Do not proceed with your work until you are satisfied with the stitch-out.
Note: the test stitch-out should be washed away; until the stabilizer is washed away you cannot see whether it is sewn correctly.
Step Two: For this table-topper you will need 36 squares. Embroider each design 6 times. Dissolve the stabilizer. Spread each square on a flat surface to air dry.
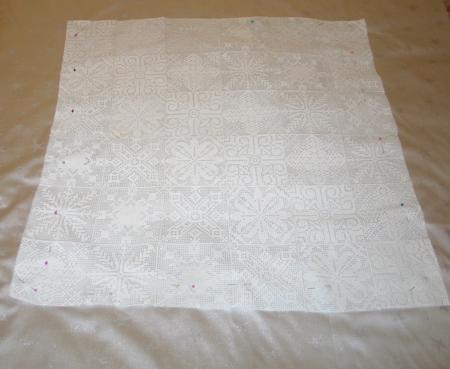
Step Three: On a working table, lay out the embroidered parts to form a 6 x 6 sqaure; pin them to each other and start stitching. Use a short zigzag and the same thread that you used for the embroidery. Press with steam.
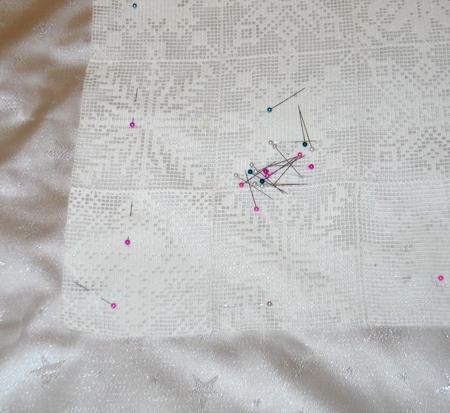
Step Four: On a working table, spread the fabric square. Place the lace square over it, trying to match the centers. Pin the lace over the fabric.
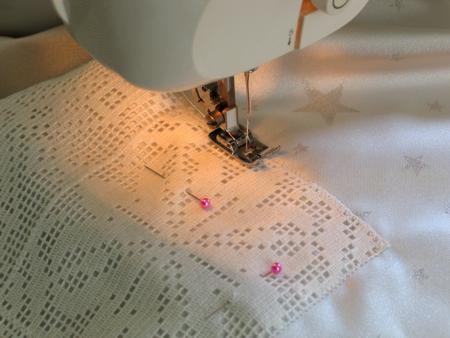
Step Five: Using short, but not dense zigzag, stitch the lace onto the fabric.
Step Six: With a pair of scissors, cut away the fabric from under the lace...
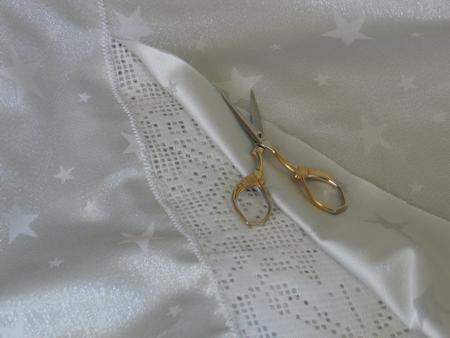
Return to your machine and using a dense zigzag, stitch the lace onto the fabric again.

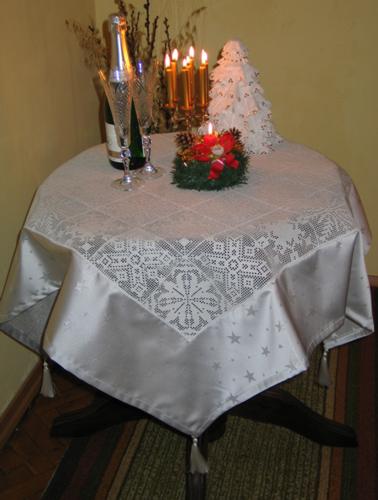
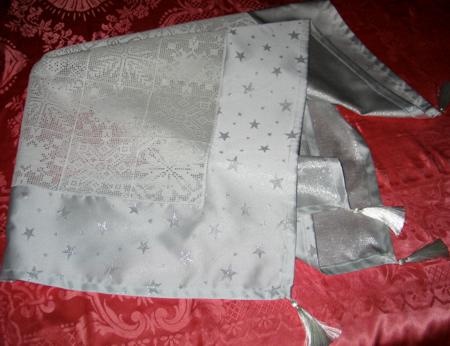
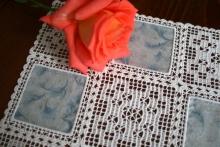
The result should be similar to this:

Finish the raw edges and attach tassels, if you wish.
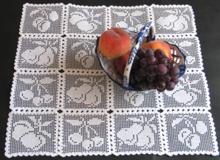
If you liked the idea, here are some other designs that you can use for it.
 |
 |


