On this page we show how you can put the designs from the FSL Crochet Spiral Doily Set to use. The set contains four machine embroidery designs, which are all crochet-style FSL designs and should be embroidered according to the General Guidelines and Step-by-Step Guide to Embroidering our Crochet-Style FSL.
You will need water-soluble Vilene stabilizer and 50- or 60-weight cotton embroidery threads. For these doilies we used Signature machine quilting threads.
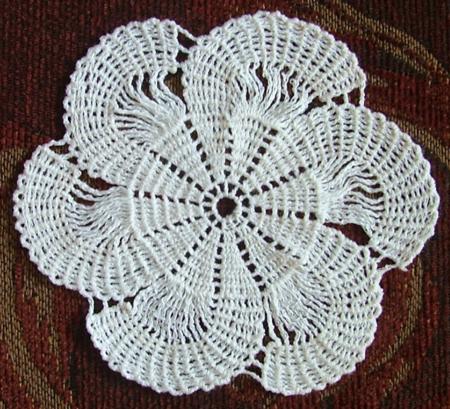
To make this small doily, or coaster, all you need to do is embroider the file Mill3C; wash away the stabilizer and let the doily dry.
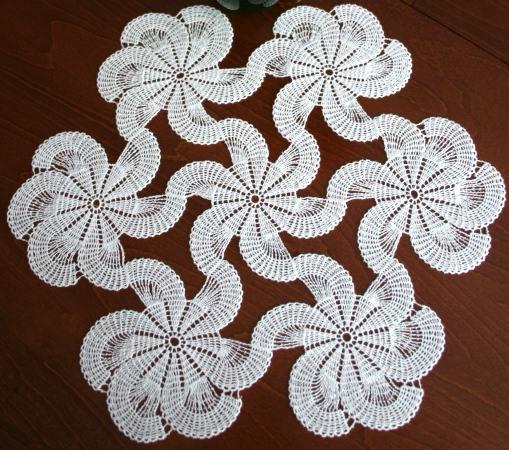
For the next doily, embroider the design Mill3A once and the design Mill3B six times.
Wash the stabilizer away and spread on an even surface to air dry. If needed, press with steam.
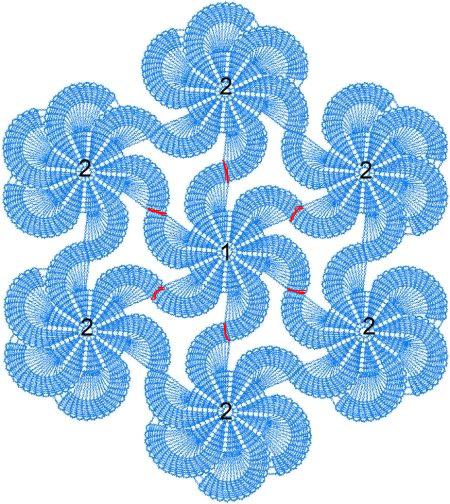
Lay out the ready crochet parts on your table in accordance with the diagram above. Thread a needle with the same thread that you used for the embroidery and stitch together the parts in the places marked with red. You can do this either manually or on your sewing machine.
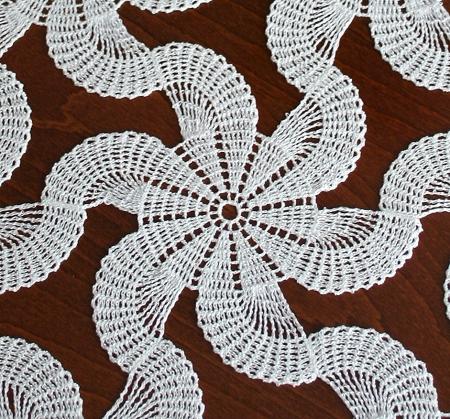
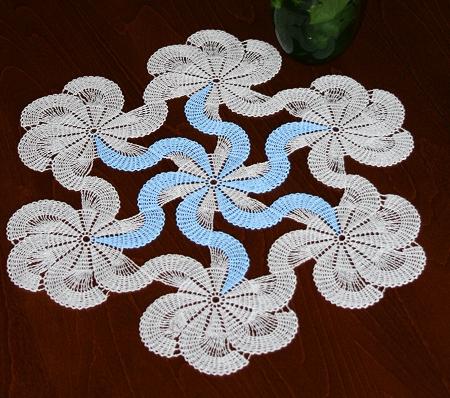
These photos show what the final result should look like. The finished size of the doily is about 13" in diameter.
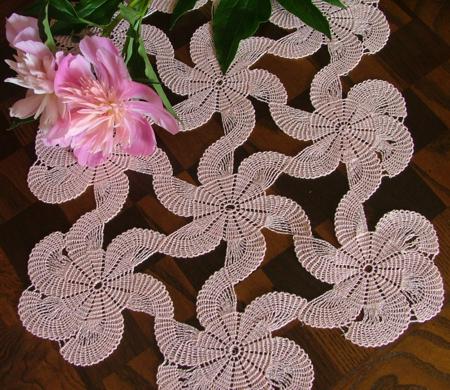
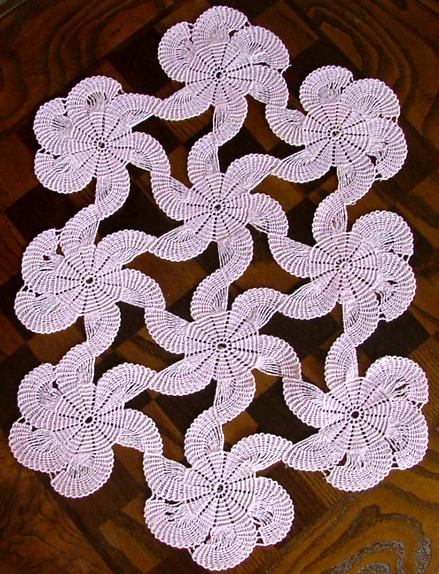
For the next doily, you'll have to embroider Mill3A two times, Mill3B six times and Mill3D two times.
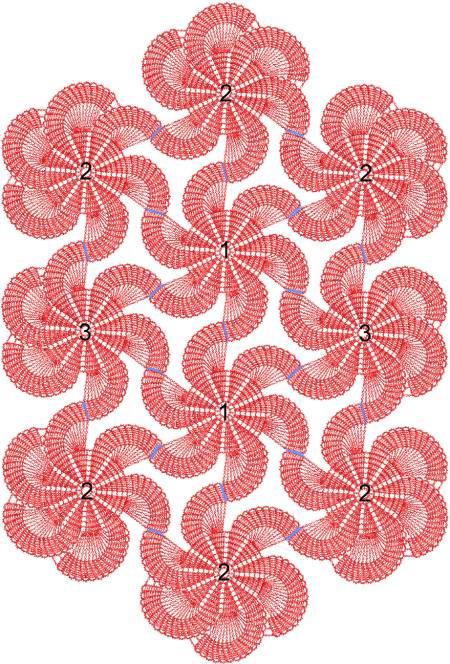
After all parts are embroidered and dry, follow the diagram below for assembling. Stitch together the parts in the places marked with blue.
The finished size of the doily is about 12" x 17".
We hope that you liked the FSL Crochet Spiral Doily Set and the possibilities it presents.


