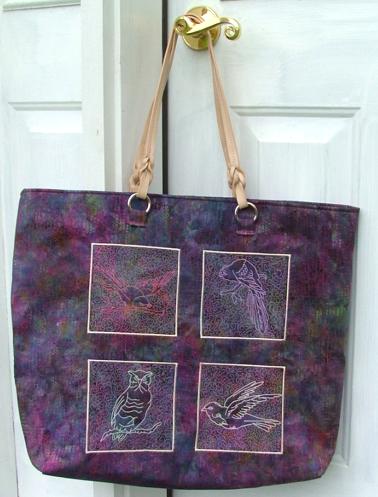
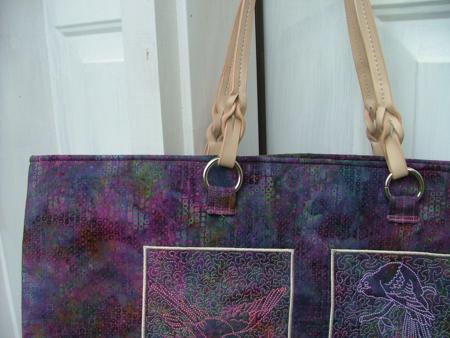
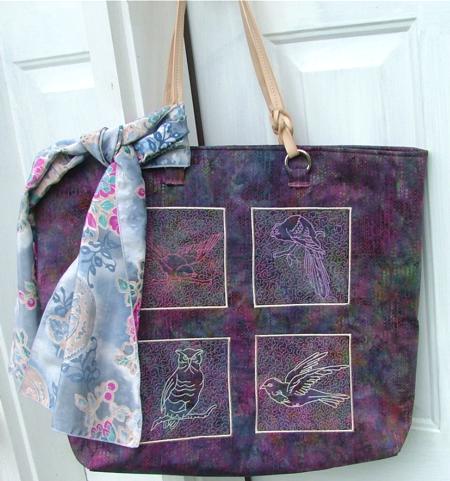
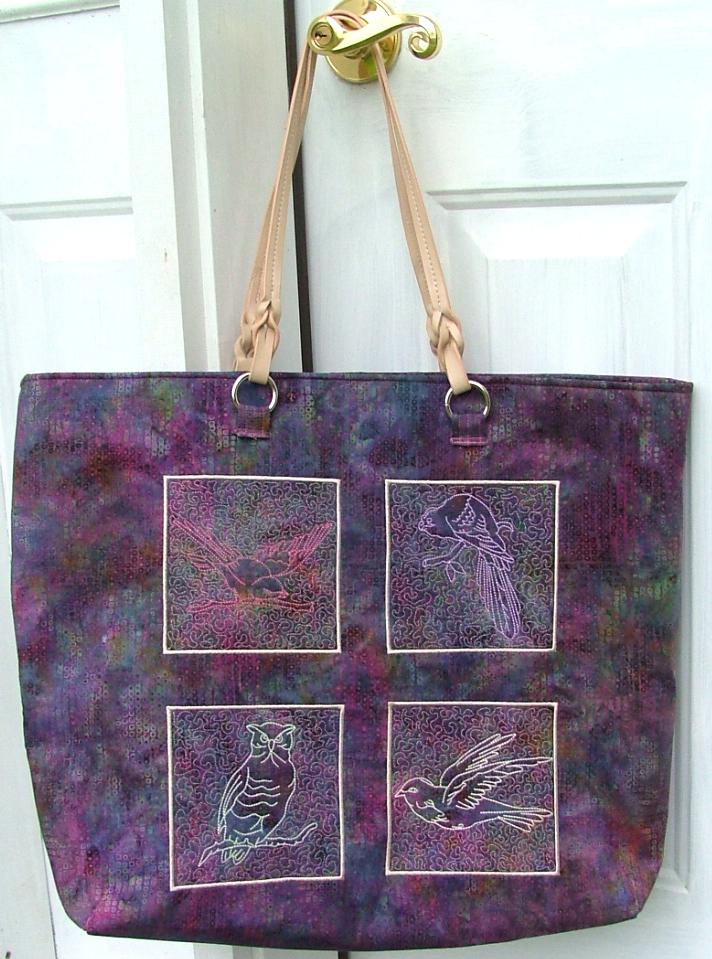
Either side of the bag can be its front or back.
The finished size of the bag is 15" high x 20" long x 5" wide. You will need two fat quarters (or 1/2" yard) of fabric for the outside of the bag and 1/2 yard of fabric for the lining. To stabilize the embroidery and to give the bag shape, we used two pieces of Pellon Peltex 70 (or 71) Interfacing measuring about 18" x 22". You will also need a pair of ready-made handles, and sewing and embroidery threads.
We used 100% cotton batiks for both the outside of the bag and the lining.
Step One: Lay the fabric fat quarters on top of the Pellon Peltex 70 pieces. Pin or baste the layers together close to the edges so that they do not shift. If you are using Pellon Peltex 71, which is fusible, iron the fabric onto the interfacing.
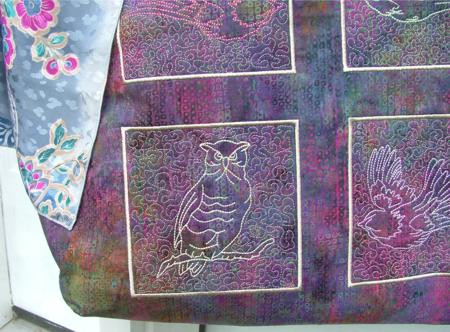
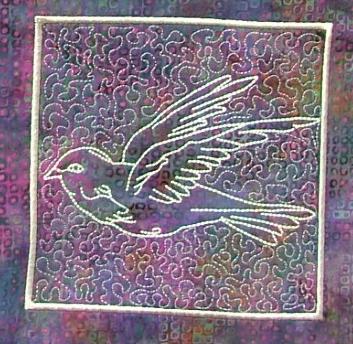
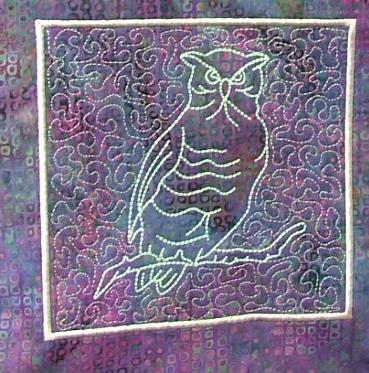
Step Two: Mark the spots for the embroidery. The blocks should be no less than 5" from the raw edges. Embroider. Press.
Note: For the first color, the bird silhouettes, we used 30-weight embroidery thread. For the rest of the designs, we used 40-weight embroidery threads.
Step Three: Mark 2 1/2" squares in the corners on the bottom side of each rectangle and cut them out. Do not discard these squares, as you'll need them later to make straps for handles.
Step Three: Place both halves of the bag right side to right side. Stitch the pieces together along the bottom edge, leave 1/2" of seam allowance. Press the seam open and topstitch 1/4" on each side of the seam.
Step Four: Put the right sides together again and stitch the pieces along the two side edges, leaving 1/2" seam allowance. Press the seams open.
Step Five: Now pinch each corner so that the end of the side seam matches with the end of the bottom seam (see the diagram below; the ends of the side seams and the ends of the bottom seams are marked in red). Pin. Stitch through all the layers across the bottoms of the corners (see the last picture in the diagram below). This will square the bottom of the bag. Now you can turn the bag right side out.
Step Six: Fold the raw upper edge of the bag 2" inside and topstitch 1/4" from the edge.
Step Seven: To add handles, mark their position first. Then, take the fabric squares left over from Step Two. Fold both edges back 1/2" to the wrong side, then fold again. Stitch along all the edges. You'll get four 1/2" x 2 1/2" pieces. Thread one piece through the ring of the handle, fold and pin in place. Machine-stitch in place. Repeat, to secure both handles at all four points.
Step Seven: To make the lining, repeat steps two to five with the lining fabric.
Step Eight: Place the lining bag into the outer bag. Match the side seams. Fold the raw upper edge of the lining inside, so that they are between the outer bag and the lining. Pin along all the edges.
Step Nine: Hand stitch the upper edge of the lining to the folded upper edge of the bag.
You're done!
We hope that you like our idea and will come up with many of your own.


