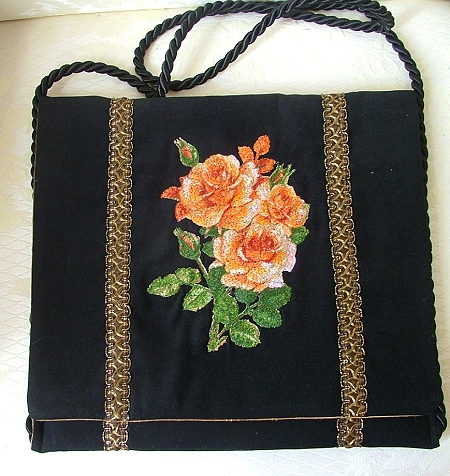
This simple envelope purse with a flap and a shoulder strap of decorative cording is decorated with embroidery. For evening wear we choose an elegant black velveteen. For a casual look you can choose denim or leather. Rose designs are suitable both for an evening and casual versions. We used the Golden Cream Roses.
The finished size of the purse is 12" x 12". You will need 1/2 yard of the outer fabric, 1/2 yard of fabric for lining and 1 yard of Pellon Peltex 70 (or 71) interfacing. You will also need about 2 yards of decorative cording for a shoulder strap. Matching trim, beads and tassels are optional.
Step One: Out of Pellon Peltex and the outer fabric cut two rectangles measuring about 14" x 32".
Step Two: Place the outer fabric rectangle over the Pellon Peltex rectangle, line up all the sides and pin together for stability. Hoop. Make the embroidery close to one of the short sides of the rectangle.

Step Three: Un-hoop. Press. Trim the rectangles to a size of 12 1/2" x 31 1/2". Out of the lining fabric cut a rectangle of the same size (12 1/2" x 31 1/2").
Step Four: If you want any additional embellishments on the purse, add them now. We topstitched two strips of decorative trim parallel to the long sides of the rectangle.
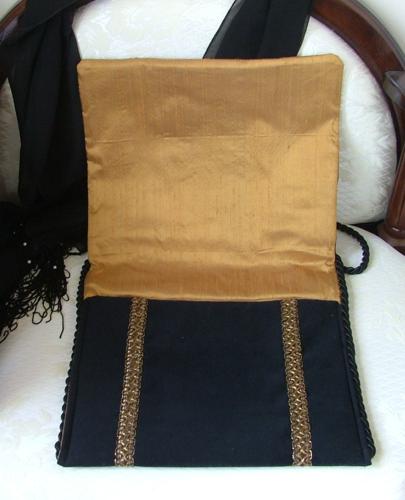
Step Five: Pin the outer, embroidered rectangle to the lining, right side to right side. For the flap, place marks on both of the long sides, 10" from the short end with embroidery (red on the diagram).
Step Six: Stitch 1/4" from the edge around the lower portion of purse, starting at one side. Pivot at the markings and stitch 1/2" from the edge around the flap. Continue stitching 1/4" from the edge on the lower portion. Stop 3" from the starting point. The stitch is marked with a dotted line on the diagram.
Step Seven: Trim the outside corners diagonally and notch the inside corners. Press seam open, with the lining side of the purse facing up.
Step Eight: Turn the purse right side out. Press. Slipstitch the opening closed.
Step Nine: Fold lower 9" of purse to flap, wrong sides together. Pin. Take decorative cording, unravel about 1" at one end and insert between the two layers as shown. Topstitch 1/4" from the edge.
Step Ten: Decide on how long the shoulder strap should be and trim the other end. Unravel 1" and insert between two layers on the other side. Topstitch 1/4" from the edge.
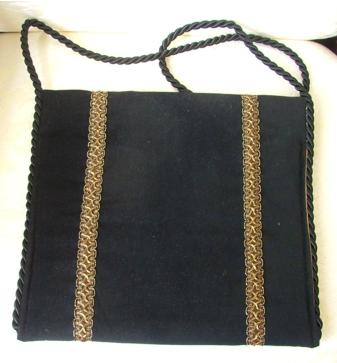
Step Eleven: Hand-stitch the cording to the seam allowance on each side of the purse up to the flap. Fold the flap down.
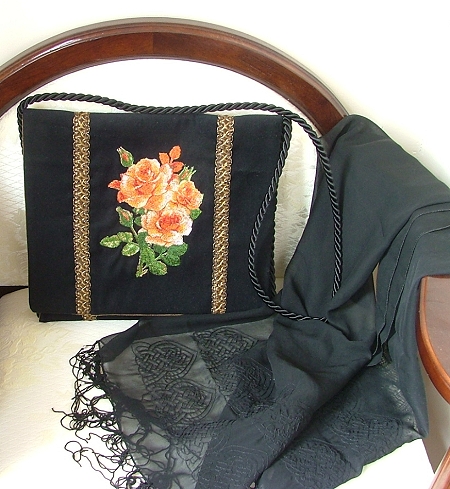
We also have a page on how to embellish the silk dressing scarf shown on the picture.


