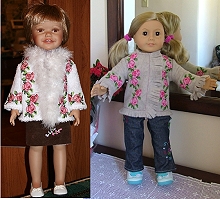
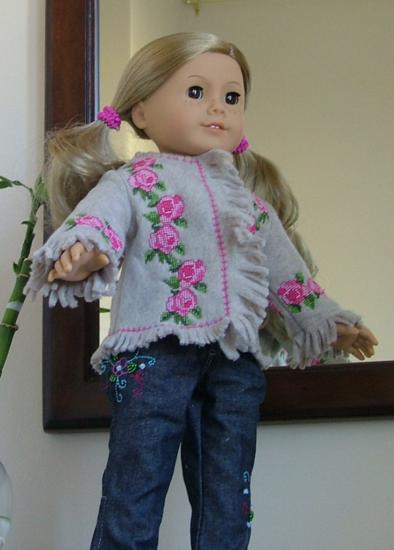
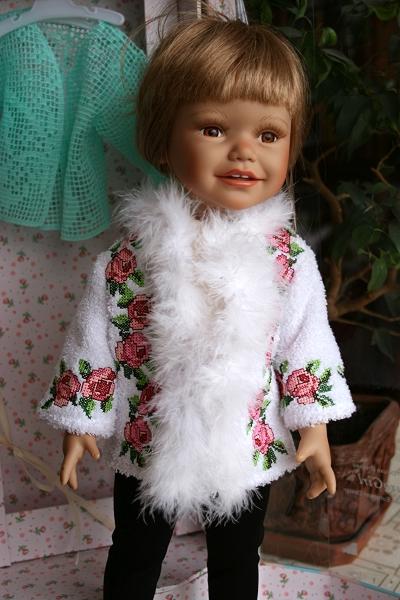
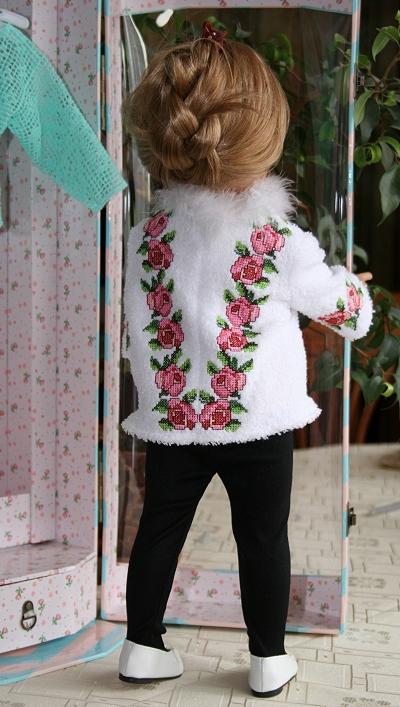
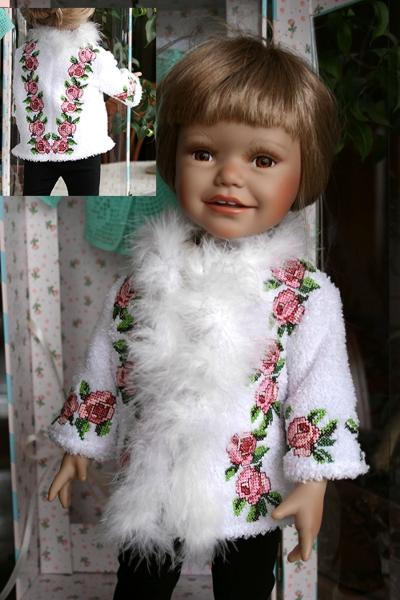
We made one of the jackets out of fleece and the second one out of thin terry-cloth. We used very thin film-like water-soluble stabilizer and 40-weight rayon embroidery threads.
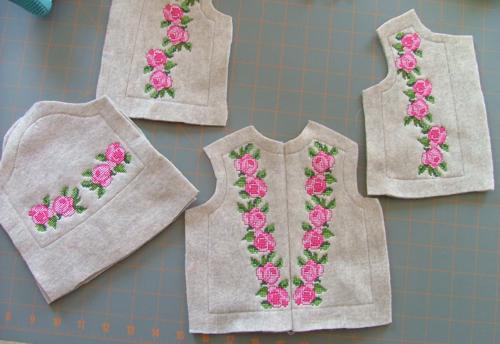
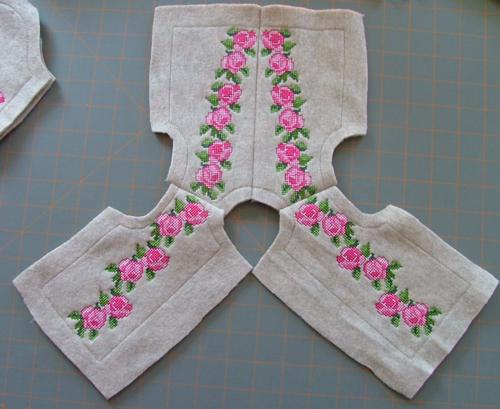
Step One: For one jacket, embroider
two back parts;
the left and the right front parts;
two sleeves.
Tear away the stabilizer and dissolve the remainder. Air dry the pieces, then press. Trim the fabric, leaving at least 1/2" around each design for seam allowance.
Step Two: First, stitch the back parts together.
Then make the shouder seams, attaching the front parts to the back.
Next, attach the sleeves. There are two marks on the sleeve and there is a mark on the front. To attach the sleeve, make the marks meet. It's not easy to stitch the curves.You can choose to attach sleeves either manually or on your machine.
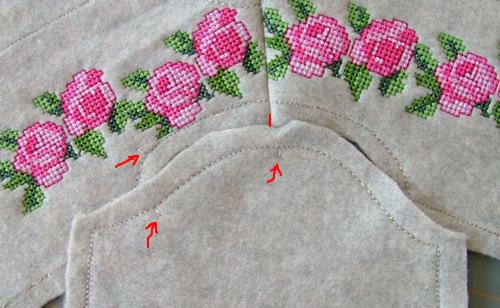
Now fold the workpiece in half down the center of the sleeves and with one seam stitch to connect the sleeves and the front and the back.
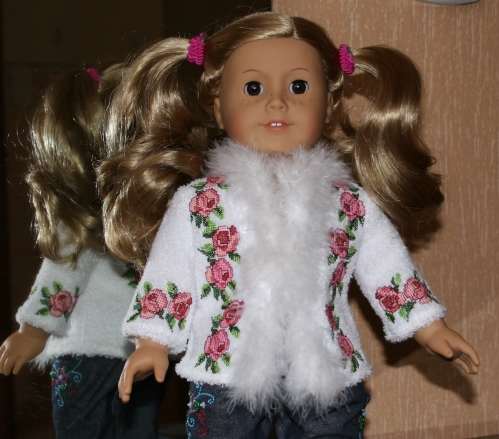
Step Four: The jacket is basically ready. Attach thin pieces of Velcro tape to the front. Now you can decorate it as you wish. We added a fluffy trim to decorate the white terry-cloth jacket.
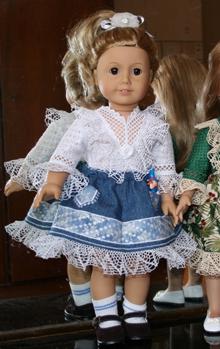
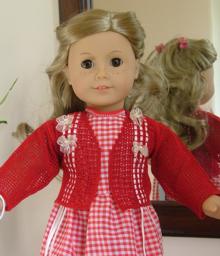
If you liked this jacket, you might also like:
 |
|
 |
|
You will find more 12-inch doll fashions in the Doll Section of our Catalog


