|
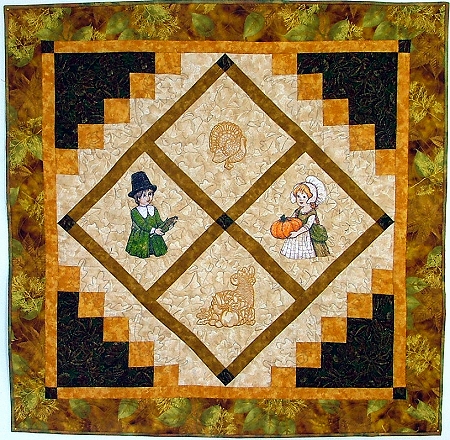
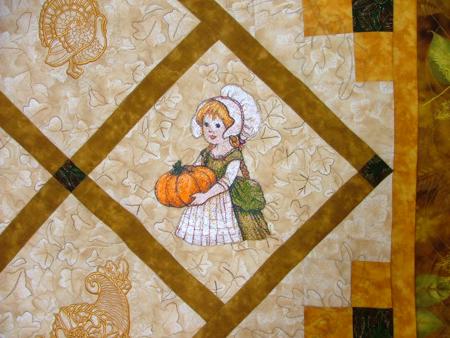
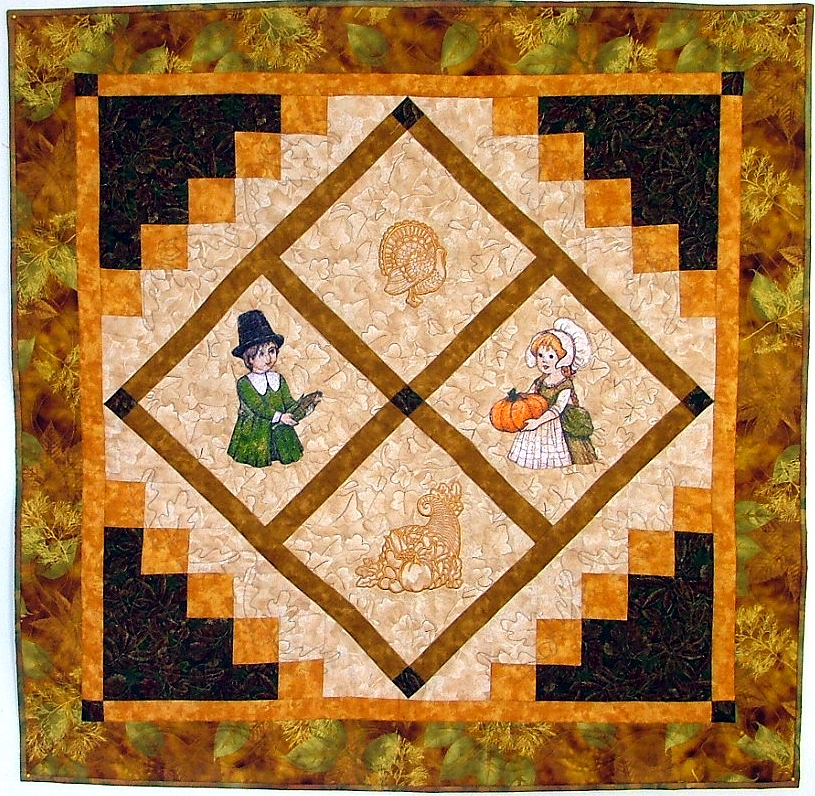
This beautiful Thanksgiving wall quilt makes a great decoration for your home. For the top, we used 5 fall-colored fabrics. You will need about 1/2 yard for the background, 3/4 yard for the borders and binding and 1/4 yard of 3 fabrics for sashing and corners. You will also need 1 1/4 of fabric for the backing and the hanging sleeve.
|
|
|
Click here to see a larger image
|
|
The finished size of the quilt is about 36" x 36".
|
| For the central part, cut four squares measuring 8 1/2" x 8 1/2" out of the background fabric. For the sashing, cut four strips measuring 1 1/2" x 8 1/2" out of brown fabric and a square 1 1/2" x 1 1/2" out of dark green fabric; for the borders, cut four strips measuring 1 1/2" x 17 1/2" out of brown fabric and four squares 1 1/2" x 1 1/2" out of dark green fabric. Assemble according to the diagram below. Do not forget to press the seams after every stitch line. |

|
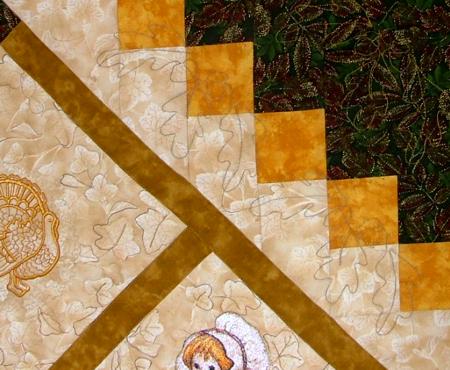
| For the corner triangle, cut one square measuring 4 1/2" x 4 1/2" and five rectangles measuring 2 1/2" x 4 1/2" out of the background fabric; out of the orange fabric, cut five squares measuring 2 1/2" x 2 1/2"; out of dark green fabric, cut two squares measuring 2 1/2" x 2 1/2", two rectangles measuring 2 1/2" x 4 1/2" and one square measuring 4 12/" x 4 1/2". Assemble according to the diagram. Do not forget to press the seams after every stitch line. Make four such corners. |
|
| Cut along the diagonal to make a triangle. |
|
| Stitch the triangles to the central part. |
|
For the narrow border, cut four strips measuring 1 1/2" x 28 1/2" and four squares measuring 1 1/2" x 1 1/2".
For the outer border cut two strips measuing 3 1/2" x 30 1/2" and two strips measuring 3 1/2" x 36 1/2". Assemble according to the diagram. |
|
| Now the quilt top is ready for embroidery. |
|
| We used pieces of low loft Dream Poly batting instead of stablizer. If you do not have Dream Poly, you can also use crafter's felt. Hoop the central blocks one by one with a piece of batting/felt and make the embroidery. |
|
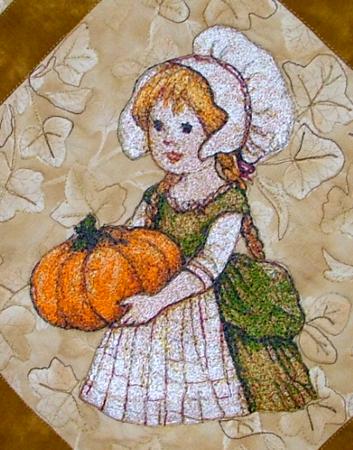
| The Girl with Pumpkin is a photo stitch design |
|
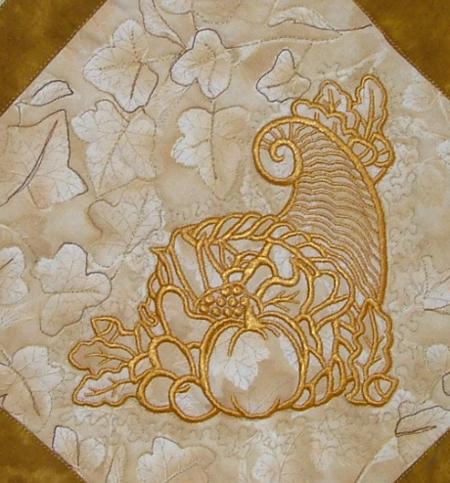
| The Cornucopia is a cutwork lace design from the Cornucopia Cutwork Set.. |
|
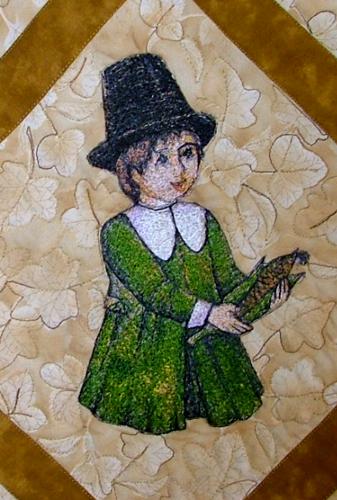
| The Pilgrim Boy is a photo stitch design. |
|
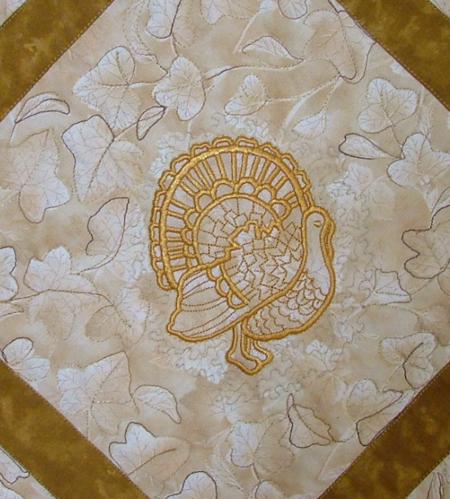
The Turkey is a cutwork design.
After each embroidery was finished, we cut away the excess batting as close to the embroidery as possible. |
|
| When all the embroidery was finished, a sandwich was made consisting of the top, batting and backing. Then, we did the quilting. The embroidery was fixed in place with an outline of invisible thread. Then, using a variegated thread, we quilted along the leaf pattern of the fabric. Everything outside the central diamond was quilted with an oak leaves pattern. |
| We hope that you like our idea and will come up with many of your own. |
|
Back to Projects Page
|


