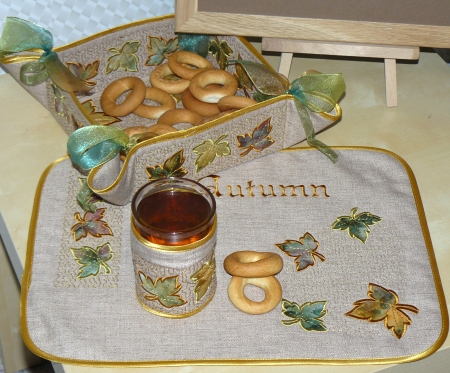
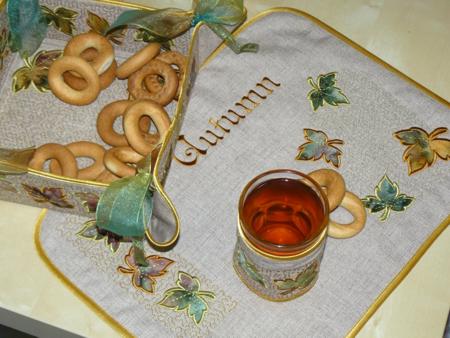
Using the embroidery designs from the Fall Table Applique Set you can make a handsome table set consisting of a bread basket, placemats, and glass cozies. The instructions are given below.
The use of the applique designs is not limited to our instructions here. The designs can also be used to decorate clothes, table linen, curtains, etc. The set consists of of 4 designs of applique leaves with stippling, 2 applique leaves and the inscription "Autumn". The combination gives you a lot of creative possibilities.

For the project, you will need
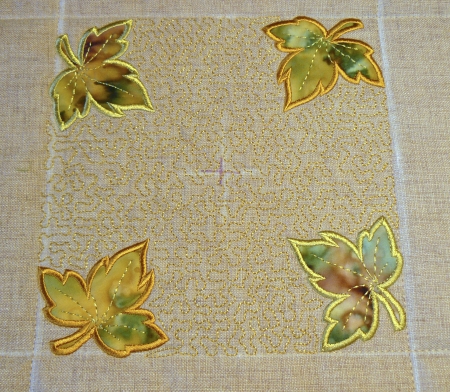
For the placemat we used the files called "TableSet1" and "TableSet2" and the file with the inscription "Autumn".
Step One: Out of Osnaburg, cut 2 rectangles, measuring the desired size of the placemat, plus 1" on each side, e.g. if the finished size of the placemat should be 10" x 14", cut 2 pieces measuring 12" x 16".
Out of thin low-loft batting, or craft felt, cut a rectangle of the same size.
Put 3 pieces in layers: Osnaburg - batting - Osnaburg. Polyester felt usually clings to fabric and does not slide, however, you can use temporary fabric adhesive to secure the bond if you feel it is neccessary.
Step Two: Out of your embroidery program, print out snapshots of the designs. Position them on the fabric.
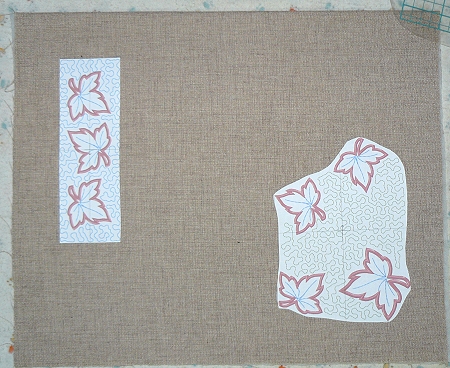
With the disappearing marker, mark the position of the embroidery.
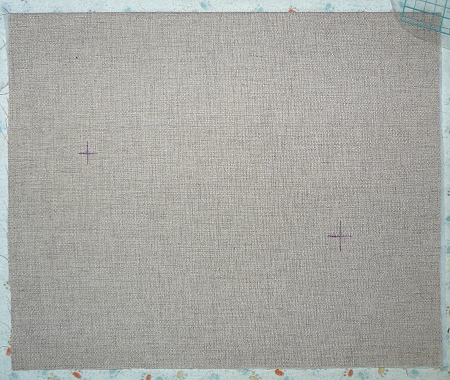
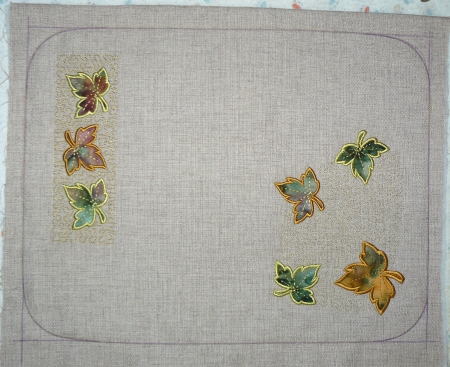
Step Three: Hoop all 3 layers and make the embroidery.
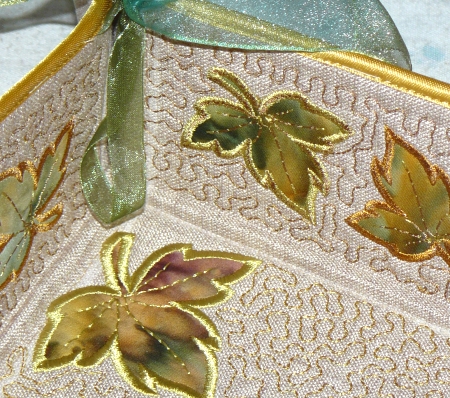
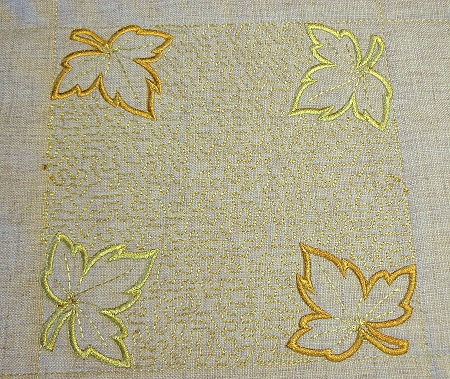
The first color of the design makes stippling.
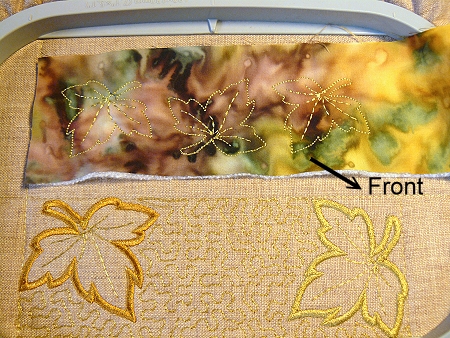
The second color outlines a leaf. After the machine stops, cover the outline with a piece of applique fabric.
The third color will make the outline of the leaf on the applique fabric. After the machine stops, cut away the excess fabric as close to the stitches as possble.
The forth color will finish the raw edges of the applique.
Step Four: Now cut the placemat to the needed size. We also slightly rounded the corners.
Step Five: Finish the raw edges with binding.
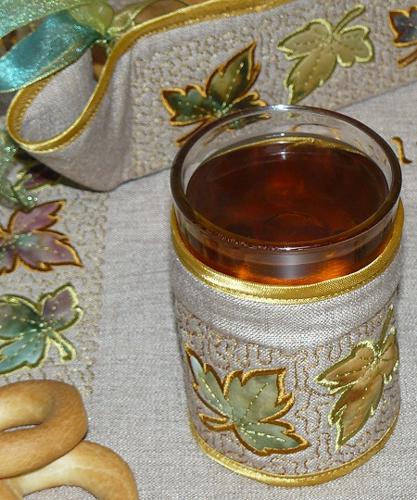
For the cozy, we used the file called "TableSet1".
Hoop 3 layers: Osnaburg - batting - Osnaburg.
Make the embroidery.
Determine the size of the cosy you need and cut out a rectangle of that size. Finish the raw edges with the binding. Handstitch the short sides together. Put the cozy around a glass.
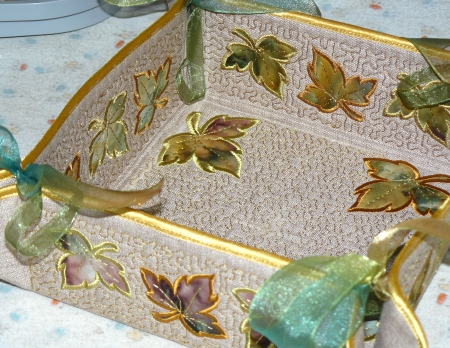
For the basket, we used the embroidery files called "TableSet3A", "TableSet3B" and "TableSet1".
Step One: Out of Osnaburg, cut out 2 squares measuring 21" x 21". Stabilize each square with light-weight iron-on stabilizer.
Out of Pellon Peltex interfacing, cut the square of the same size.
Step Two: Place 3 layers together to make a sandwich: Osnaburg (face down) - Pellon - Osnaburg (face up). Use temporary adhesive to make the layers cling together.
Step Three: With the disappearing fabric marker and a ruler, divide the square into 7" squares.
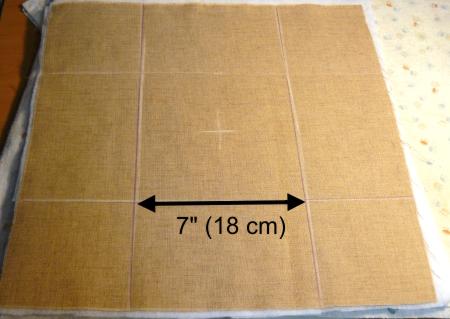
Step Four: On your sewing machine, topstitch along the drawn lines to secure the layers.
Step Five: Fold back the upper layer and cut out the Pellon 7" x 7" corner squares.
Step Six: Embroider the files "TableSet3A" and "TableSet3B" in the central 7" x 7" square. The "A" file is embroidered on the left side, and the "B" file - on the right side of the square. If your hoop can accomodate both files, combine them on the screen of your machine. If you have only 5" x 7" hoop, you'll have to re-hoop the fabric.
Use thread of the same color in the needle and in the bobbin.
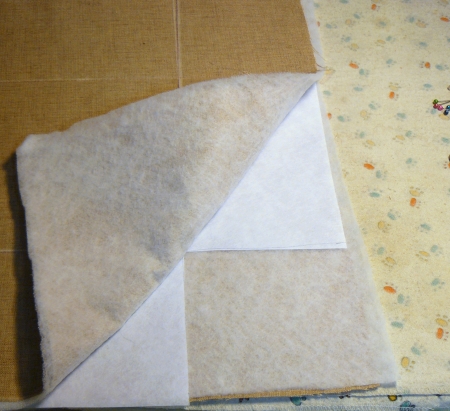
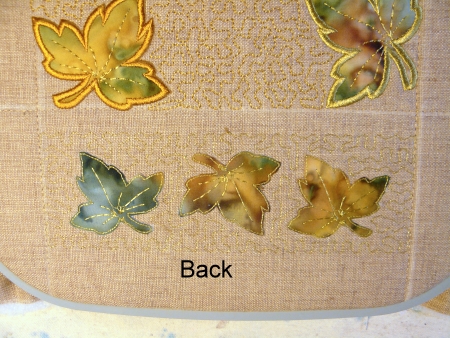
This is what the back of your work will look like:
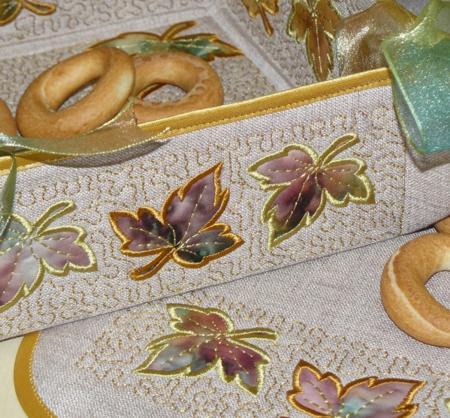
Step Seven: The sides of the basket are the most tricky part of the project.
The back of the work, the lower layer of Osnaburg, will become the outer, front, sides, and the front of the work, the upper layers of Osnaburg, will become the inside of the basket.
Using a snapshot of the design, determine the position of the embroidery on the side panels.
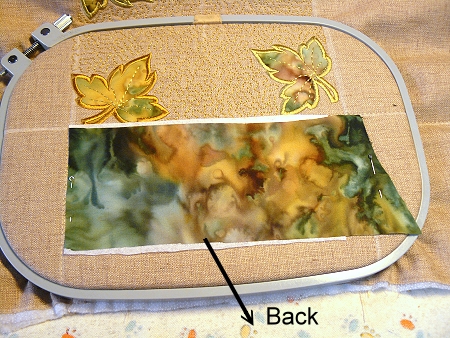
Hoop the work, right side down. After you embroider the first color (stippling),
place a piece of applique fabric on both sides of the work. Use temporary fabric adhesive to adhere the applique fabric. You can also use small pins, however, take care to place the pins outside the embroidery area.
Reduce the tension of the needle thread. Embroider the second and the third colors (outlines of the leaves).
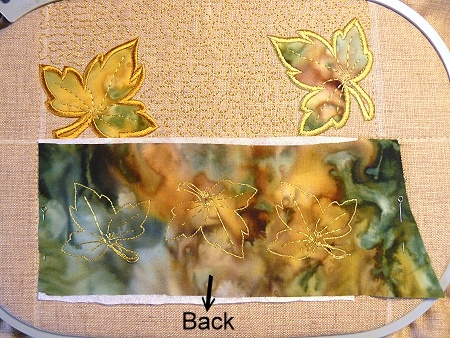
Cut away the excess fabric around the outlines of the leaves pn both sides of the hoop - on the front and on the back!
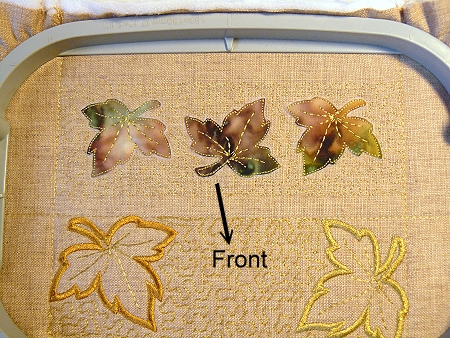
Return the hoop in the machine and finish the embroidery.
Note: If you feel that this method is too complex for you, you can graph each 21" x 21" square of Osnaburg into 7" x 7" squares and embroider them separately. After this, place a piece of Pellon intefacing between the layers and sew them together along the graph lines.
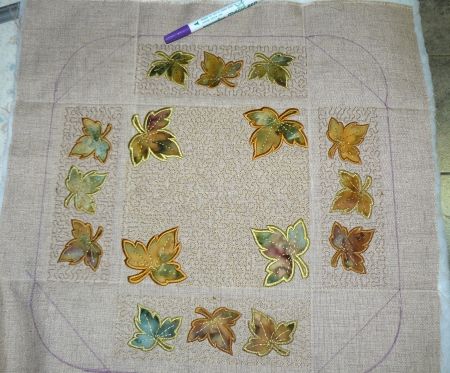
Step Seven: Determine the height of the sides of the basket. Using the disappearing faric marker and the quilting ruler, draw the lines of the cut. We drew them 1/2" from the embroidery.
Round the corners.
Cut away the excess fabric.
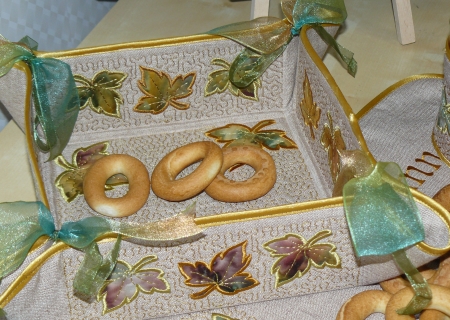
Seven Eight: Finish the raw edges with the binding. While working the binding, insert eight 10"-12" long ribbons in the corners of the rounded parts and stitch them together with the binding.
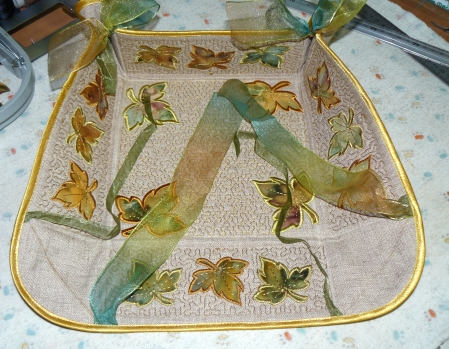
Fold the sides of the basket and tie the ribbons.