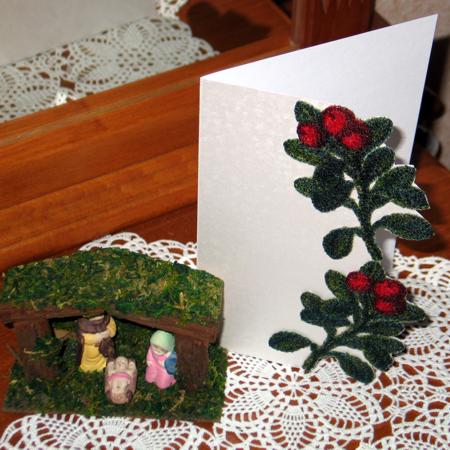
Embroidered greeting cards are very easy to make, but are much more touching and personal than store-bought cards. Try it for yourself! This step-by-step guide includes a free pattern you can experiment with. However, you can use the same principle for pretty much all of the designs in our store.
You will need: a piece of cardstock about 11" x 6 1/2" and universal (paper and fabric) glue or adhesive spray. For embroidery, you will need a piece of organza and water-soluble mesh. We used embroidery polyester threads, #12 embroidery needle, scissors and craft soldering iron (optional).
Download the design from the website and upload it into your machine.
| ART | DST | EXP | HUS | JEF | JEF+ | PES | VIP | VP3 | XXX |
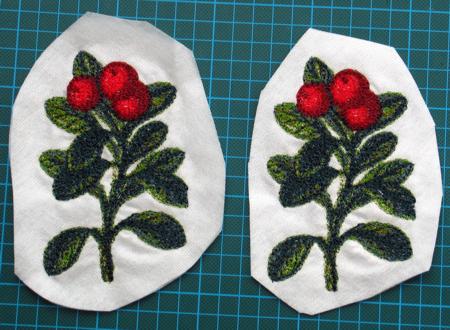
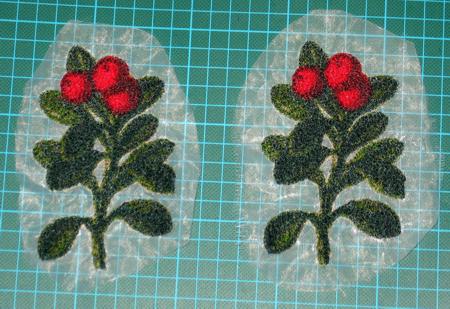
Step One: Hoop the organza with 2 layers of water-soluble mesh. Embroider the design twice.
Note: Organza and mesh are rather thin and slip easily in the hoop. To hold the fabric more tightly, wrap the long sides of the hoop with strips of muslin.
Wash out the watersoluble mesh. Air dry the embroidery.
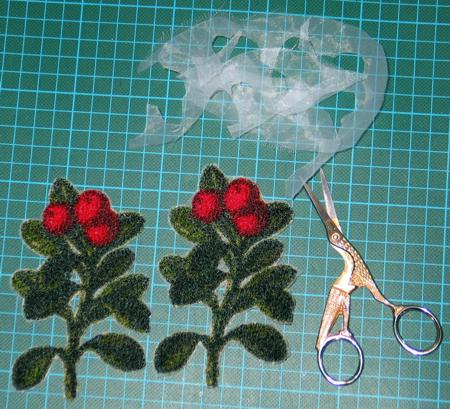
Cut away the excess organza. Press the embroidery with steam.
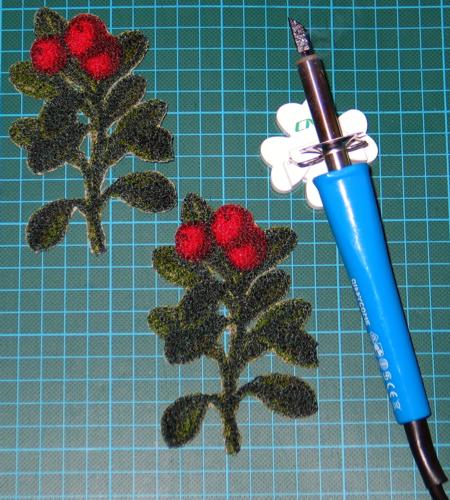
If you have a craft soldering iron, melt away the excess organza threads.
Step Two: Fold a piece of cardstock in half. Press the fold line to make a crease.
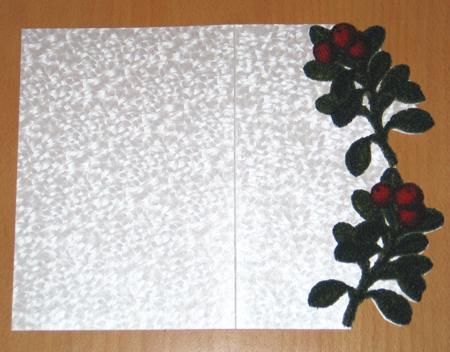
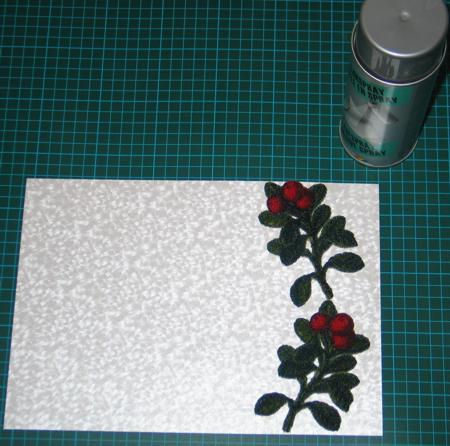
Step Three: Unfold the card. Place some glue on the back of the embroidery. Position the stitch-outs on the right side of the front of the card, close to the edge. Press with hands. Place under a press for some time to let the glue dry.
Note: The drying time depends on your glue. Read the manufacturer's instructions.
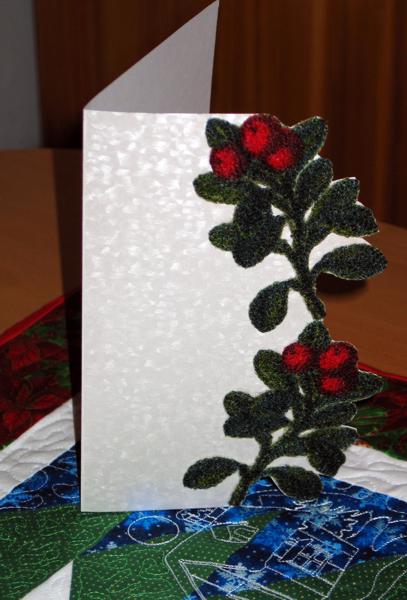
Step Four: After the glue has dried, fold the card and cut away the paper around the right edge of the embroidery.