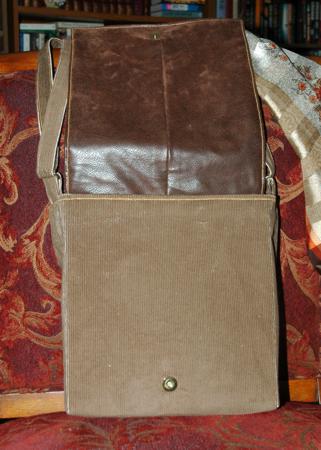
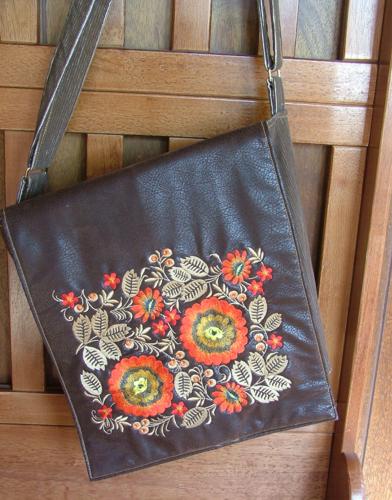
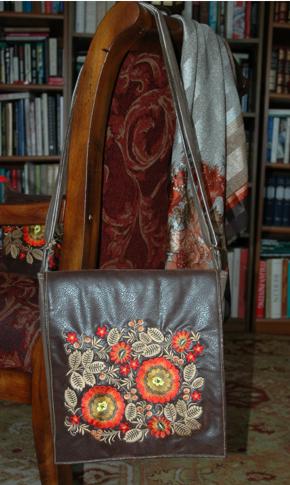
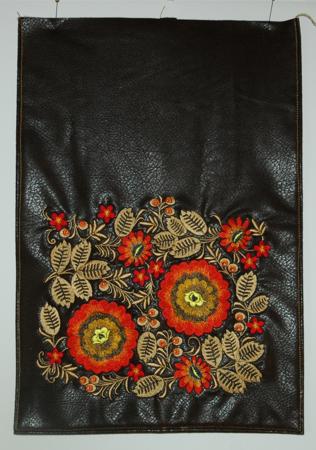
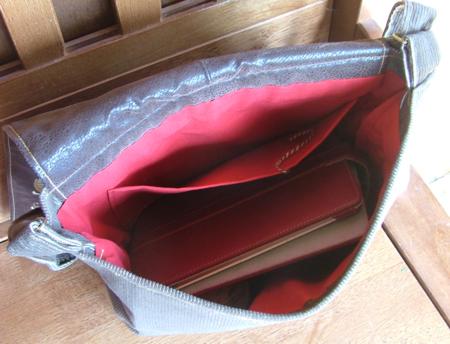
This shoulder bag looks elegant and tasteful and yet is roomy enough to hold anything you need.
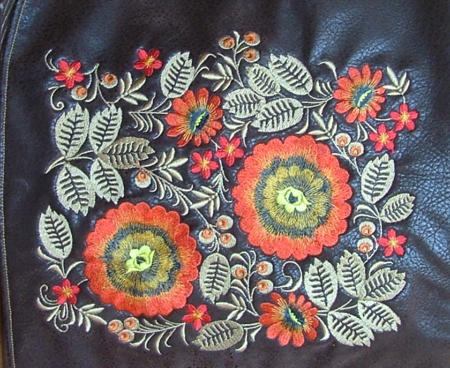
The finished size of the bag is about 10" x 12" x 4". The bag features the designs form the Wild Flowers Decoration Motif Combo Set on the flap.
You can also use the designs from the Wild Flowers Decoration Motif Set and design your own motif for the flap.
For the project you will need:
Out of corduroy, cut 2 squares measuring 15" x 15";
2 strips measuring 3" x 7" and
1 strip measuring 3" x 36".
Out of Pellon Peltex with one adhesive side, cut a strip mesuaring 10" x 25".
Out of polyester faux leather fabric cut a strip measuring 16" x 23".
Out of cotton fabric for the lining, cut a strip 15" x 25" and a strip 10" x 13" (for the pocket.
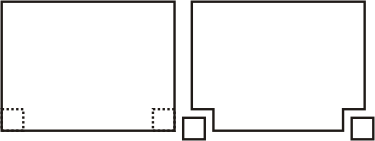
Take the cordiroy 15" x 15" squares. Cut out 2" x 2" squares in the lower corners.
Place the panels face to face and machine stitch the bottoms together. Press the seam open.
Fold back the upper edges 2" each and press with steam.
Position the Pellon Peltex strip on the wrong side of the bag, leaving 1/2" from the bottom edges. Press to adhere it to the bag.
Topstitch from the right side --- 1/4" on each side of the bottom seam.
On the front panel, 3 1/2" from the bottom seam, insert one half of the magnetic closure.
Fold the bag right side inside, align all edges and sew the side seams.
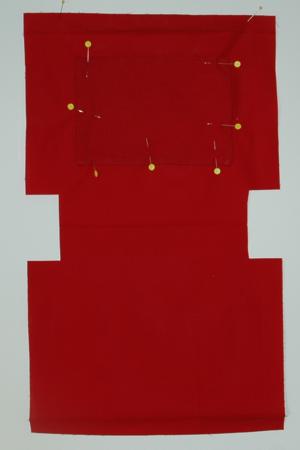
Now pinch the corners as shown in the diagram below. Pin. Stitch them closed
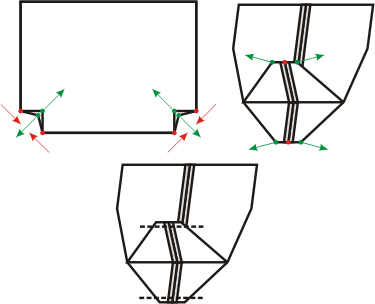
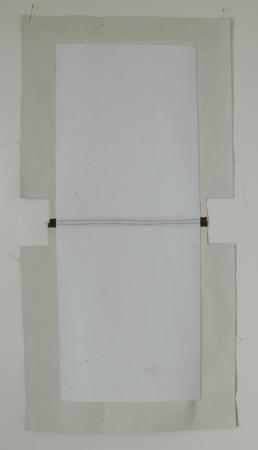
Take the 23" x 16" faux leather strip. Mark the placement of the embroidery. It should be about 3" from the lower edge (of the 23" long side) and about 7" from the side edges (of 16" long sides).
Stabilize with a medium- to heavy-weight tear-away stabilizer and make the embroidery. We embroidered the design for a 10" x 12" hoop from the Wild Flowers Decoration Motif Combo Set. If you do not have a hoop that large, use the smaller designs from the Wild Flowers Decoration Motif Set and arrange them the way you want.
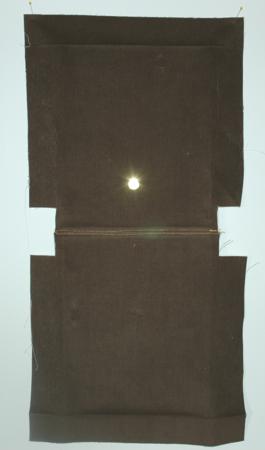
After the embroidery is finished, fold the strip widthwise face inwards, align the 16" long sides and stitch them closed 1/2" from the edge.
Position the seam in the center, 5 1/2" from each edge and press the seam open. Pin and stitch the lower edge closed about 1/2" from the edge.
Turn the flap right side out. Press. Topstitch 1/4" from the edges.
Insert the second half of the magnetic closure 1 1/2" from the closed edge.
Fold the lining piece in half widthwise, face to face, aligning all edges. Press lightly to mark the bottom line.
Cut away 2" x 2" squares in the lower coners.
Fold the upper edges 1" back and press.
To make the pocket, take the 10" x 13" rectangle, fold widthwise, face inside, and stitch 2 sides 1/4" from the edge. Turn the work right side out. Press. Tuck in the unfinished edge 1/2" inside. Press and stitch it closed.
Sew the pocket to the lining.
Fold the lining right side inside. Unfold the upper edges. Align all edges. Stitch the sides together. Press the seams open. Fold the upper edge 1" back and press.
Now pinch the corners as shown in the diagram below. Pin. Stitch them closed.
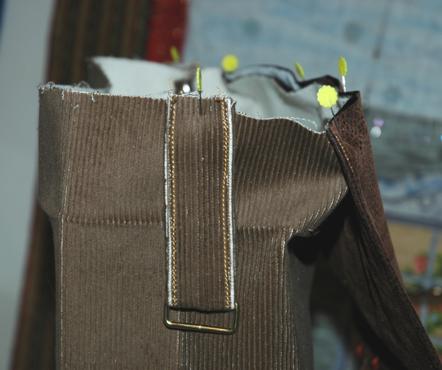
Take the 3" x 7" strips. Place them face down. Fold the long edges 1/2" on the wrong side and press.
Fold the strips in half legnthwise and press. Topstitch both edges.
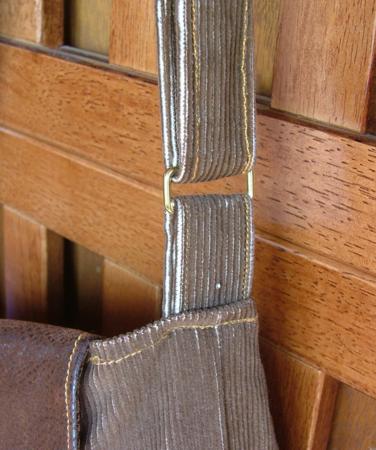
Insert the strips into the rings. Make the ends meet and topstitch the ends together.
Process the 36" long strip in the same way.
Unfold the upper edge of the bag. Align the raw edge of the flap with the raw edge of the bag's back panel. Pin. Topstitch the flap to the bag.
Place the strips with the rings on the side seams of the bag, rings down. Align the raw edges of the strip with the raw edge of the bag. Pin. Topstitch the strips to the bag.
Fold the upper edge of the bag 2" back (by the pressed line). Topstitch around the bag's top 1/4" from the edge. Note that on the back panel the stitches should go through the flap as well, so better use #16 jeans or upholstery needle.
Insert the lining. Align the side seams of the lining with the side seams of the bag.. Hand-stitch the upper edge of the lining to the bag.
Insert the 36" long strip through the rings. Overlap the ends of the strip 2" and topstitch together. You can also place a buckle to regulate the length of the shoulder strap.