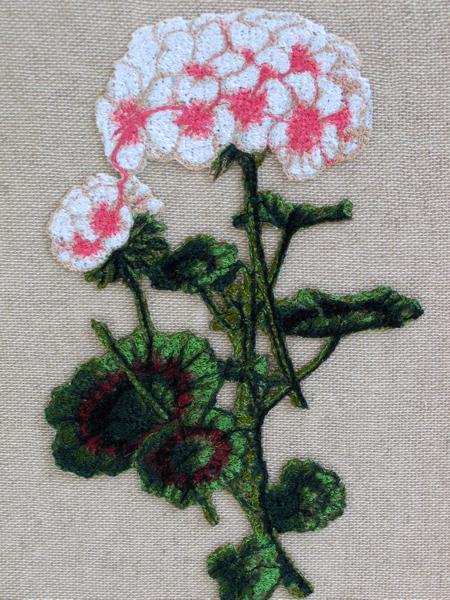
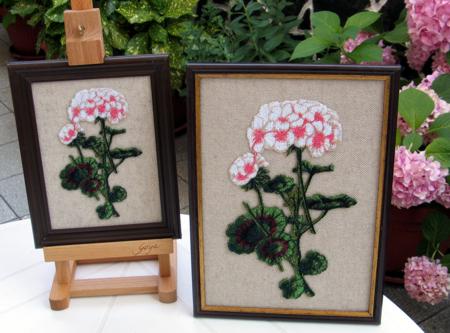
This is a very easy way to frame an embroidery design. It can be used for all kinds of patterns, but we thought it works particularly well for flowers. For this project we chose the Pellargonium design from our Flower section. The design is in the photo-stitch technique.
For the project you will need
Step One: Hoop the organza with 2 layers of water-soluble mesh. Embroider the design.
Wash away the stabilizer. Spread the embroidery neatly on a towel and leave to air dry.
Press. Cut away the excess organza.
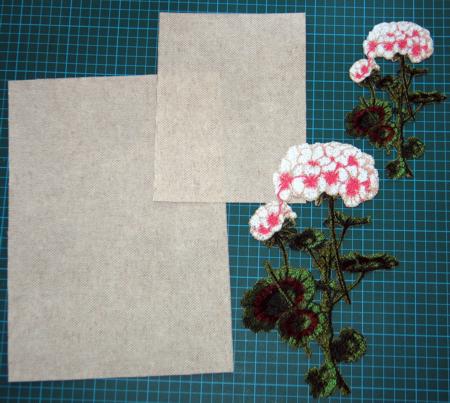
Step Two: Press the fabric onto iron-on stabilizer.
Cut out a piece to fit your frame.
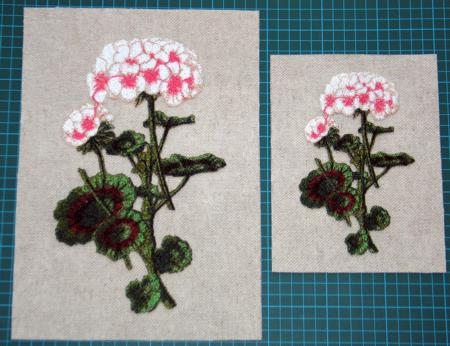
Step Three: Put a thin coat of glue on the back of the embroidery. Place the embroidery on the fabric and press.
Place under a press (heavy book) for an hour and let the glue dry.
Step Four: Insert into the frame.