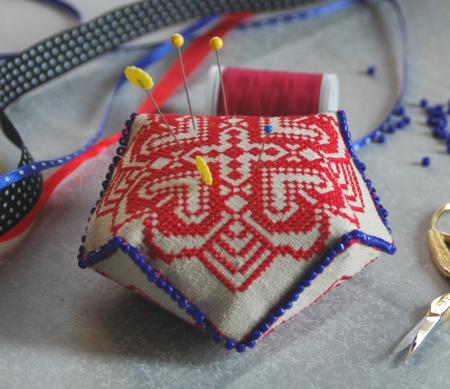
These small pincushions are so cute and fun to make that pretty soon they'll be scattered all over your work table. Luckily, your friends will love to get them as gifts.
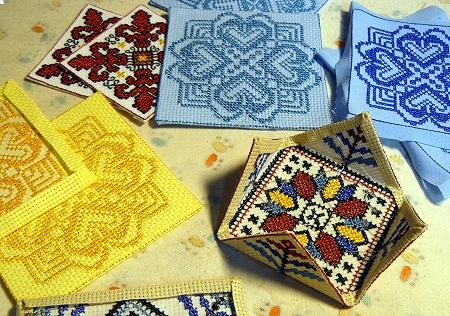
Biscornus are very popular among hand needle workers. We offer you a Biscornu Pincushion Set for machine embroidery.
For the project you will need cotton fabric, iron-on tear-away stabilizer and seed beads. We used Aida and Osnaburg cotton fabrics.
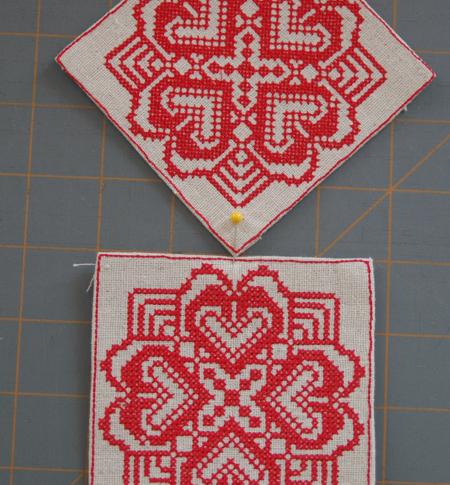
Classic buscornus are made from two embroidered squares sewn together on point. We'll show you how to do that. However you are not limited to that shape only - you can sew the squares as small cushions or a pyramid.

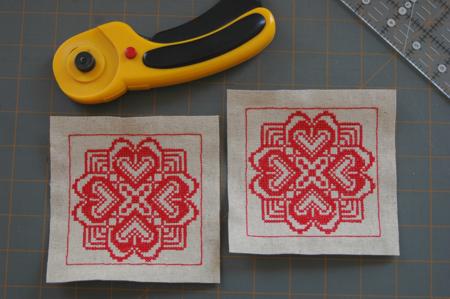
Step One: Stabilize your fabric with iron-on tear-away stabilizer. Embroider each design twice.
Step Two: Tear away the stabilizer. Cut away the fabric around the square outline of the designs leaving 1/2" seam allowance.
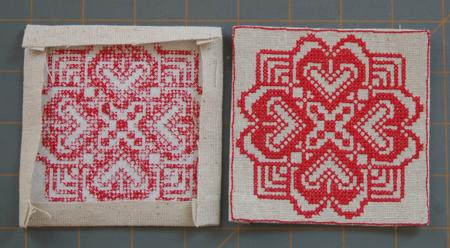
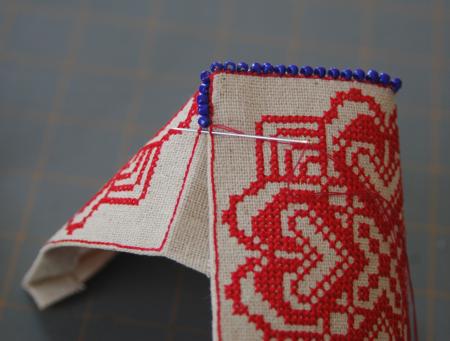
Step Three: Fold the seam allowance back and press.
Step Three: Match the corner of one square to the center of one of the sides of the second square.
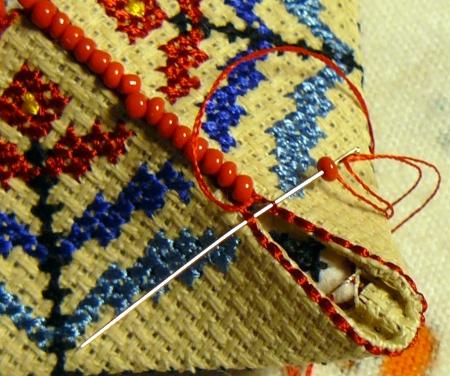
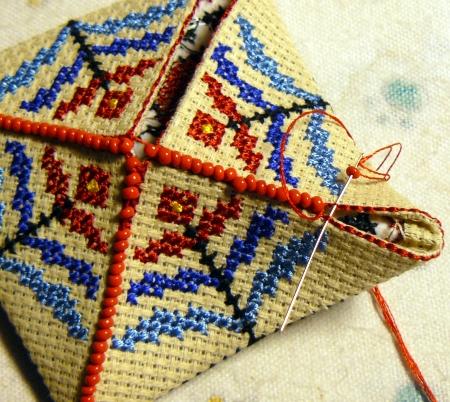
Step Three: Start to hand sew the sides of the pincusion, using whip stitch. When sewing, simulteneously stitch on the seed beads. This will decorate the seams and make the pincushion more attractive.
Whip stitch through the rows of the outlinining on each motif, try not to catch the fabric underneath.
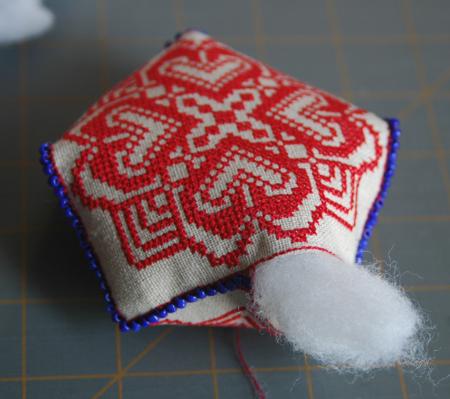
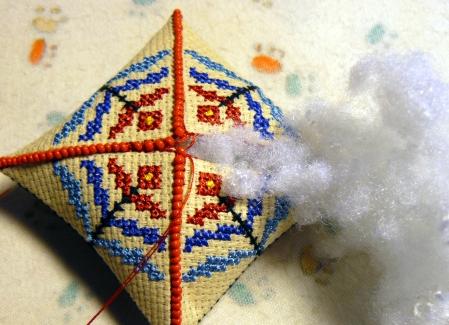
Step Four: Work through seven sides. Leave the eightth side open. Insert stuffing into the openning, then sew it closed.
One of the squares was designed to make a pyramid-shaped pincushion. Fold back the corners of this design and press.
Sew together three sides of the pincushion.
Insert stuffing into the openning, then sew it closed.
The designs can also be assembled into more traditional square pincushions.

After embroidering each of them twice, place 2 embroidered motifs wrong side to wrong side. Align all the edges. Whip-stitch three sides together, attaching seed beads if you want to.
Begin to stitch the fourth side. When you are left with only a small opening, stuff the pincushion. Then finish stitching the side closed.


