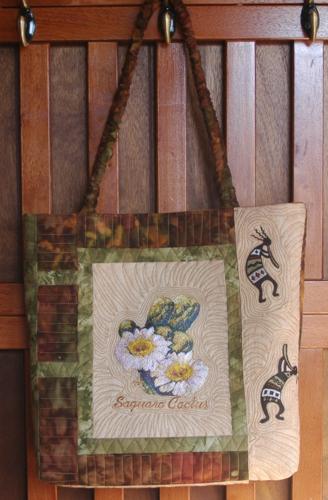
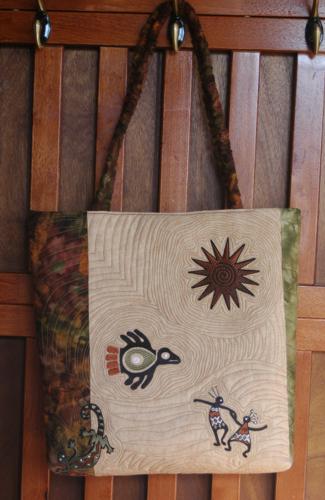
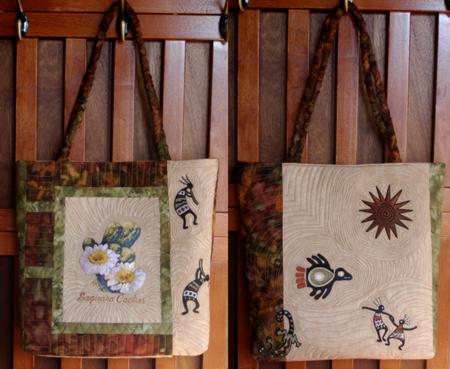
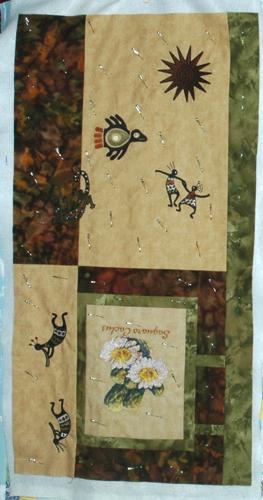
Southwestern Native American motifs such as the Kokopelli are very popular for decorating clothing and accessories due to their simplicity and charm. This stylish tote bag features the design of Saguaro Cactus and the designs from the Southwestern Indian Motif Set. The finished size of the bag is 13" x 13" x 3".
We used cotton fabrics:
Out of sand-colored fabric cut:
Sew the 1 1/2" x 9 1/2" green strips to the left and right sides of the 7 1/2" x 9 1/2" sand colored rectangle.

Sew the remaining 1 1/2" x 9 1/2" strips to the upper and lower edges of the rectangle.

Sew the 3 1/2" x 9 1/2" brown strip to the upper edge and the 2 1/2" x 9 1/2" brown strip to the lower edge of the unit.
Sew the 1 1/2" x 2 1/2" green strips and the 2 1/2" x 4 1/2 and 2 1/2 x 6 1/2 brown strips into one strips as shown:
Sew the new strip to the left edge of the working piece.

Sew the 5 1/2" x 16 1/2" sand-colored strip to the right side of the unit. This is the finished front panel of the bag.
Sew the 5 1/2" x 18 1/2" brown strip to the 11 1/2" x 18 1/2" sand-colored rectangle to make the back panel of the bag.

Sew both panels together.

Sew the green 3 1/2" x 34" strip to the left edge of the working piece.
Stabilize the sand-colored rectangle with iron-on cut-away stabilizer and make the embroidery of the Saguaro Cactus.

On other sand-colored surfaces make the embroidery of the motifs from the Southwestern Indian Motif Set.

Now place the backing on a flat surface (table) face down. Cover with batting. Spread your working piece over it.
Pin all three layers together with 1" pins and start quilting. We echo quilted around the applique and quilted straight lines all over the tote.
After the quilting is finished, press the work with heavy steam and square the work -- all corners should be 90 degrees and opposite sides should be of the same length. Trim the piece to 17" x 32".
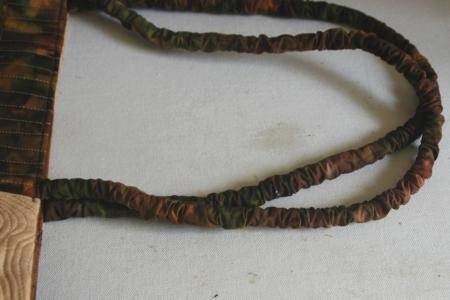
Fold the 2 1/2" x 36" strips lengthwise, face inwards. Stitch 1/4" from the edge to get long tubes. Turn the tubes right side out. Press.
Cut cotton cord into 2 pieces 27" long. Insert the cord pieces inside the tubes. The tubes are longer than the cord, so make some ruffles.
Take the 10 1/2" x 15" brown rectangle. Fold in half widthwise, face inwards. Stitch 1/4" from the raw edges and close 2 of them.
Turn right side out. Press.
Turn the raw edges inside about 1/2". Press. Topstitch closed.
Position the pocket on the back of the tote behind the sand-colored rectangles. Baste. Topstitch from the right side of the tote in the ditch of the sand-colored rectangle to attach the pocket.
Out of iron-on sewing interfacing cut 2 strips measuring 2 1/2" x 18".
Place the strips with the adhesive side to the wrong side of the 3" x 18" brown strips. Align one of the long edges.
Fold back the edge of the brown strip without the interfacing and press.

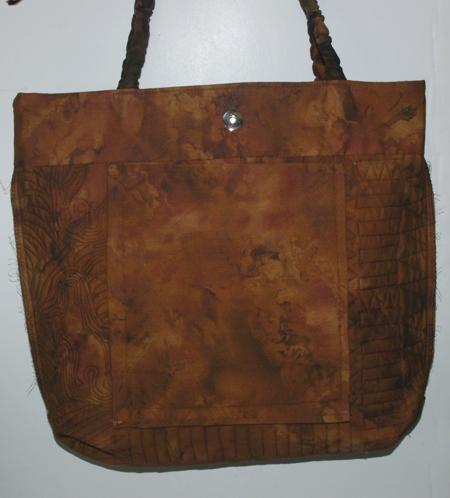
Now pin each handle to the short edges of the tote, on the front, as shown in the picture. The ends of the handles should protrude 1" over the edges. Topstitch the handles 1/4" from the edges of the tote.
Place the 2 1/2" x 18" strips, fabric down, interfacing up, along the short edges of the tote.
Topstitch 3/8" from the edge. Then topstitch again 1/4" from the edge.
Note that the trim strips are longer than the short edges of the tote. This is done because the handles are quite thick and the extra fabric goes around them.
Unfold the handles and the trim. Press.
Fold the trim to the back and press again.
Topstitch 1/8" from the edge between the handles.
Insert the magnetic closure in the trim between the handles.
Fold the working piece in half widthwise, right side inwards.
Unfold the trim. Topstitch 3/8" from the edges on both sides to attach the trim. Then topstitch again 1/4" from the edges.
Finish the raw edges with zigzag.
Make box corners at the bottom of the bag. For this, separate the front and back sides at the corners. Center the side seam with the central line of the bottom. Measure 1 1/2" along the seam from the corner and machine-stitch perpendicular to the seam across the corner. Do not trim the seam. Fold it onto the side seam and attach with several manual stitches. Repeat for the second corner.
Manually slip-stitch the trim to the backing.

Turn the tote right side out.