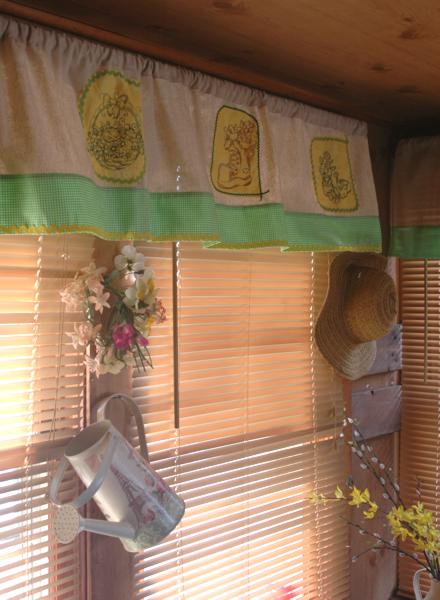
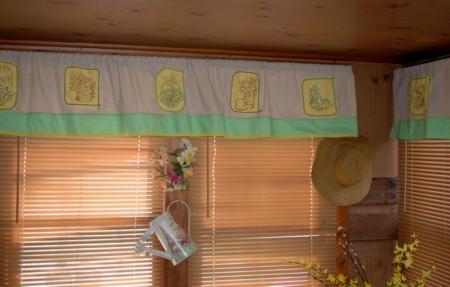
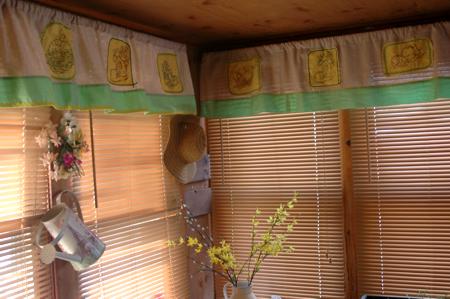
We made this spring valance for our rustic-style entry room. Though it's very simple to sew, it looks charming and makes a great project for a Saturday afternoon. We used embroidery designs from the Redwork Garden Sets I and II, for the large hoop.
The finished size of our valance is about 80" x 15".
For the project, we used 2 yards of Osnaburg, about 1 yard of bright green and 1 yard of bright yellow cotton. We also used 3 packs of rick-rack (small and medium size).
The width of our two windows is 65" inches. We wanted only light ruffles, so we added 16" for seams and ruffles.
Out of Osnaburg fabric, we cut 2 strips 16" wide and 40" long (width of the fabric).
Out of bright green cotton fabric, we cut 2 strips 8 1/2" wide and 40" long (width of the fabric).
Take the Osnaburg strips and, using a zig-zag stitch, finish one short side on each strip.
Place the strips face to face, aligning the finished short sides. With a straight stitch, sew the finished short sides together with a seam allowance of 1/4". Press the seam open.
Take the bright green cotton strips, place them face to face and stitch them together along one of the short sides. Seam allowance is 1/4". Press the seam open.
Using zig-zag, finish the short sides of the green strip.
Place the green strip over the Osnaburg strip. Align one of the long sides. Pin. Sew the strips together with a seam allowance of 1/4".
Press the seam to the green strip.
Fold the long unfinished side of the Osnaburg strip back 1/4"-1/2" and press. Fold back another 3" and press thoroughly. Stitch in place. This will be the sleeve for the curtain rod.
Fold the long unfinished side of the green strip 1/4" and press. Fold back another 4" to cover the seam between the green and Osnaburg strips and press thoroughly. Topstitch in place.
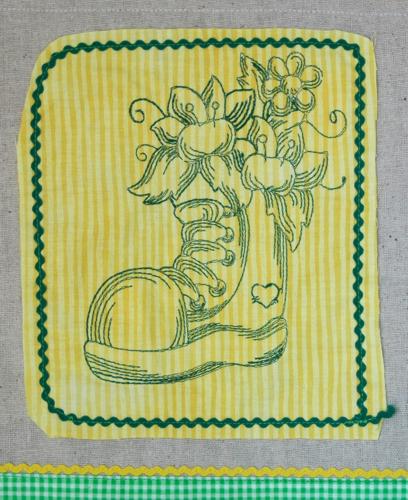
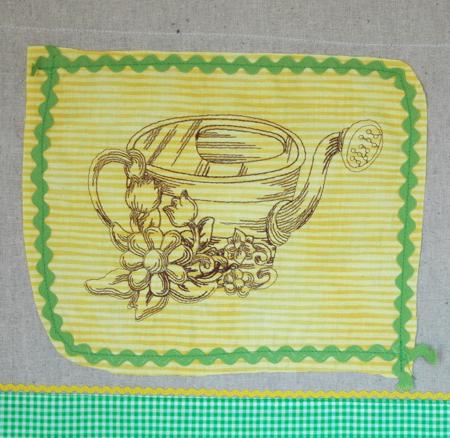
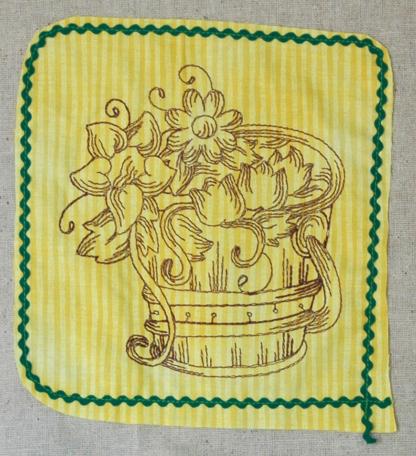
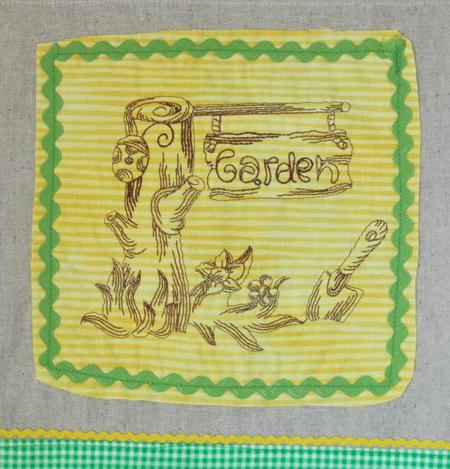
Put the valance aside for the meantime. Make the embroidery on bright yellow cotton. We used light-weight tear-away stalizer and the designs from the Redwork Garden Sets I and II.
After we finished all the embroidery, we tore away the excess stabilizer and cut out the embroidery. We cut out squares, ovals, rectangles, leaving the edges of the fabric pretty irregular.
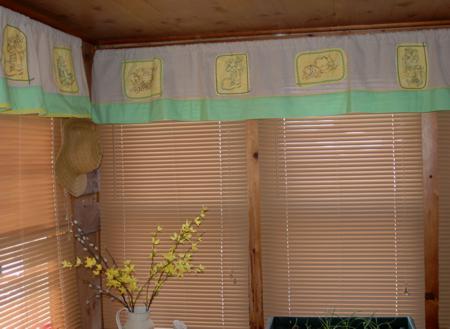
We distributed the shapes over the valance, about 6 patches each, and pinned them in place.
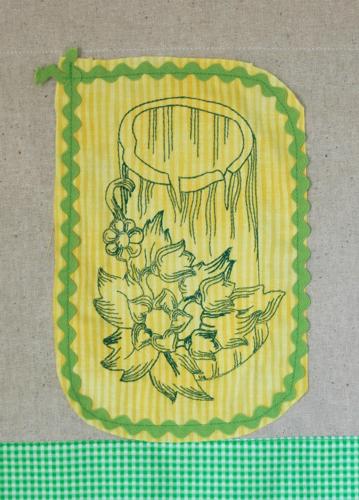
Then we positioned rick-rack arond the embroidery, pinned and topstitched in place.