These are instructions on how to embroider the Advent Calendar Pouches.
You will need fabric, light-weight tear-away or cut-away stabilizer and embroidery threads.

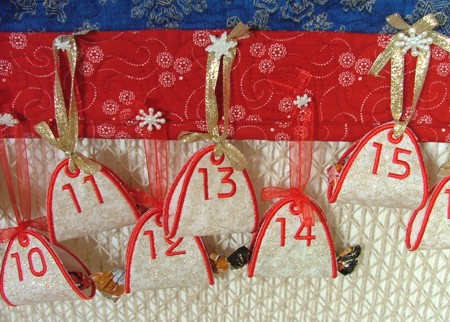
On the above photo is the Advent Calendar with the pouches.
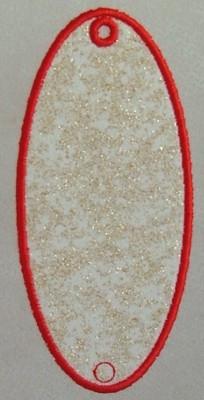
Step One: Hoop light-weight cut-away stabilizer. Start the machine. It will embroider the outline of the pouch and stop.
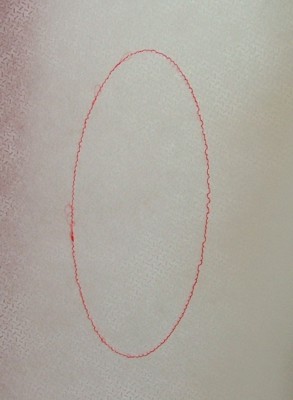
Step Two: Place a piece of fabric over the stabilizer to cover the outline. Start the machine. It will embroider the same outline over the fabric and stop.

Step Three: Take the hoop out of the machine. With a pair of sharp scissors cut away the fabric around the oval. Take care not to cut through the stabilizer and stitches.
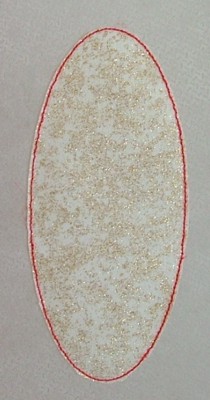
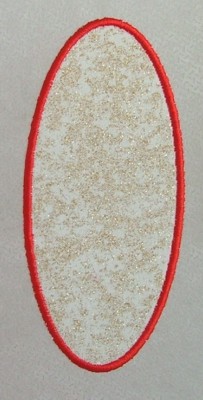
Step Four: Return the hoop to the machine and start it. It will finish the raw edges.
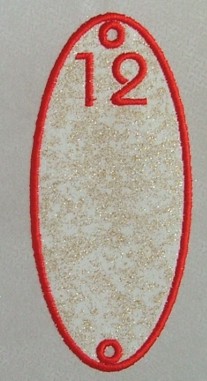
Step Five: Then the machine will embroider a circle in the upper part of the oval. After this you need to cut away the fabric inside this circle.

Step Six: Then the machine will finish the raw edge of the upper hole and make the outline of the lower hole. Cut away the fabric inside the lower circle.
Step Seven: The machine will finish the raw edges of the lower hole and embroider the number.
Step Eight: Neatly cut away the stabilizer around the oval.
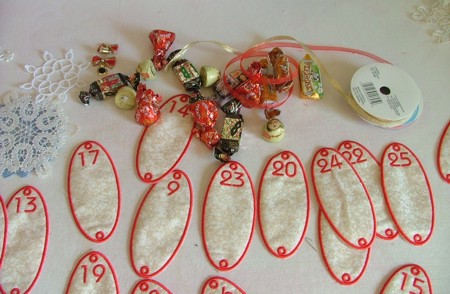
Step Nine: Fold the pouches in half. Insert ribbons into the holes. Tie the ends. Place sweets, chocolates, and small toys in the pouches.
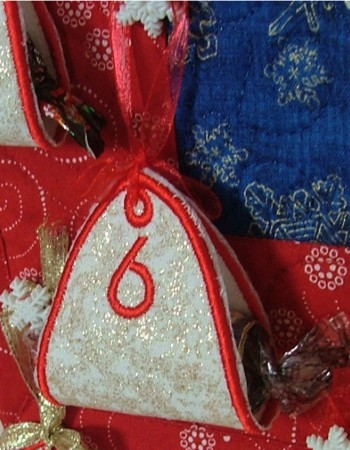
Hang the pouches with gifts on a calendar panel or X-mas tree.