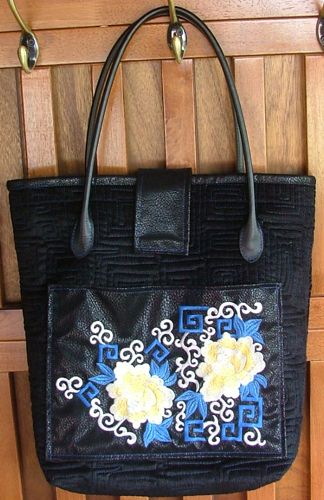
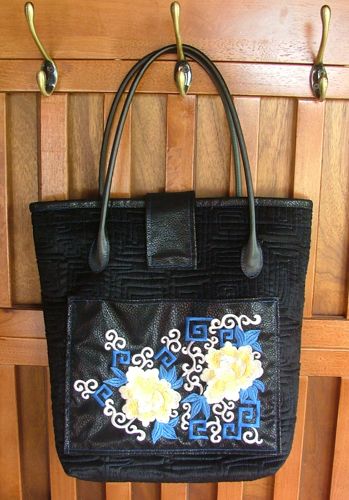
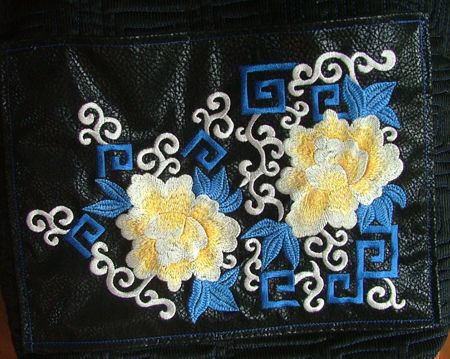
This quilted handbag is very stylish. You can carry it around casually, but it fits in easily when you dress up, too. The designs used on the front pocket are from the Peony Decorative Set.
The finished size of the bag is about 15" high x 14" wide x 5" deep.
For the outer bag we used 1/2 yard of black polyester corduroy and about 1/4 yard of black polyester fabric with a leatherlike surface.
For the lining, we used 1/2 yard of patterned blue-and-yellow cotton fabric.
You will also need:
For embroidery, we used embroidery polyester threads, and medium-weight cut-away stabilizer.
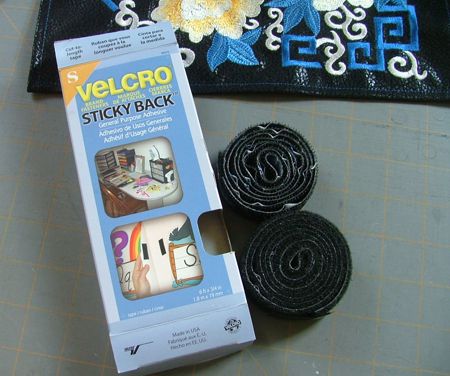
We used the heavy duty Velcro tape with a sticky back.
Cut the corduroy fabric into 2 squares 19" x 19" each.
Cut the backing into 2 squares 20" x 20 each.
Cut the fabric for the lining into 2 squares 20" x 20" each, and one rectangle measuring
8 1/2" x 16 1/2" for the inner pocket.
Cut the polyester leatherlike fabric into 13" x 13" square, a square measuring 6" x 6", and a strip measuring 3" x 34".
Make 2 sandwiches - place the backing/lining on a flat surface (table) face down. Cover with batting. Spread the corduroy piece over it.
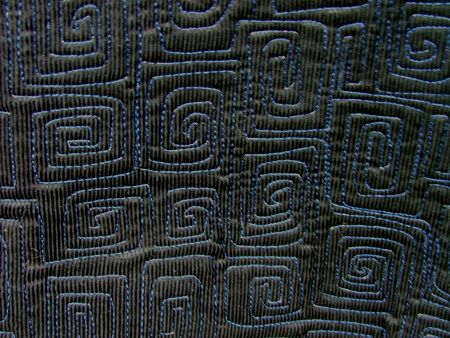
Pin all three layers together with 1" pins and start quilting. We quilted in squared swirls with blue thread to match the squared swirls of the embroidery design.
After the quilting is finished, press the work with heavy steam and trim the work to the pieces of 17" x 18" each.
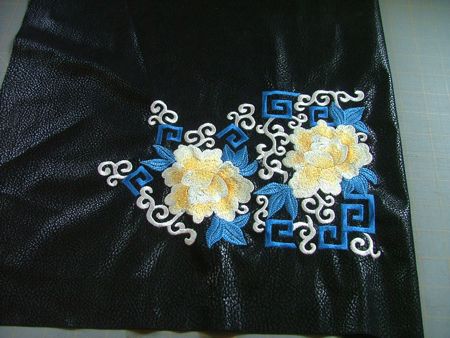
Stabilize the black leatherlike 13" x 13" square with medium-weight cut-away stabilizer and make the embroidery of the peony designs from the Peony Decorative Set.
You can position the designs as you like.
Instead of pink in the original design, we used light peach colors, and instead of green, we used sky blue. We thought that this would look better with the current project.
To make the inner pocket, fold the 8 1/2" x 16 1/2" fabric strip widthwise, face inwards. Align all edges. Stitch the sides together. Turn the pocket right side out through the lower opening. Press.
Tuck in the raw edge of the open side and top-stitch it close. Press.
To make the outer pocket, take the embroidered piece and trim it to about 12" x 12" square leaving about 1" margins around the sides and bottom of the embroidery and 2 1/2" margins on the top edge of the embroidery.
Fold all edges, except the upper one, 1/2" back, press and topstitch 1/4" from the edge.
Cut a piece of Velcro tape about 1" long. Separate the parts. Remove the paper from the back of one part and stick it in the center of the upper edge of the pocket, 1/2" from the edge. Then topstitch the tape along the edges.
Set aside the second part of the tape for now.
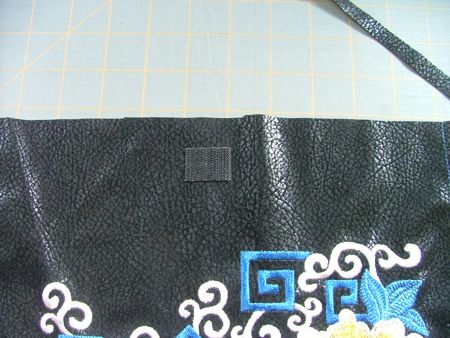
Fold the upper edge 2" back. Topstitch 1/4" from the edge.
Take the 6" x 6" square.
Cut a piece of Velcro tape about 1" long. Remove the paper from the back of one part and stick it to the square 1" from the upper and 1" from the left edges. Then topstitch the tape along the edges.
Set aside the second half of the tape for now.

Fold the square in half, so that the velcro remains on top of one of the halves.
Tuck in the raw edges about 1/2" inside. Topstitch along the edges 1/4" from the edge.
Cut away 2 1/2" x 2 1/2" squares in the lower corners of each panel. Finish the side and bottom raw edges with zig-zag stitch.
Place the panels face to face. Align all edges. Stitch along the bottom line 1/2" from the edge.
Press the seam open and topstitch 1/4" on each side of the seam.
Position the outer pocket with embroidery on the face of the front panel, approximately 5" from the top line, 3" from each side lines and 4" from the bottom. Pin in place.
Take the second half of the Velcro tape and stick it to the first half. Then remove the paper and adhere the second part of the Velcro to the bag.
Take off the pocket. Topstitch the Velcro piece in place along its edges.
Stick the pocket back and topstitch it along the side and bottom edges 1/4" from the edge.
Place the inner pocket on the wrong side of the back panel, approximately 5" from the top and 3" from each side. Pin. Topstitch in place. Watch that your bobbin thread matches the color of the outer bag.
Position the flap closure on the upper edge of the back panel about 7" from each side, velcro face up. Pin in place. Topstitch 1/4" from the edge.
Fold the panels, right sides out, align the edges. Fold the flap onto the front panel. Adhere the second part of the Velcro tape in place, on the front panel. Then topstitch the tape along the edges.
Place the panels face to face again and stitch them together along the two side edges, leaving 1/4" seam allowance. Stitch again 1/8" from the edges.

Now pinch each corner so that the end of the side seam matches the end of the bottom seam (see the diagram below; the ends of the side seams and the ends of the bottom seams are marked in red). Pin. Stitch through all the layers across the bottoms of the corners (see the last picture in the diagram below). This will square the bottom of the bag.
Position the polyester strip along the upper edge of the bag, face to face. Pin in place. Topstitch 1/4" from the edge.
Turn the bag right side out. Fold the polyester binding back. Topstitch it from the inside 1/4" from the bag's edge, then 1/4" from the strip edge.
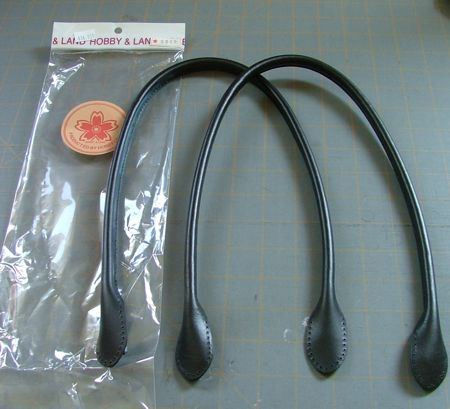
Now sew the handles in place. We used ready-made handles from The Hobby and Land company.
We sewed them in place by hand.
The bag is ready. Enjoy!