These are instructions on how to embroider the Primrose Cutwork Lace Border design. The design is available in 2 sizes for the large (5" x 7") and mega (6" x 10") hoops.
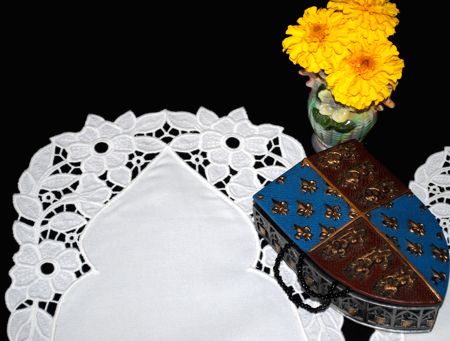
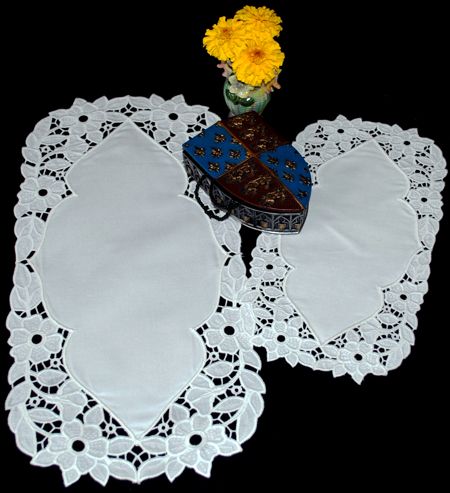
We also show how to make doilies using the motif. On the photo you can see the doilies with the motifs for the large and mega hoops.
One of the advantages of the design is that you embroider each pattern separately and then incorporate them into a larger project - this eliminates the possibility of ruining your project if something goes wrong during embroidery.
You will need fabric for the applique, water soluble mesh and embroidery threads.
Step One: To embroider this design, hoop a layer of water soluble mesh. Start embroidering. The machine will embroider the outline of the design and stop.
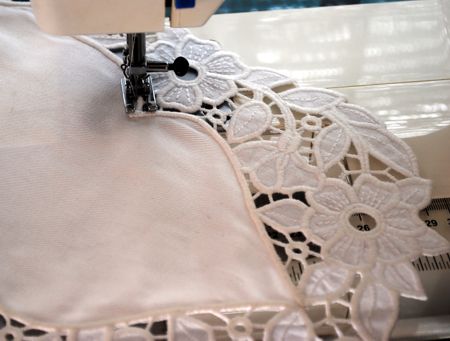
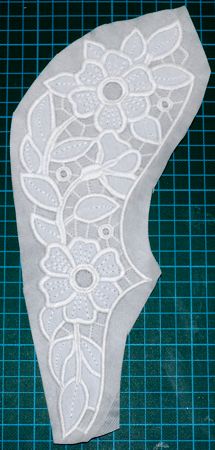
Step Two: Cover the outline with fabric and start the machine. The machine will embroider the outline of the lace and stop.
Step Three: Take the hoop from the machine. With a pair of sharp scissors cut away the fabric in the areas shown on the picture.

Step Four: Return the hoop to the machine and finish embroidering.
Step Five: Wash away the stabilizer and neatly spread on flat surface and leave to air dry. Press if needed.
To make the doily, embroider the file "PrimroseBorder" twice and its mirror image twice. The finished size of the doily with mega hoop motifs is about 12" x 20", and about 10" x 14" for the large hoop.
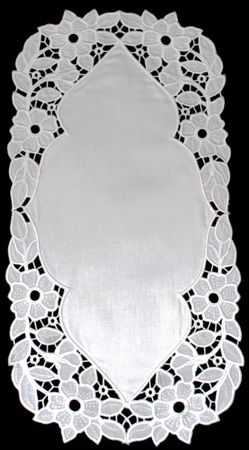
Embroider 4 motifs following Steps One through Five. Lay them out in a closed shape as shown. You'll get a lace frame. Place the frame over a piece of fabric and pin in place.
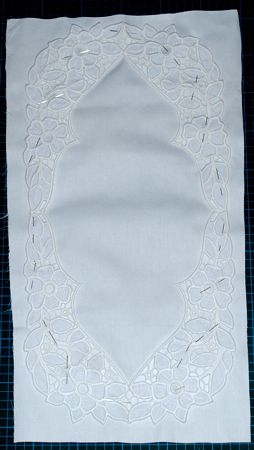
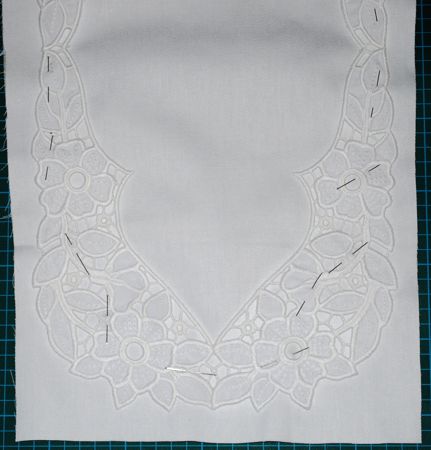
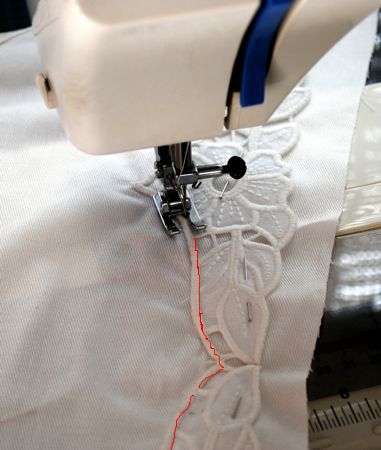
Straight stitch (the length of the stitch should be 1mm) the inner outline of the lace frame to the fabric as shown in red. Both in the needle and in the bobbin, use thread of the same color as the embroidery.
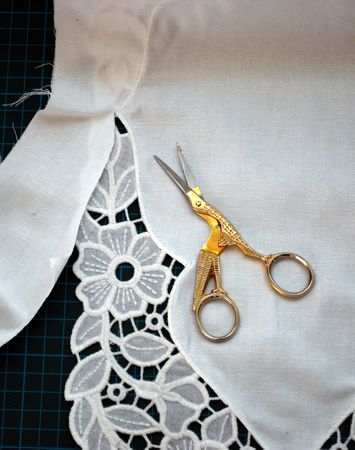
With a pair of sharp scissors, cut away the excess fabric close to the straight stitch you just made.
Return to your machine and using dense zig zag, stitch over the raw edge of the fabric. Both in the needle and in the bobbin, use thread of the same color as the embroidery.