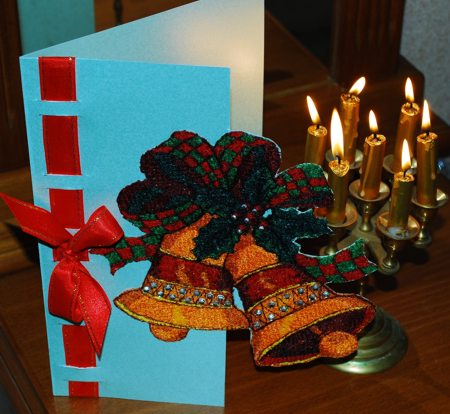
With only a week left until Christmas there's not enough time to start on a big project. These greeting cards, however, are the perfect thing. They're quick to put together and are much more personal and attractive than ready-made cards.
For the project we used the Jingle Bells photostitch designm but pretty much any design in our store can be used.
You will need a piece of organza fabric, watersoluble mesh, card stock, 1/2"-wide ribbon or trim, hot-fix crystals (optional), white craft glue, pencil, ruler, scissors, craft knife and craft soldering iron.
Step One: Embroider the design on a layer of organza stabilized with 2 layers of wate-soluble mesh.
Cut out the design.
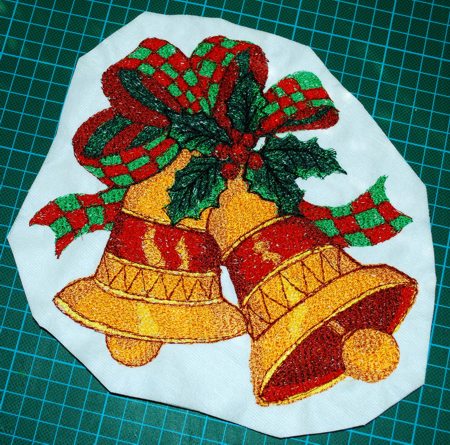
Step Two: Wash away the stabilizer.
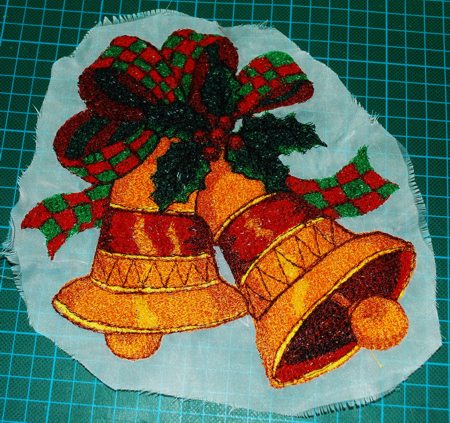
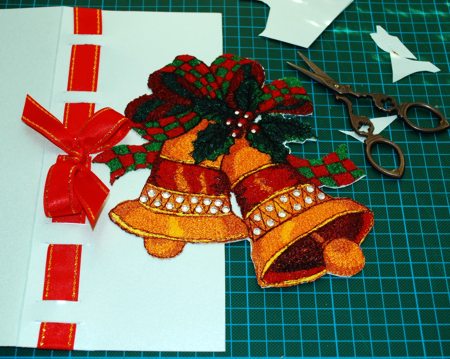
Step Three: Cut away the excess fabric.
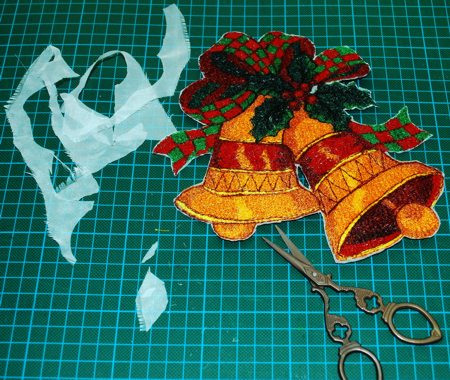
Step Four: With a soldering iron melt the remaining threads of organza around the edges.
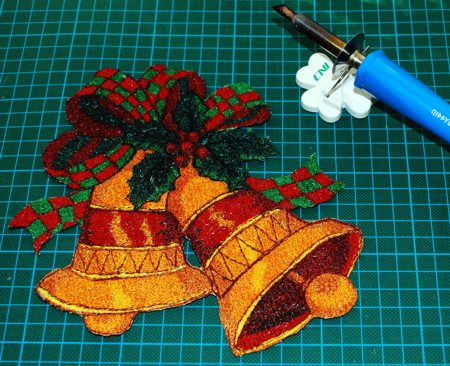
Step Five: Decorate the stitch-out with hot-fix crystals.

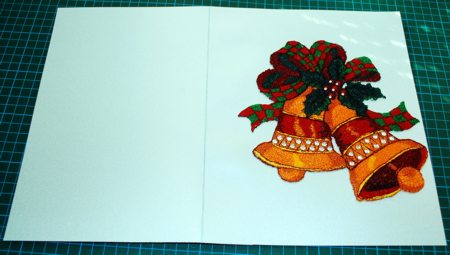
Step Six: Fold a sheet of cardstock in half and press the folded line. Unfold the sheet. Place on the table right side up.
Apply a liberal amount of glue to the back of the stitch-out. Place it on the right half of the card. Press. Leave to dry.
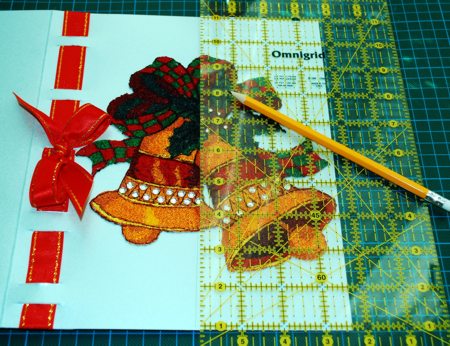
Step Seven: When the glue is dry, with the help of pencil and ruler mark the position of slits for the ribbon: we placed them 1/4" from the fold, each slit is 1/4" wide and there are 1 1/2" between the pairs. Each slit is about 1" long. Please note that you want your marks to be as slight as possible - we made them a little more obvious for the sake of the photo.
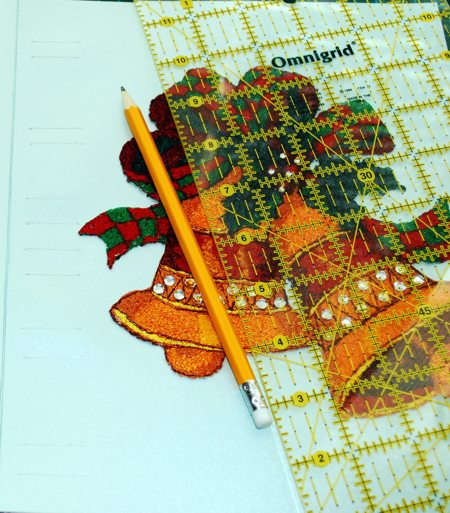
Step Eight: With the help of the ruler and craft knife cut through the marks to make slits.

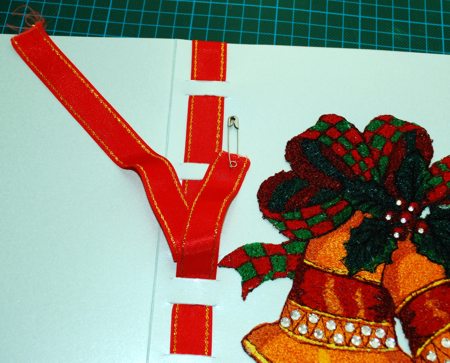
Step Nine: Insert a ribbon through the slits. Tie the ends of the ribbon into a bow.
Step Ten: With the pencil and ruler, draw a straight line 3 1/2" from the right edge.
Step Eleven: Cut away the cardstock along the marked straight line and around the embroidery.
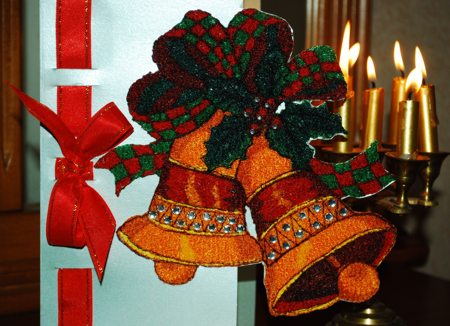
Fold the card back. The card is ready. Enjoy!
We have more cards on the website that were made in the same way. Pretty much any design can be used:
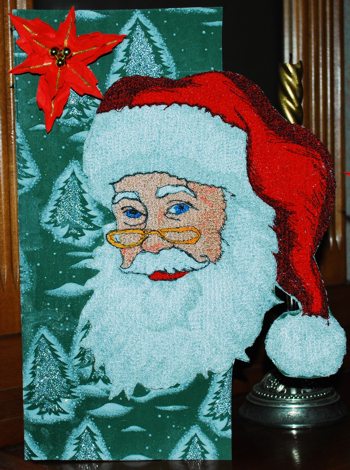 |
Mr. Santa |
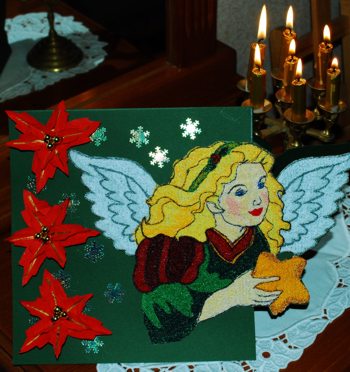 |
Christmas Angel |
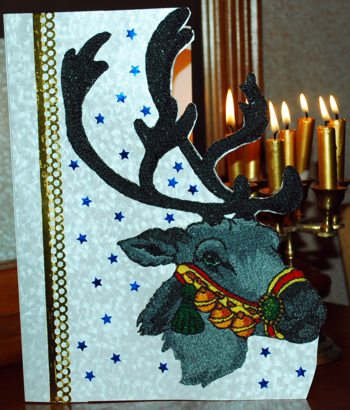 |
Santa's Reindeer |
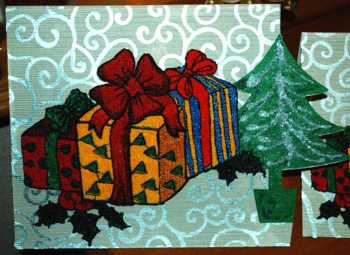 |
Christmas Gifts |


