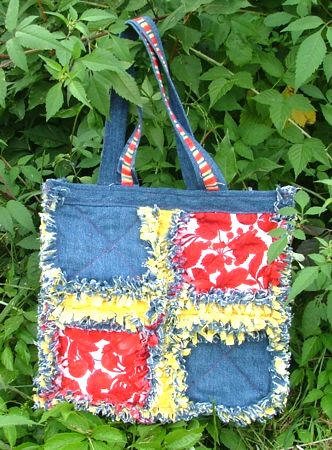
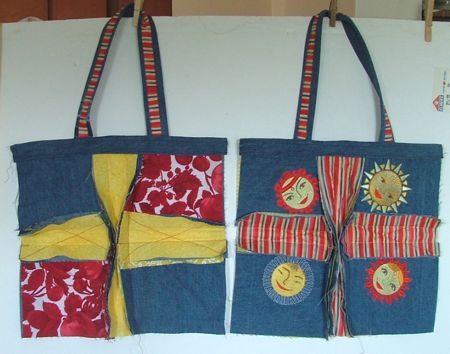
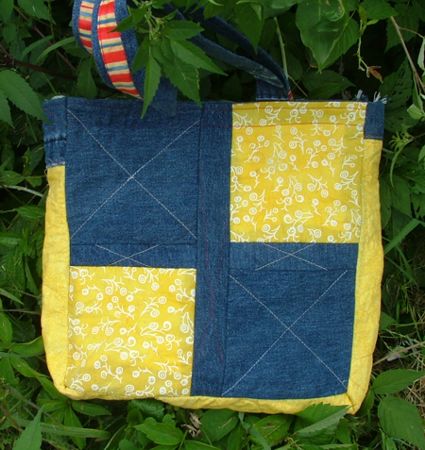
Fray-edged quilts are fun to make. Before you jump in, you can try your hands on a smaller project - like the tote we describe below. It features the Sun embroidery and makes a beautiful casual bag. If you're thinking about "Back-to-School" gifts, this is an excellent idea.
The embroidery designs used are from the Sun Set.

We used a pair of old jeans, scraps of yellow and red cotton fabrics and very thin polyester batting.
For embroidery, we used embroidery polyester threads, and medium-weight cut-away stabilizer.
Cut the jeans by seams. Press. Out of jeans, cut
Out of thin polyester batting, cut the following parts:
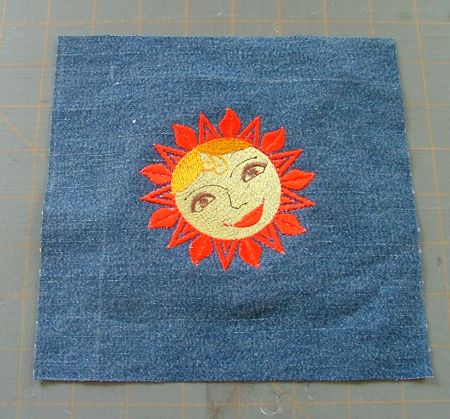
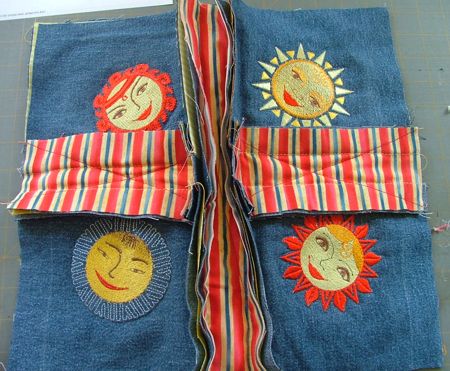
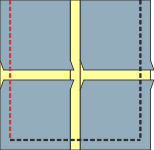
Stabilize four jeans squares with medium-weight cut-away stabilizer and make the embroidery in the center of each square. We embroidered the Suns, each tilted slightly.
When the embroidery is finished, cut away the excess stabilizer. Press.
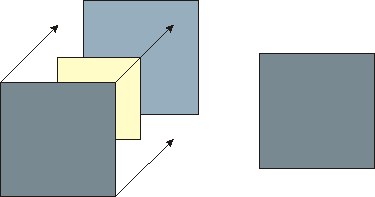
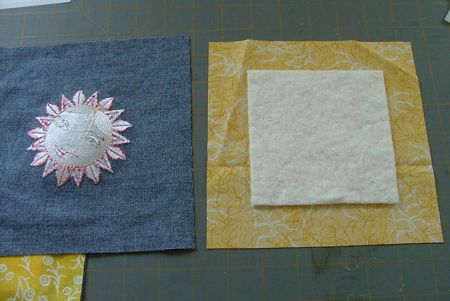
Now make the following "sandwiches" out of the corresponding parts:
8 square sandwiches: place the cotton 7" x 7" squares on a flat surface (table) face down. Cover with 4 1/2 x 4 1/2" batting squares. Cover with this with 7" x 7" jean squares, face up. Align the centers of all squares. Align the edges of the first and the third squares.
Now quilt the sandwiches around the embroidery.
Using the same method as above, make and quilt 4 strip sandwiches using the 3" x 7" cotton fabric, 3" x 7" jean strips and 1" x 5" batting.
Then, make and quilt 2 strip sandwiches using the 3" x 13" cotton fabric and 3" x 13" jean strips and 1" x 11" batting.
We quilted these with straight criss-cross lines.
After the quilting is finished, press the parts.
Take the 2 jean strips measuring 2" x 20" and 2 cotton fabric strips measuring 1 1/2" x 20".
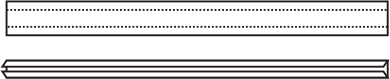
Fold the long sides of the jeans strips so that they meet in the center and press. The wrong side of the fabric should face inwards.
Fold the long sides of the cotton fabric strips so that they meet in the center and press. The wrong side of the fabric should face inwards.
Place the jeans strips with the raw edges facing up. Cover them with the cotton fabric strips. The fabric strips are slightly narrower than the jeans strips. Align them so that the jeans borders on each side of the fabric are of the same width. Pin. Topstitch both edges of the fabric strip to the jeans strip.
The handles are ready and should look something like this:
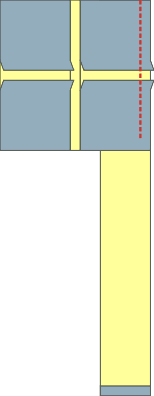
Place a square sandwich and a 3" x 7" strip sandwich back to back. Align one long side. Topstitch along the long side 1" from the edge.
Unfold the piece.
Align the other side of the strip with the long edge of a second square and topstitch 1" from the edge.
Repeat with all squares and strips. You'll get 4 long parts.

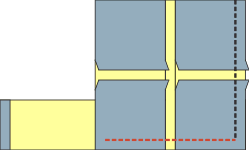
Take the 3" x 13" sandwiches and topstitch the parts to them 1" from the edges. You have 2 panels - the front (with embroidery) and the back (without).
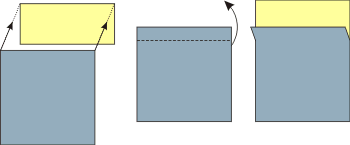
Place the panels on the table face down. Pin the handles to the upper edges, 3" from the left and right sides. The end of the handles should protrude about 1/2".
Cover the upper edge with the 2" x 13" jeans strips, face down. Pin in place. Topstitch 1/4" form the edge. Press.

Fold the strip and the handle up. Press the seam. Topstitch 1/4" from the edge.
Tuck the raw edge of the strip in about 1/2" and press. Top-stitch in place.
Now you have 2 panels with handles. Carefully measure the length of the sides and the bottom. Each of them should be 13" long, and about 39" total. If yours are a different length, you will need to adjust the length of the strip for the sides and bottom accordingly.
Take the jeans strip measuring 5" x 42". Fold the short edges 1/2" to the wrong side and press. Fold another 1" and press.
Place the strip on the table, face down. Position the batting strip measuring 3" x 39 1/2" so that there are 1" borders on each long side. Tuck the short edges under the folded edges of the jean strip.
Cover with the cotton fabric strip measuring 5" x 39 1/2", face up. Tuck its short edges under the folded edges of the jean strip.
Topstitch the folded edges 1/4" from the upper edge and 1/8" from the lower edge.
This strip sandwich should be of the same length as the length of the sides and bottom of each of the tote panels.
Quilt the strip. We quilted it with a curve in a free-motion style.
Take the front panel and strip. Position them back to back. Align the right edges. Topstitch 1" from the edge. Stop, leaving 1" unstitched before the bottom edge.
Turn the work. Align the strip with the bottom of the panel. Topstitch 1" from the the edge. Stop leaving 1" unstitched before the left edge.
Turn the work. Align the strip with the left edge of the panel. Topstitch 1" from the the edge.
Attach the back panel to the strip in the same way. Your bag is almost ready. At this point, it should look pretty messy:

The inside of the bag is very neat:
Now comes the fun part. Take a pair of scissors and clip the 1" seam allowance on each seam of the tote every 1/4" -1/2", to make a fringe. Make sure you DO NOT cut through the seam.

To make the fringe curly and fluffy put the tote through your washing machine and dryer. Expect a lot of lint! However the results are worth while!