Decoupage is a very popular hobby. The basic idea is to decorate an object by gluing paper cut-outs, beads, strings and other objects to the surface. Photo stitch embroidery patterns work very well for this!
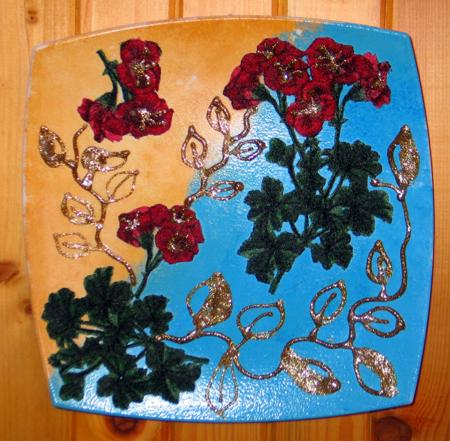
As an example, we made the decorative plate you can see below.
For the project we used the design Pelargonium, however, you can use any floral photo-stitch designs from our large collection.
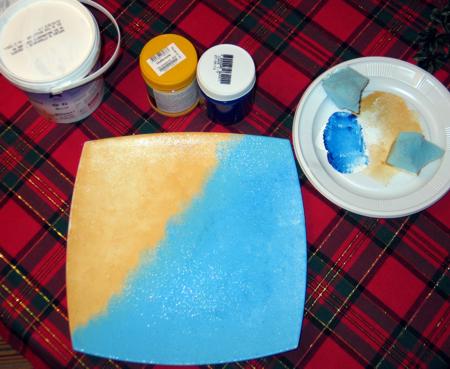
You will need: a white plastic plate, acrylic paints, decoupage coating, univesal spray adhesive, gauze pads and brushes.
For embroidery, we used embroidery polyester threads, watersoluble mesh stabilizer and polyester organza fabric.
Paint the surface of the plate with acrylic paints. We used gauze pads to apply thin coats of paint. Leave the plate to air dry. Meanwhile, prepare the embroidery.
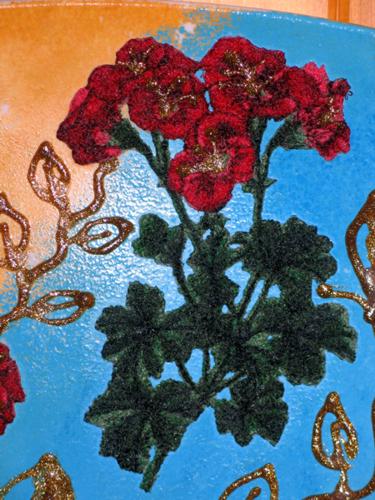
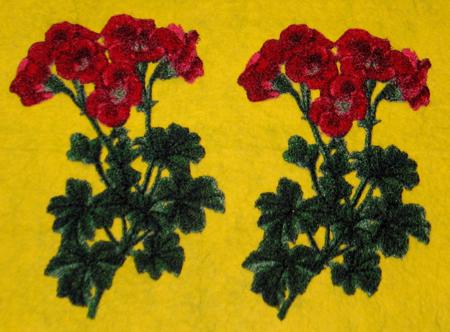
Embroider the design on a layer of water-soluble mesh and organza, twice.
Wash away the stabilizer, cut away the organza. Press the embroidery flat.
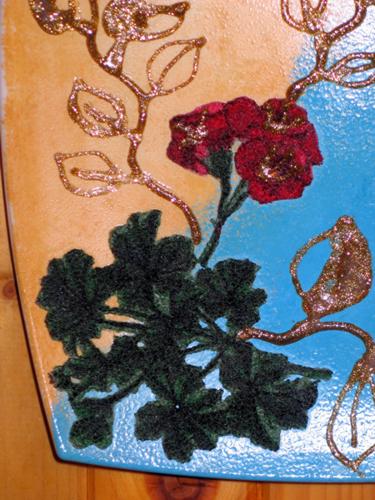
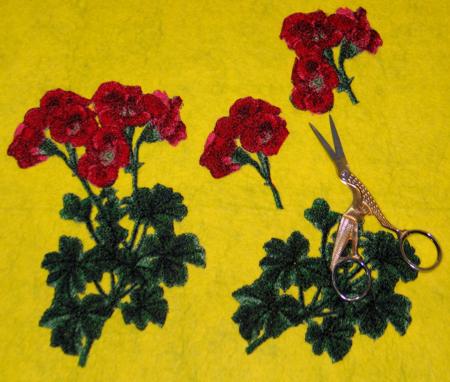
We used one stitch-out as it is, and cut the second stitch-out into three parts.
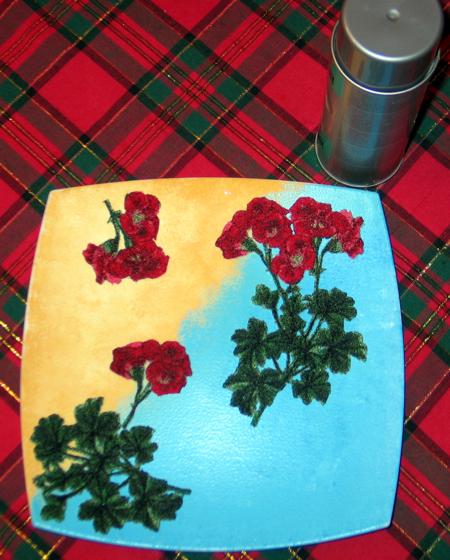
Position the stitch-outs on the plate. When you like your arrangement, spray the backof the stitch-outs with universal adhesive and press onto the plate. Let the adhesive dry.
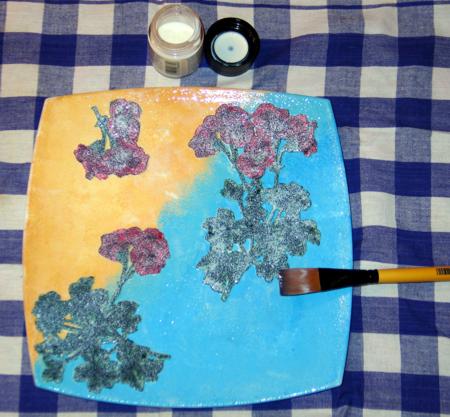
With the help of a flat brush place a thin layer of decoupage coating over the plate and embroidery. Leave to air dry. Re-coat if needed. Let dry.
The plate is ready!
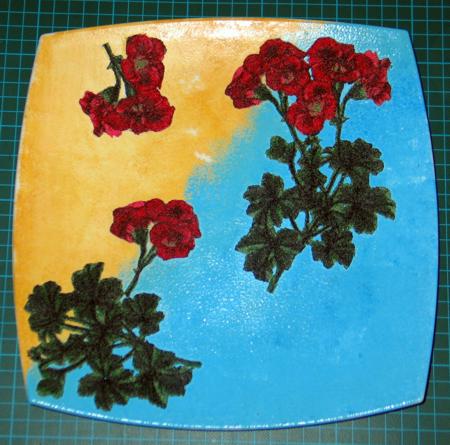
As a finishing decorative touch we added some twigs with gilded paint.