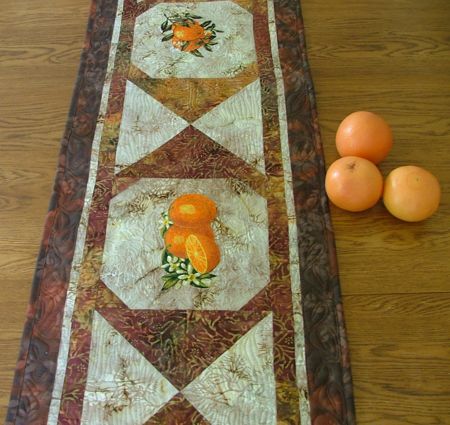
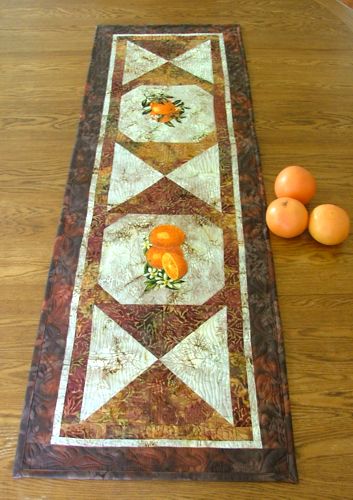
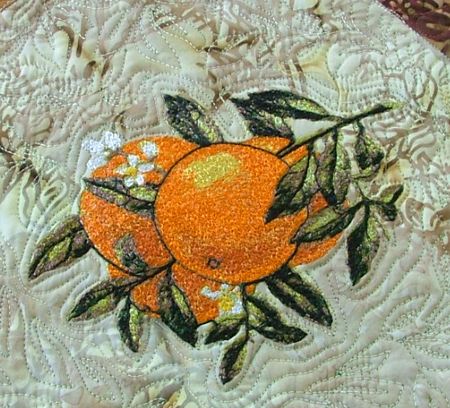
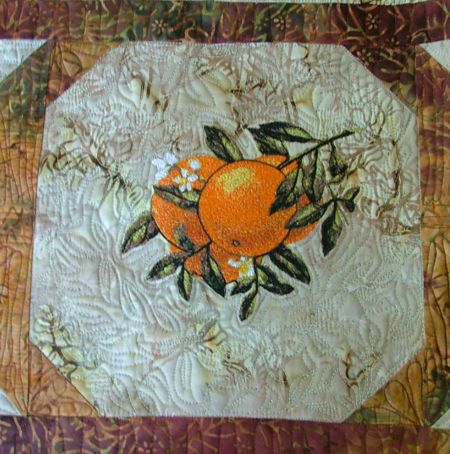
For this handsome tablerunner, we used the embroidery designs of Oranges and Oranges, both in the photo-stitch technique. The brown colors of the tablerunner make a great contrast with the bright orange of the embroidery.
The finished size is about 18" x 58".
You can purchase this table runner from our Etsy store!
You will need 3 different batiks:
For embroidery, we used embroidery polyester threads, and polyester craft felt as a stabilizer.
Out of the pale-colored batik, cut
Out of the light-brown batik, cut
Out of darker-brown batik, cut
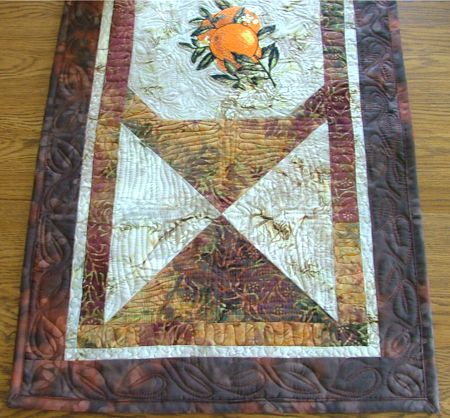
Block A: for this block take a light-colored square measuring 10 1/2" x 10 1/2" and 4 brown squares measuring 2 1/2" x 2 1/2".
Position the brown square in the corner of the light-colored square. Align the edges. With a pencil, draw a diagonal, as shown on the diagram below. Sew along the diagonal. Cut, leaving 1/4" seam allowance. Unfold the corner and press.
Repeat with all the corners. Make one corner at a time.

Make 2 such blocks.
Block B: for this block take 2 light-colored and 2 light-brown triangles.
Position them as shown, to make a square.
Now take the first pair of light and dark triangle and sew them together. Press the seam towards dark triangle.
Sew the second pair in the same way.
Align both pairs from the central seams. Sew them together. Unfold and press.
Make 3 such blocks.
Alternating the blocks, sew them into one long row.
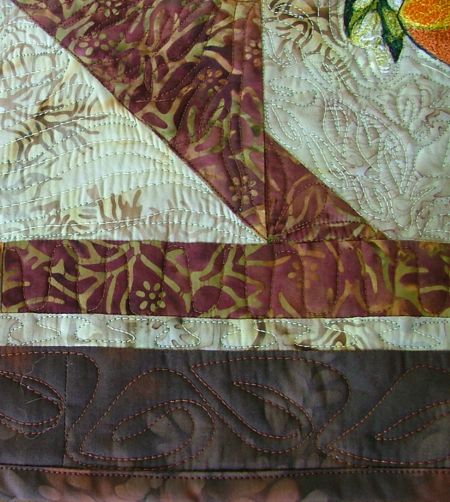
Sew the 1 1/2" x 50 1/2" light-brown strips to the long sides of the top.
Sew the 1 1/2" x 12 1/2" light-brown strips to the short sides of the top.
Sew the 1" x 52 1/2" light-colored strips to the long sides of the top.
Sew the 1" x 13 1/2" light-colored strips to the short sides of the top.
Sew the 2 1/2" x 58" dark-brown strips to the long sides of the top.

Sew the 2 1/2" x 18" dark-brown strips to the short sides of the top.
Stabilize the A Blocks with polyester craft felt (you can also use your favorite cut-away stabilizer) and make the embroidery of the Oranges and Oranges
Cut away the excess felt or stabilizer.
Now place the backing/lining on a flat surface (table) face down. Cover with batting. Spread your working piece over it.
Pin all three layers together with 1" pins and start quilting. We quilted around the embroidery and made foliage pattern in a free-motion style all over the piece.
After the quilting is finished, press the work with heavy steam and trim the work - the opposite sides should be straight and of the same length.
Finish the raw edges with binding.