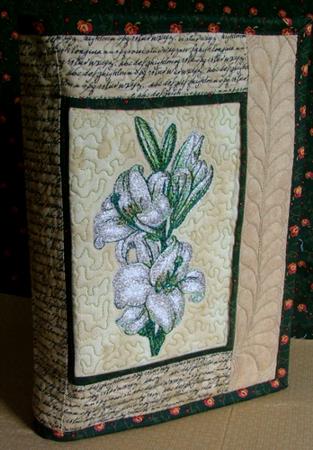
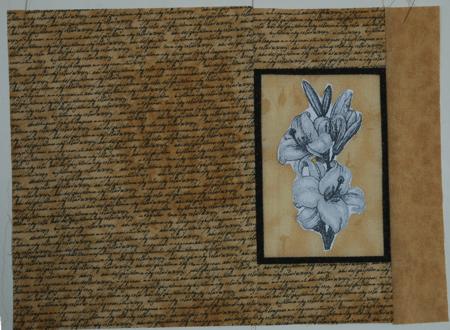
We made this quilted Bible cover as a result of a request from one of our customers. The basic idea was to create an attractive case that could be used to protect and carry a bible. We added 2 pockets for pens and paper, and made the cover roomy enough to also hold a notebook. It's perfect for a Bible study class.
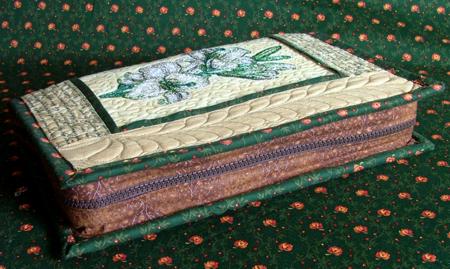
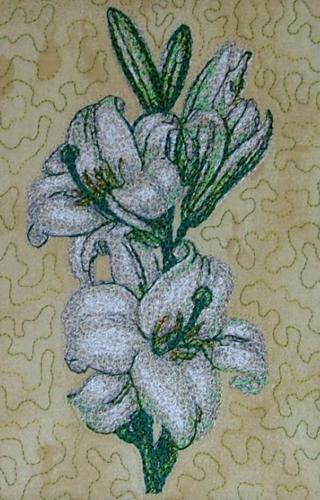
The finished size of the cover, when open, is 11" x 17". Closed, it is about 11" x 7 1/2" x 2". The embroidery design used is White Lily.
We used:
You will also need a piece of low-loft polyester batting or polyester craft felt, a 30" long zipper and thick interfacing like Pellon Peltex-70/71, Stitch N Shape (by Floriani), or any similar interfacing.
Out of light beige fabric, cut
Out of fabric with lettering, cut
Out of green fabric, cut
Out of brown fabric, cut
Out of thick interfacing cut
Fold the green 1" wide strips in half lengthwise, face outwards, and press.
Place the folded 8" long strips along the long sides of the rectangle for embroidery. Align the edges. Pin. Topstitch 1/8" from the edge.
Now place the folded 6" long strips along the short sides of the same rectangle.Align the edges. Pin. Topstitch 1/8" from the edge.
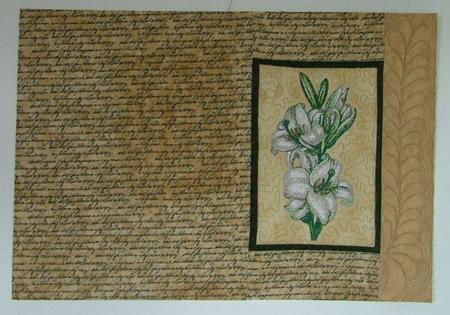
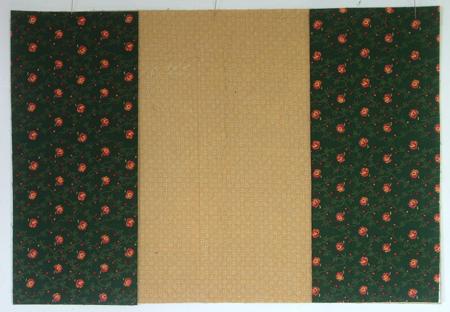
Sew the 3" x 6" strips with lettering to the upper and lower edges of the rectangle. Seam allowance is 1/4". The green strips that you attached previously should create a piping effect.
Sew the 13" x 11" rectangle with lettering to the left edge of the rectangle.
Sew the strip measuring 3" x 13" to the right edge of the working piece.

Place the working piece on low loft polyseter batting or polyester craft felt. Baste the quilt top to the felt in the ditch along the colored borders.
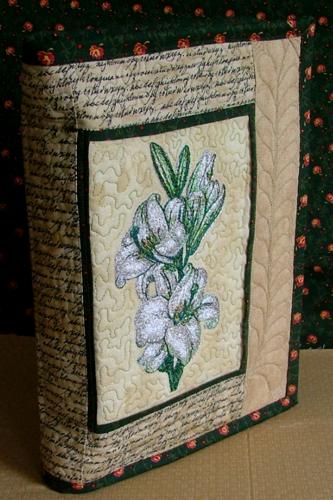
Make the embroidery of the White Lily in the center of the beige rectangle.
After the embroidery is finished, rip the baste.
Now place the backing on a flat surface (table) face down. Spread your working piece over it.
Pin all three layers together with 1" pins and start quilting. We quilted around the embroidery and all over the work in a free motion style. The quilting should be dense. This will make the folder studier.
After the quilting is finished, press the work with heavy steam trim and square the work -- all corners should be 90 degrees and opposite sides should be of the same length - 11" x 17".
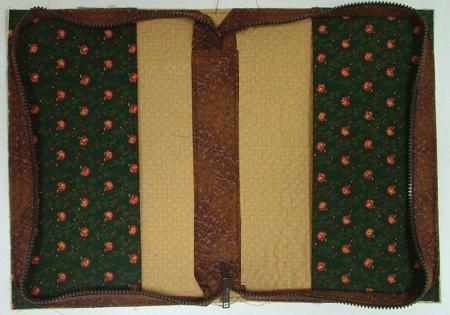
Take the 2 interfacing rectangles measuring 5" x 11". Cover them with 2 green rectangles measuring 7" x 11". Align the edges. Fold the protruding 2" of the fabric to the back of the interfacing and press.
To secure the fabric, topstich along all edges 1/8" from the edge. Also topstitch on the back of the piece, 1/4" from the edge of the fabric.
Place the pockets on the back of the cover. Pin. Align the edges and sew 1/8" from the edge.
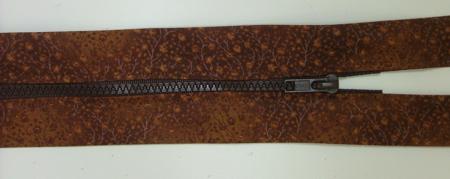
Take the 3" x 36" brown strips, fold them in half lengthwise, face outside. Press.
Fold the raw edges 1/4" inside and press.
Insert the zipper between the brown strips and topstitch. Leave about 3" of the brown strips on each side. Work one side of the zipper at a time.
Mark the central line of the back of the cover. Step 1/2" and pin one side of the brown strip with zipper to the edges, as shown. Topstitch 1/4" from the edge. Round the corners.
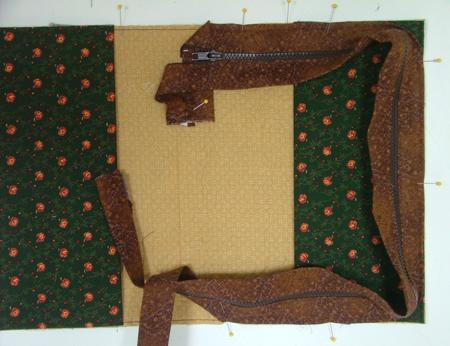
Open the zipper and pin the other half to the right side of the cover. Then topstitch 1/4" from the edge.
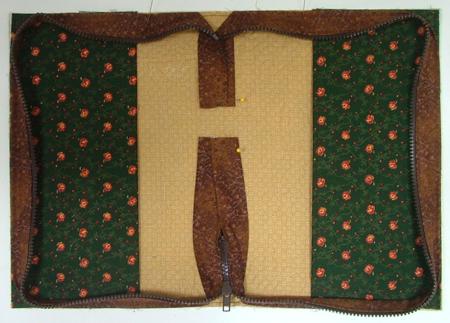
Take the interfacing strip measuring 1 1/2" x 7" and brown fabric strip measuring 2 1/2" x 8". Fold the fabric around the interfacing. Press. Topstitch along the edges 1/8" from the edge.
Please the strip over the ends of the zipper and topstitch in place.