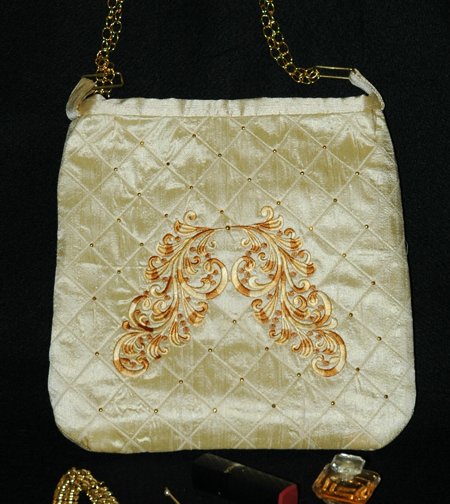
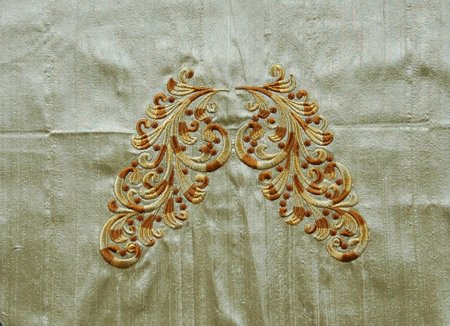
We have a lot of tote bag projects on our website. We thought it was about time for something a little more dressy. This project is for an elegant evening purse that you can wear out for the finest occasions. We used the design Vine Decorative Motif.
For fabric, you will need:
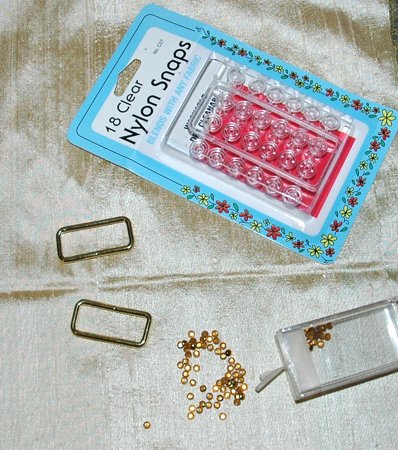
You will also need:
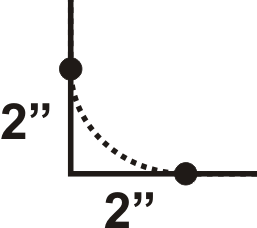
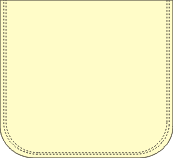
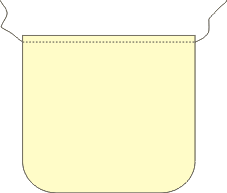
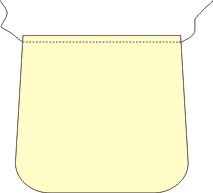
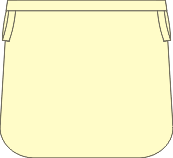
On a piece of paper draw a rectangle measuring 11 1/2" x 10 1/2".
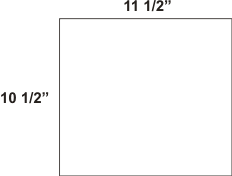
Measure 2" along each edge from each of the lower corners. Mark these points and connect them with a curved line, as shown in the diagram below.
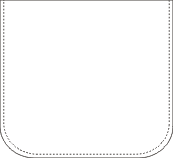
Cut out the template.

Place the template on top of the silk fat quarter and trace it in chalk. Do not cut it out yet, as you will be unable to hoop the smaller piece. Make sure to leave at least 4" of fabric on one side the template tracing, as you will be needing that material later.
Stabilize with light-weight cut-away stabilizer and embroider the Vine Decorative Motif. Re-hoop and embroider the mirror image of the design.
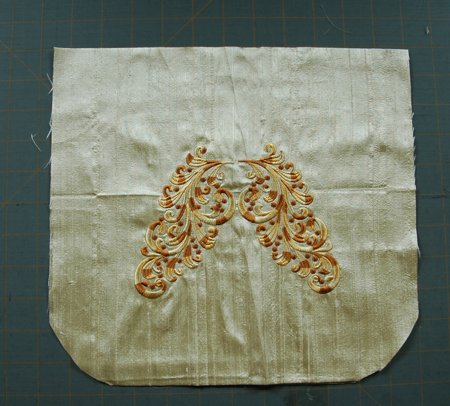
Fold the silk piece in half, so that the embroidery faces you. Now cut along the outline you traced earlier. Because the piece is folded, you will cut the front and back of the purse out simultaneously.

Out of the remaining silk fabric cut a strip 3" wide and 18" long and a strip 1" wide and 6" long.
Using the same template cut out the front and the back panels of the lining.
Out of the same fabric for the lining cut out 2 rectangles measuring 4" x 5" for the pockets.
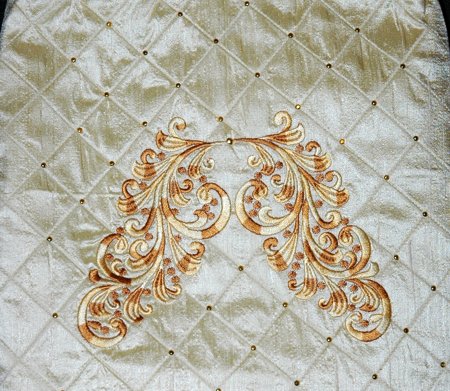
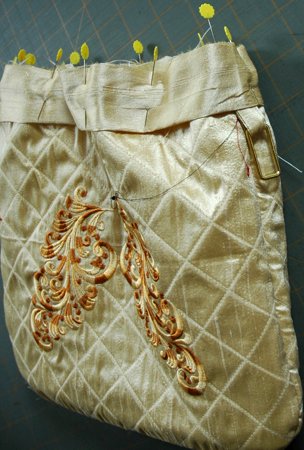
Place the silk panels on the craft felt. Press. Pin. Using a ruler and white chalk pen, graph the panels into a 1" lattice.
Quilt along the lines of lattice.
Note: we quilted 2 layers only! The lining remains unquilted.
When you're done quilting, cut away the excess felt.
If you want to decorate the purse with hot-fix crystals or rhinestones, do so now.
If you want to decorate the purse with beads, you can do that now or later, after you finish the purse.
Place the panels on top of each other, face inwards. Align all edges. Topstitch along the side and bottom edges 1/4" from the edge. Topstitch again, close to the first seam.
Turn the purse right side out.
Finish the raw edges of the 4" x 6" rectangles with zig-zag stitch. Fold the edges 1/4" back, press and straight-stitch them.

Place each of the pockets on the lining panels. Press.

Place the lining panels on each other, face inside. Align all edges. Straight-stitch 1/4" from the edges.
Insert the lining into the outer purse.
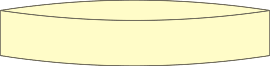
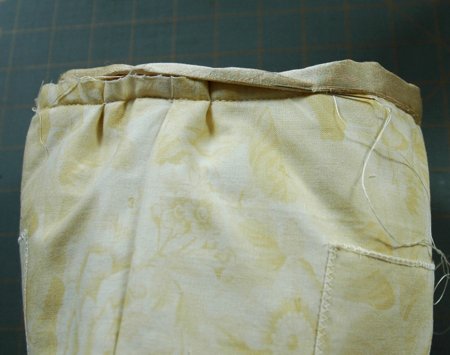
Take the 3" x 18" strip you cut out earlier. Stitch the short sides together with seam allowance 1/4". Unfold and press the seam.
Fold the ring in half and press. You'll get a ring 1 1/2" wide with one raw edge and one finished edge. This is the binding for finishing the top of the purse.
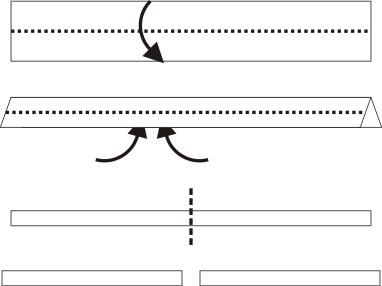
Take the 1" x 6" strip. Fold it lengthwise in half. Press.
Tuck the raw edges 1/4" inside. Press.
Topstitch the long edges of the strip.
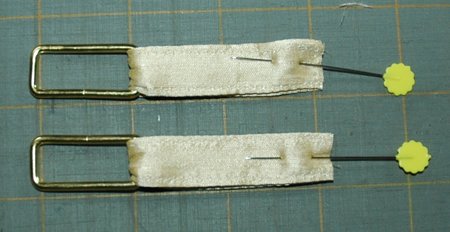
Cut in half to get 2 strips measuring 1/4" x 3". Fold in half and press. Pin the ends together.
These are loops for the rings.
Insert the loops into the rings, fold the loops in half, align and pin the ends.
Thread a needle with a thread and hand-baste the upper edge of the purse, make stitches through the top and the lining about 1/2" from the edge.
Pull the thread to make ruffles.
Place the binding ring over the purse edge, align the raw edge of the ring and the raw edge of the purse. Pin.
Note: at this stage you might need to adjust the baste thread to fit the binding ring.
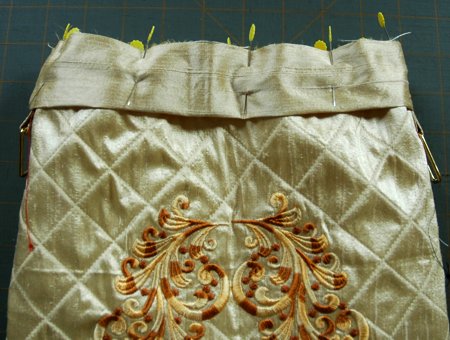
Tuck the loops with rings between the purse and the binding ring near the side seams of the purse.
Stitch to attach the binding and the loops from the side of the lining. Stitch 1/2" from the edge. Stitch again 1/4" from the edge.
Turn the purse outside in. Fold the binding back to cover the raw edges and slip-stitch in place.
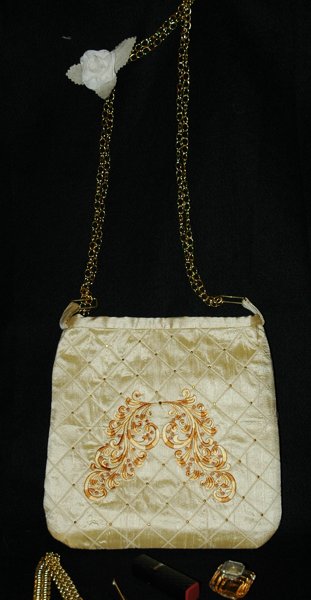
Turn right side out. Attach a chain to the rings.
Handstich a plastic snap to the binding from the inside of the purse to make a closure.