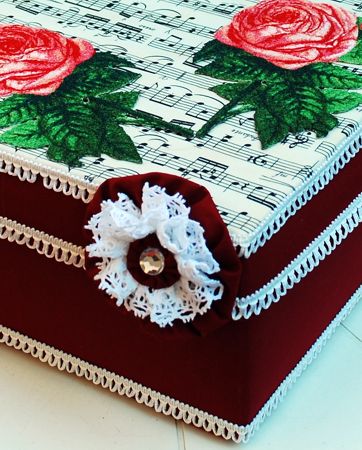
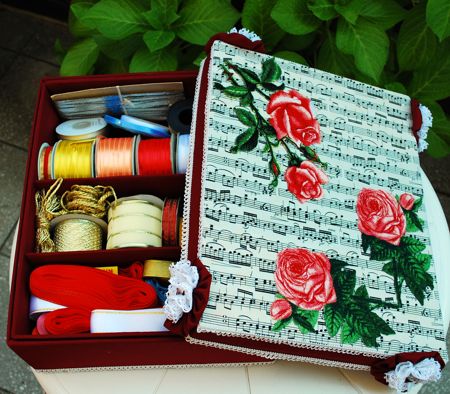
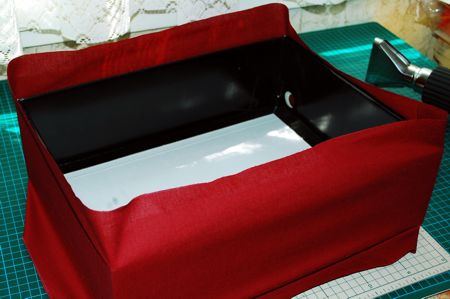
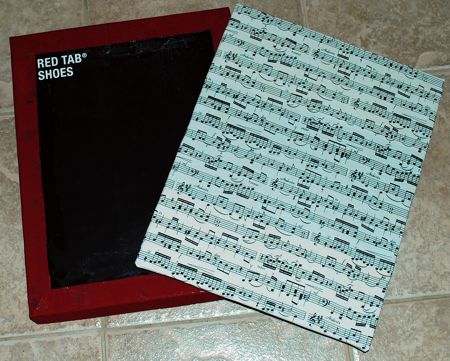
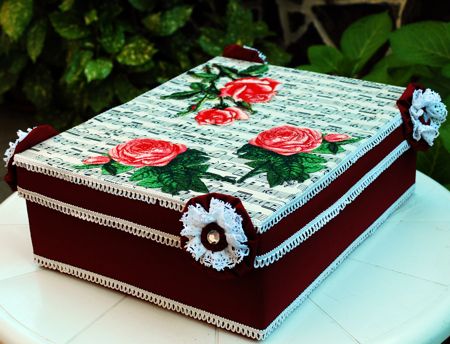
Using just a little bit of fabric and glue, you can turn a regular shoebox into the gorgeous organizer you can see in the picture below. The designs used on the cover are the Rothschild Rose and Imperial Tea Roses.
You will need:
Note: we give measurements based on the size of our box. Please measure your box and adjust correspondingly.
Out of cardboard cut,
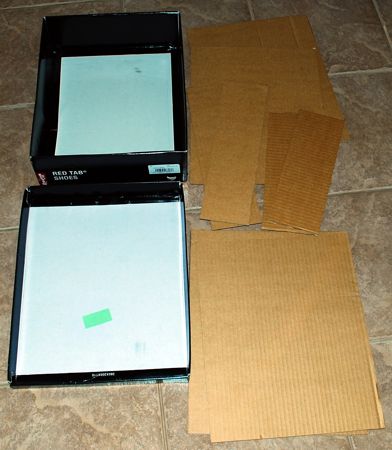
Measure the perimeter of the box (length all the way around the box) and the perimeter of the lid. It's 46" for our box and 47 1/2" for its lid.
Out of the solid color fabric cut,
1) 1 piece with the width measuring the height of the box plus 4" and with the length measuring the perimeter of the box plus 3"; for our box it's 8" x 49";
2) 1 piece with the width measuring the height of the lid plus 4" and with the length measuring the perimeter of the box plus 3"; for our box it's 5" x 49";
3) 2 pieces with the width measuring the height of the box plus 3" and with the length measuring the length of the short side of the box plus 3"; for our box it's 7" x 14";
4) 2 pieces with the width measuring the height of the box plus 3" and with length measuring the length of the long side of the box plus 3"; for our box it's 7" x 15";
5) 2 pieces with the width measuring the width of the box plus 3" and the length measuring the length of the box plus 3"; for our box it's 14" x 15";
6) 2 pieces with the width measuring the width of the lid plus 3" and the length measuring the length of the lid plus 3"; for our box it's 14 1/4" x 15 1/2";
7) 2 pieces with the width measuring 2 times the height of the box plus 2" and with the length measuring the length of the short side plus 3"; for our box it's 10" x 14";
Out of the patterned fabric cut a piece with the width measuring the width of the lid plus 3" and the length measuring the length of the lid plus 3"; for our box it's 14 1/4" x 15 1/2".
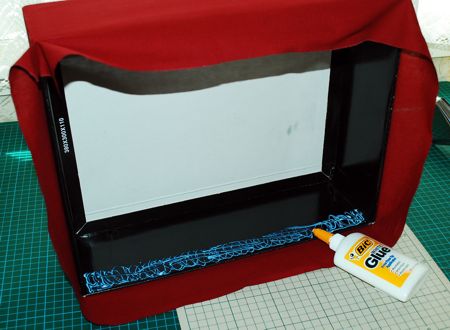
Take the box and the first piece of solid fabric. Place the box on one of its long sides.
Apply some glue to the surface of the short side 2" from the corner. Place the fabric over the glue to secure one edge.
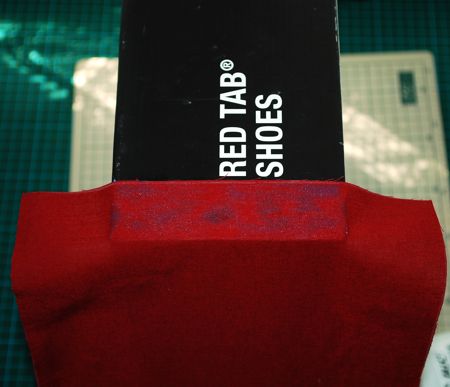
Wrap the fabric around all sides of the box. Check that the fabric stretches evenly and tightly over all sides.
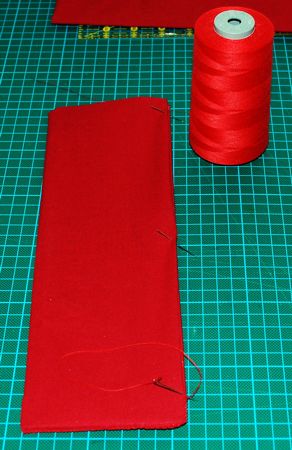
To secure the second end of the fabric, fold the raw edge under and slipstitch in place.
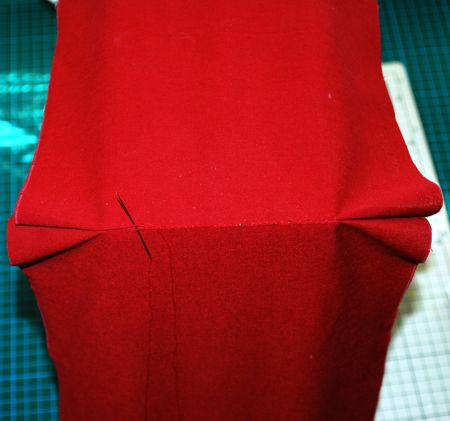
Apply glue along the edges of the box's bottom. Fold the fabric onto the glue and press with your hands.
The bottom of the box should look like this:
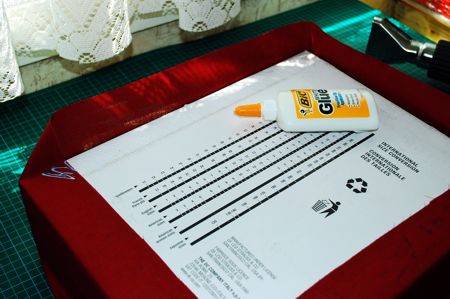
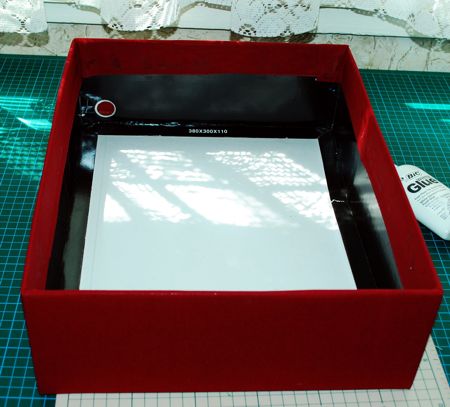
Now apply some glue along the upper edges of the box's sides, from inside.
Fold the fabric onto the glue and press with your hands.
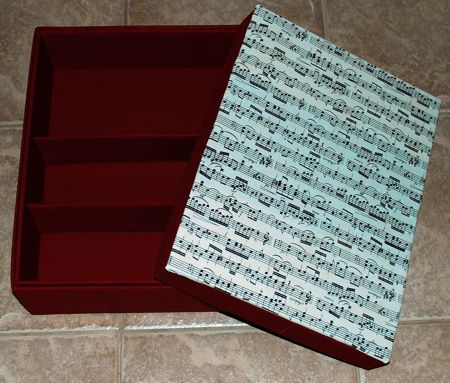
Take the lid and the second piece of the fabric. Repeat the procedure described above with lid.
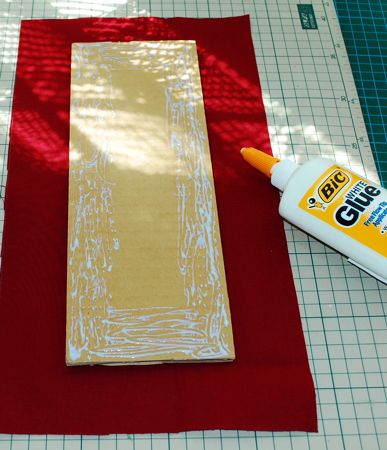
Take the 2 pieces of cardboard measuring 11 3/4" x 3 3/4" and the 2 pieces of fabric from cutting step no.3. Working with one piece at a time, apply glue to the edges of the cardboard part and glue the fabric piece onto it.
Repeat the procedure with the 2 cardboard pieces measuring the same size as the short sides, the 2 cardboard pieces measuring the size of the box's bottom and 2 cardboard pieces measuring the size of the box's lid.
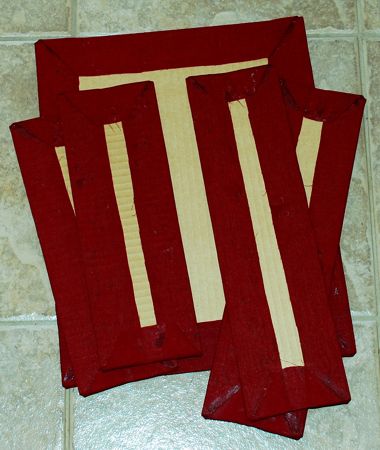
Note that for the cover's cardboad pieces you will use one piece of solid fabric and one piece of patterned fabric.
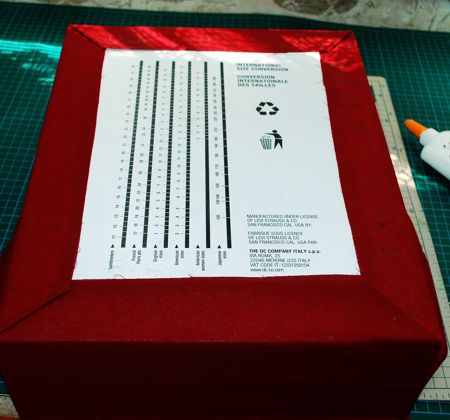
Apply glue to the outside bottom of the box and glue one of the 11" x 12" rectangles to it.
Apply glue to the box's bottom and side from inside and glue the corresponding parts to it.
Repeat the procedure for the lid.
Now take the remaining 2 cardboad pieces and the fabric pieces from cutting step no.7.
Apply glue along the 3 sides of the cardboard piece.
Fold the fabric onto the glue and press with hands.

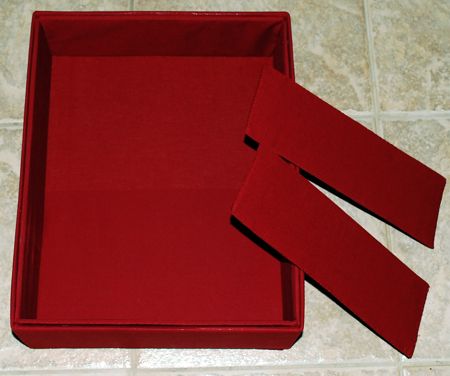
Fold the rest of the fabric piece over the cardboard, tuck in the raw edges and slipstitch in place. These two piece will serve as compartment dividers.
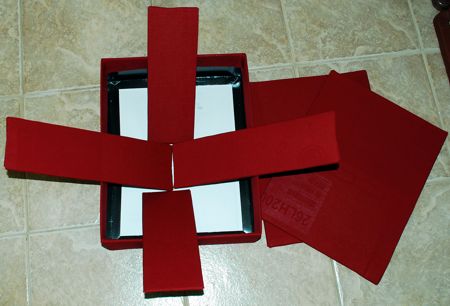
Insert the compartment dividers.
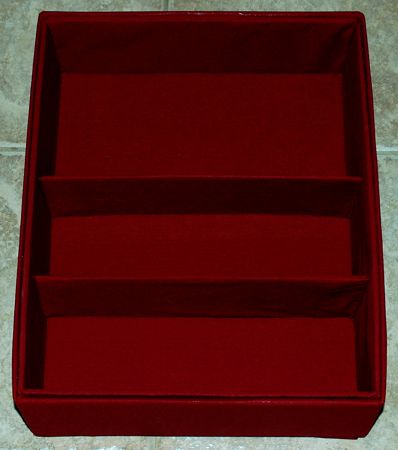
Your organizer is almost ready! Now you just need to embellish it.
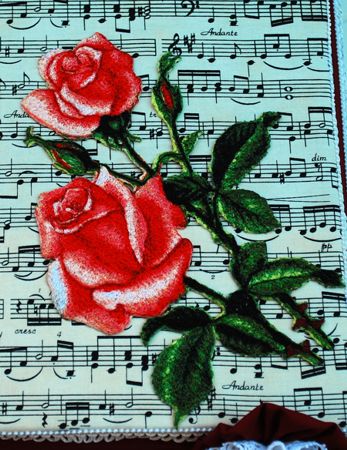
We embellished the cover with the embroidery designs Rothschild Rose and Imperial Tea Roses.
We embroidered the designs on organza with 2 layers of watersoluble mesh. After the embroidery was finished, we washed away the stabilizer, let them airdry, pressed with steam, cut away the excess organza and adhered the designs onto the cover.

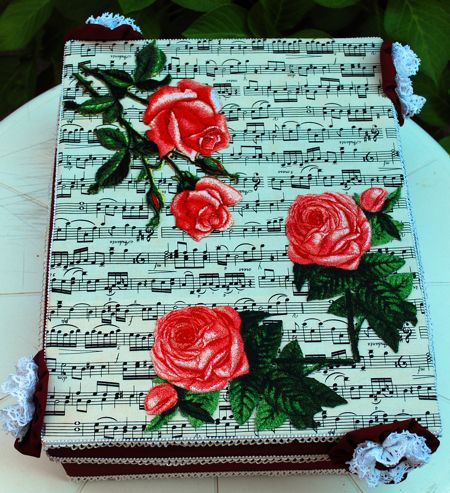
We further handstitched some trim to the organizer.