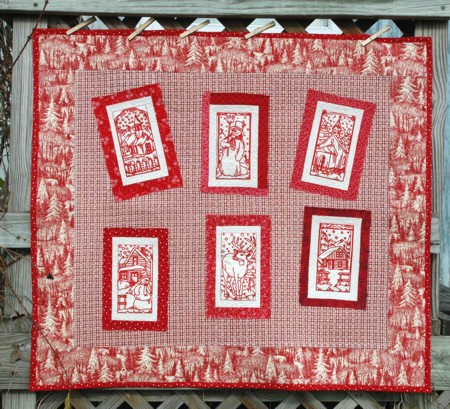
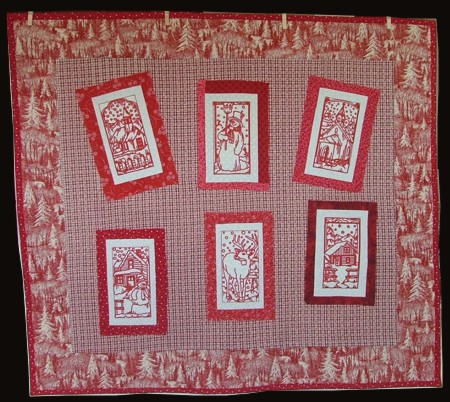
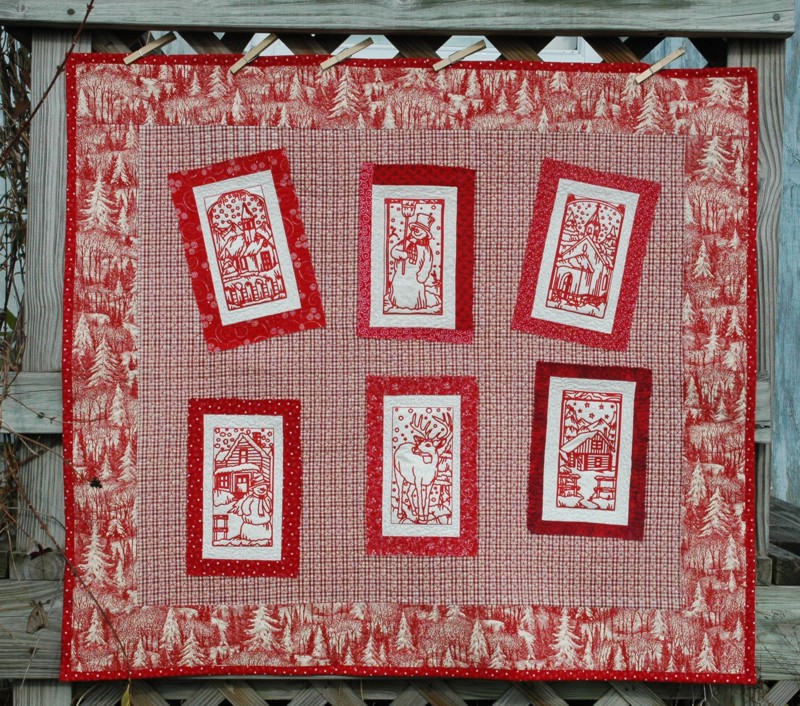
This charming Christmas quilt is very easy to construct - the embroidered blocks are raw-edge appliqued over a whole-cloth quilt. The embroidery designs used are from the Silent Night Redwork Set for a large hoop.
The finished size of our wall quilt is about 35" x 40". You can make it larger or smaller depending on what you need and how much fabric you have..
For the quilt we used a piece measuring 28" x 32" of off-white fabric with a red plaid pattern.
For the borders we used winter-themed toile fabric - off-white with a red fir-tree pattern (1/2 yard).
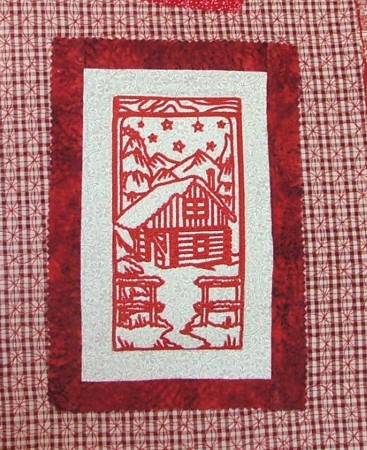
For the blocks, we used off-white solid fabric and scraps of red fabrics with different small patterns.
You will also need batting, backing and red binding.
Embroidery:
With a removable fabric marker, graph you embroidery fabric into 8" x 12" rectangles. Do not cut them out! Stabilize the fabric with light-weight cut-away stabilizer and embroider the designs from the Silent Night Redwork Set. Try to make the embroidery in the center of each rectangle.
There are 10 designs in the set. If you are planning a larger quilt, you can embroider all of them. If you are making the quilt the same size as ours, choose 6 designs you like best.
Making the blocks:
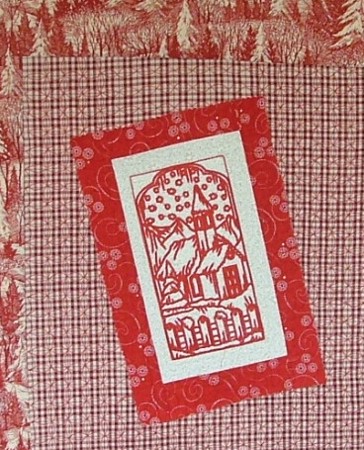
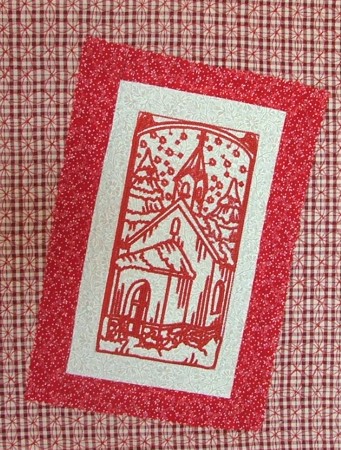
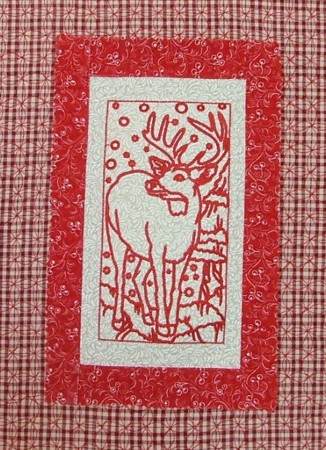
Cut out and trim each embroidered rectangle to 5" x 9".
Out of scraps of red fabrics cut 12 strips measuring 1 1/2" x 5" and 12 strips measuring 1 1/2" x 11 1/2".
Sew the 1 1/2" x 5" strips to the upper and lower edges of each embroidered piece.
Sew the 1 1/2" x 11 1/2" to the left and right edges of the blocks.
With zig-zag scissors, cut the edges of the blocks. You can make them of different widths.
Assembly:
Out of the fabric for the borders, cut 2 strips measuring 4 1/2" x 28" and 2 strips measuring 4 1/2" x 40 1/2".
Sew the 4 1/2" x 28" strips to the left and right edges of the top. Sew the 4 1/2" x 40 1/2" strips to the upper and lower edges of the top.
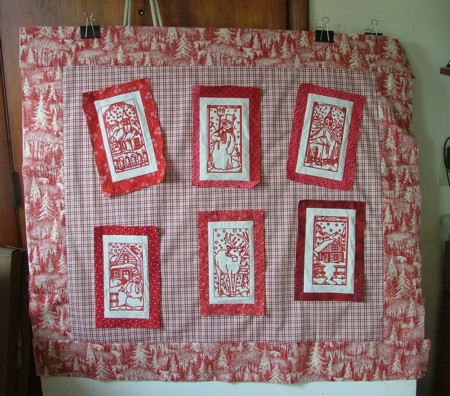
Arrange the blocks over the top. Pin in place. Top-stitch the blocks to the top along the edges.
Quilting:
Now place the backing/lining on a flat surface (table) face down. Cover with batting. Spread your working piece over it.
Pin all three layers together with 1" pins and start quilting. Quilt with white thread the white fabric around the embroidery. Then switch to red thread. We quilted in a free-motion style all over the piece.
After the quilting is finished, press the work with heavy steam and trim the work - the opposite sides should be straight and of the same length.


