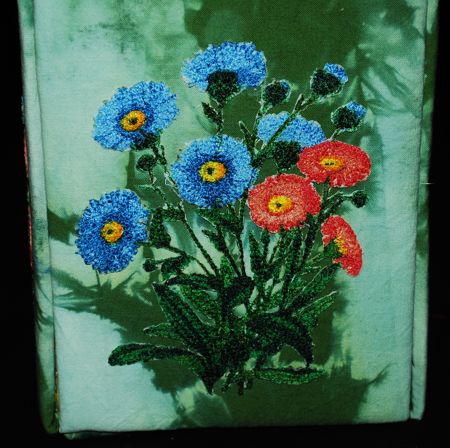
This charming organizer unfolds to give you easy access to all of your notions and tools. It keeps your stuff protected, saves space, and looks very attractive. We used the embroidery design of Aster Bouquet in the photo-stitch technique for a large (5" x 7") hoop.

You will need:
For embroidery, we used embroidery polyester threads, sheer polyester organza and wash-away mesh stabilizer.
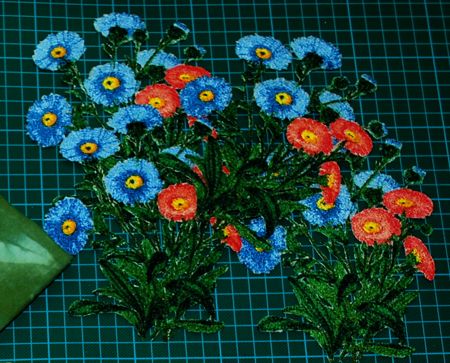
Stabilize organza with water-soluble mesh and embroider the Aster Bouquet design 4 times.
After the embroidery is finished, dissolve the stabilizer, spread organza on a towel and leave to air dry. Press with steam.
Cut out the embroidery.
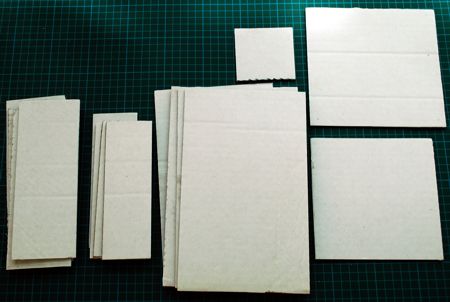
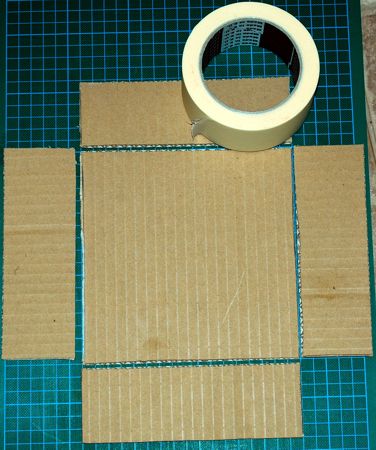
Cut the cardboard into the following pieces:
For the inner box:
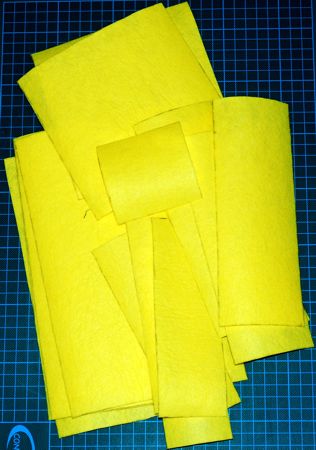
Cut thin craft felt into the following pieces:
For the inner box:

Out of colored craft felt, cut the following pieces:
For the inner box:
Cut the fabric into the following pieces:
For the inner box:
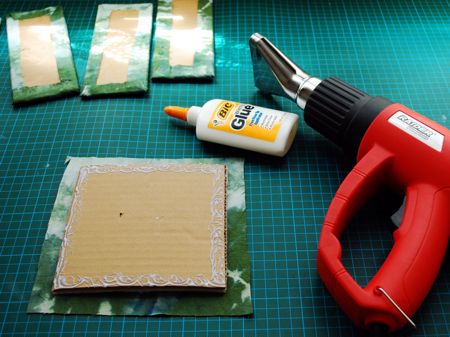
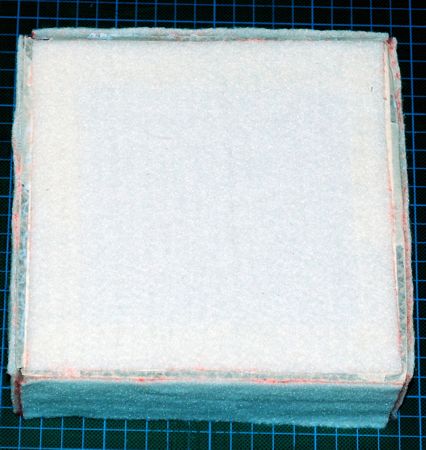
Step One: Take cardboad and felt parts of the same size and, using white craft glue, adhere the felt pieces to the cardboad pieces.
Step Two: Take the cardbord and felt parts for the boxes (set aside the parts for the lid), and fabric parts.
Working with one piece at a time, do the following:
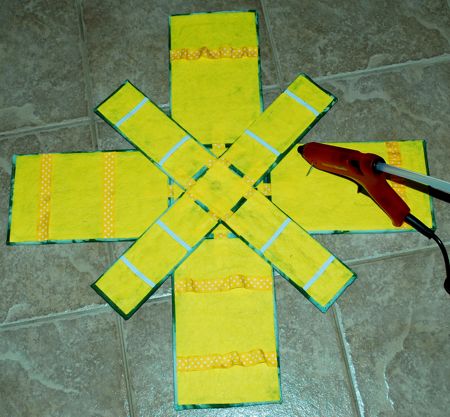
Step Three: Cut the trim into 20 pieces 2" long each.
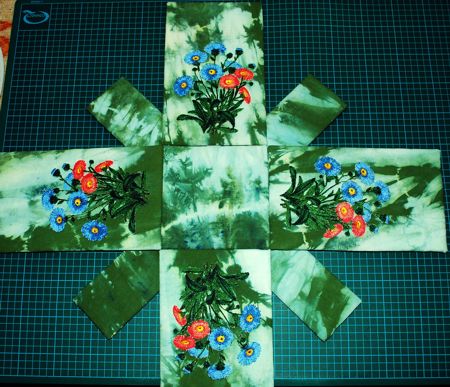
Place the larger panels around the larger square, and the smaller panels around the smaller square. Align the sides.
Put a small amount of glue onto the ends of the trim pieces and glue them to the panels and squares as shown.
Let the glue dry.
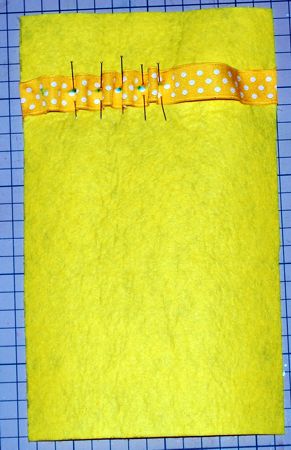
Step Four: Take the colored felt strips and elastic tape. Sew strips of the tape to the felt to make tool holders.
Step Four: Glue the colored felt strips to the corresponding panels. Let the glue dry. You will get 2 cross like parts - a smaller one and a larger one.
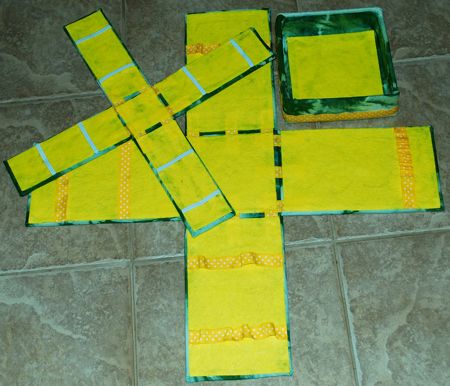
Step Five: To make the lid, take the remaining felt-cardboard parts. Place them felt down on your working table. Position the panels around the square.
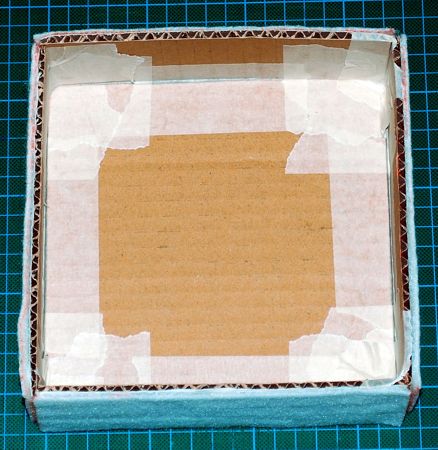
Using masking tape, assemble the parts into a lid.
It should look like this from the inside:
and from the outside:
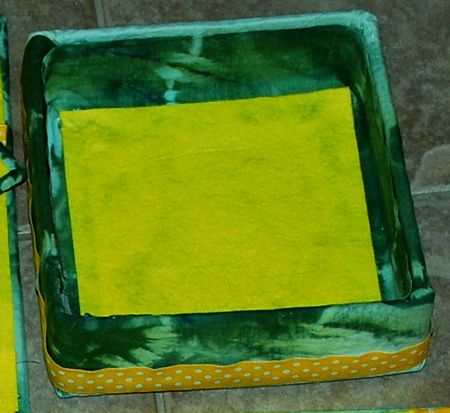
Step Six: Place the 13" x 13" fabric square, face down, on your working table. Position the lid in the center, outer side down.
Apply some glue to the inside walls and bottom of the lid. Fold the fabric inside and press with fingers to adhere. Leave the glue to dry.
Apply some more glue to the bottom of the lid. Place the colored felt square over the glue and press with fingers. Let the glue dry.
Step Seven: Position the smaller cross-like part over the larger cross-like part as shown.
Using a glue-gun or craft glue, glue the smaller part to the larger one.
Step Eight: This is what the working piece looks like from the back:
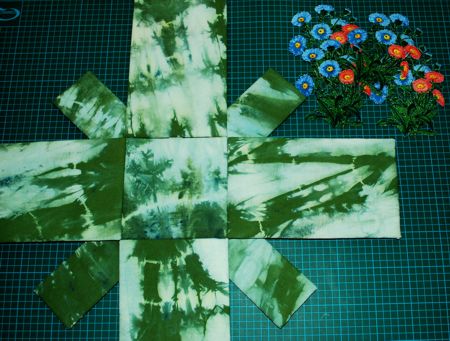
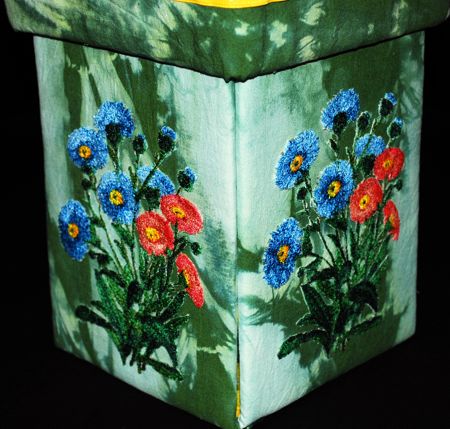
Glue the embroidered flowers to the four large panels.
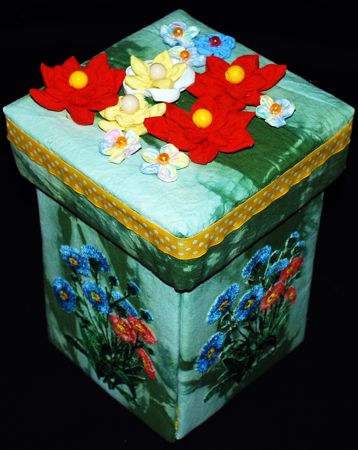
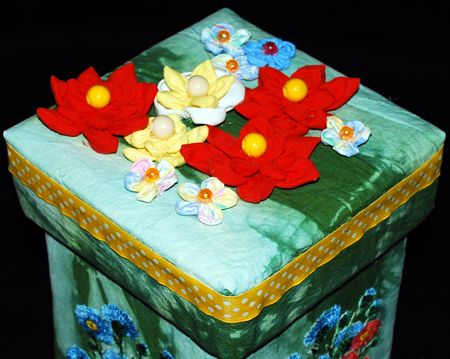
We decorated the lid with the fabric flowers.
Place your tools and notions into the organizer.

Fold the walls up and put on the lid.