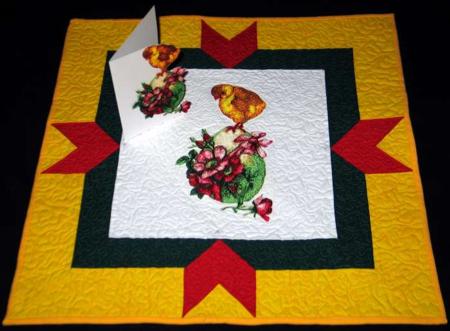
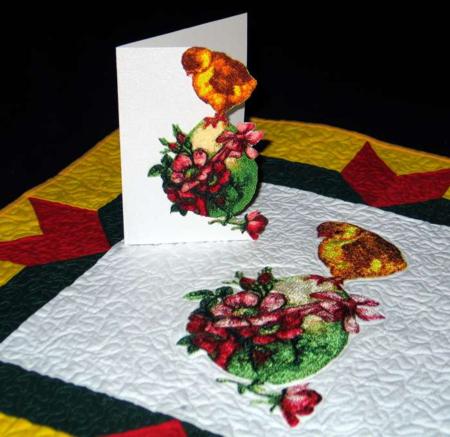
This charming little wall quilt is pretty easy to make and uses some interesting piecing techniques. We embellished it with the design Chicken with Easter Egg. It works great as a table topper, too!
The finished size is about 20" x 20"
You will need: white, dark green, yellow, and red fabrics for the top, polyester felt and fabric for backing and binding..
For embroidery, we used embroidery polyester threads, and polyester felt as stabilizer and batting.
Out of white fabric, cut a square measuring 10 1/2" x 10 1/2";
Out of dark green fabric, cut 8 strips measuring 2 1/2" x 7 1/2"
Out of yellow fabric, cut
Out of red fabric, cut 1 strip measuring 2 1/2" x 30 1/2". Subcut the strip into 8 diamonds. See the diagram below.
Take a green strip. Place it on a cutting mat. Measure 2 1/2" along the long upper edge from the upper right corner. Use a ruler to connect this point to the lower right corner and cut along this line. Do this to 4 of the 8 strips.

Sew 4 red diamonds to the cut edges.

Take the remaining green strips and repeat the procedure, but this time working with the left end of the strip.

Sew the remaining 4 diamonds to the cut edges.

Sew the yellow strips to the green-red parts as shown:
Sew the red diamonds together.

Sew the yellow triangles between the diamonds.

Fold the white square in half horizontally, align all sides and lightly press. The crease will mark the centers of the left and right edges. Unfold. Now fold the square in half vertically, and again lightly press. This will mark the centers of the top and bottom edges.

Working with one strip at a time, align the tip of the diamonds with the middle of the side of the white square. Pin. Sew the strips, starting from the middle. Finish stitching 1/4" from the edge of the white square.
Make the mitered corners.
Place the top on a piece of polyester craft felt. The piece of felt should be slightly larger than the quilt top. The felt will work as the stabilizer and batting. Baste the quilt top to the felt in the ditch along the colored borders. Embroider the Chicken with Easter Egg. After the embroidery is finished, rip the baste and cut away the excess felt around the embroidery.
Now place the backing on a flat surface (table) face down. Spread your working piece over it.
Pin all three layers together with 1" pins and start quilting. We quilted around the embroidery and made stippling all over the quilt.
After the quilting is finished, press the work with heavy steam and square the work -- all corners should be 90 degrees and opposite sides should be of the same length.
Finish the raw edges with the binding.


