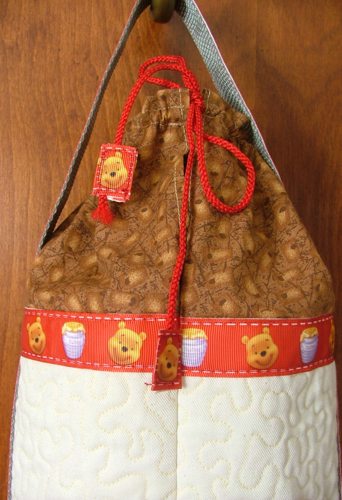
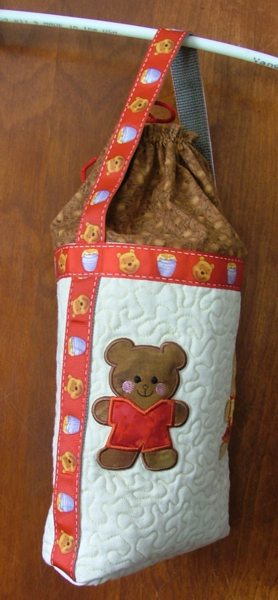
This small, useful bag adds on to the traditional tote bag design with a draw-string closure. It's great for baby stuff, such as a bottle, diapers, a change of clothes and other small odds and ends. The draw-string prevents anything from falling out.
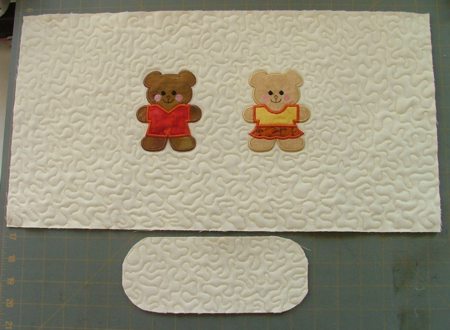
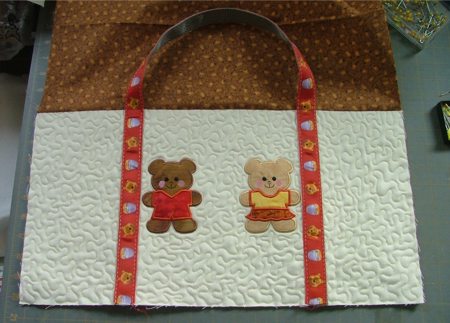
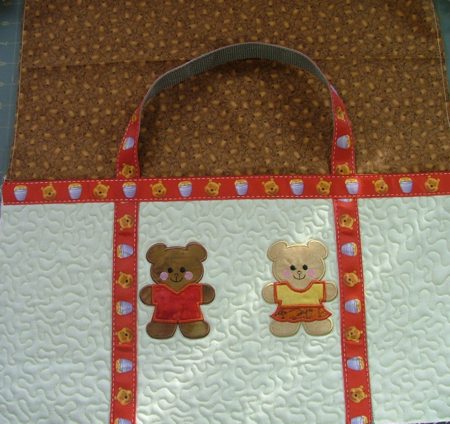
The designs used on the front are from the Teddy Bear Cookie Cutter Applique Set.
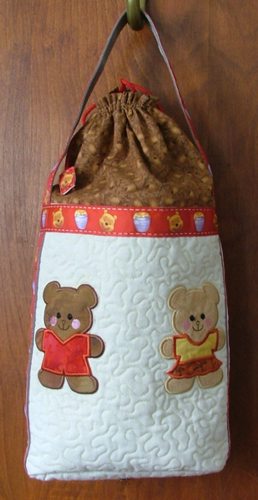
For the project you will need about 1/2 yard of light fabric for the outer bag, 1/2 yard of colored fabric for the backing/lining and upper part of the bag, a piece of batting, scraps of colored fabrics for the applique, 1 yard of webbing for the handle, 1" wide trim, and a craft cord about 30"-32" long.
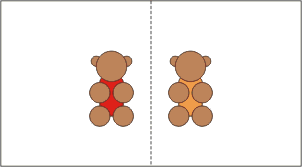
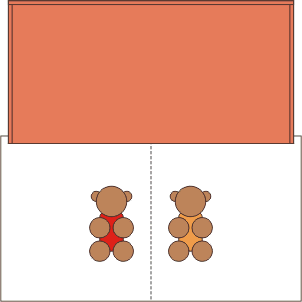
Step One: Out of the light fabric, cut a piece measuring 11" x 20". Fold it in half widthwise and slightly press to mark the central axis. Make the embroidery of the bears on both sides of the axis. The distance between both appliques should not be more than 1 1/2".
Step Two: Out of light fabric, cut a rectangle measuring 4" x 9".
Out of colored fabric, cut a rectangle measuring 4" x 9".
Out of batting, cut a rectangle measuring 4" x 9".
Place the colored rectangle face down. Cover with the batting piece, cover with the light fabric piece. Quilt all three layers together. We quilted with stippling.
Step Three: Out of colored fabric, cut a piece measuring 11" x 20". Out of batting, cut a piece measuring 11" x 20".
Place the backing on the table, face down. Cover it with batting. Place the embroidered piece over the two layers, face up. Pin all three layers together and quilt. We quilted around the appliques and made stippling all over the piece.
Step Four: Press both quilted pieces with heavy steam.
Trim the embroidered piece to 10" x 19". Finish the short sides with wide zig-zag stitch.
Trim the small rectangle piece to 3" x 8". Round the corners with scissors. This will be the bottom of the bag.
Step Five: Out of colored fabric, cut a piece measuring 10" x 20".
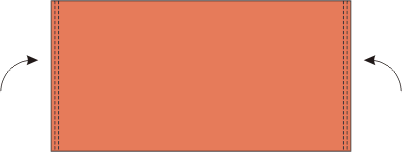
Fold the short sides 1/4" back, press. Fold 1/4" again, press. Topstitch.
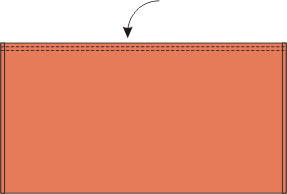
Fold the upper edge 1/4" back and press.
Fold the piece in half lengthwise, firmly press the folded line.
Step Six: Place the colored fabric piece over the embroidered piece, face to face. Align the upper edges. Sew the pieces together.
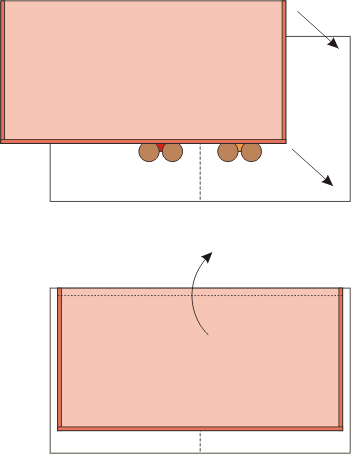
Unfold the colored fabric. Press.
Step Seven: Place the trim over the webbing.
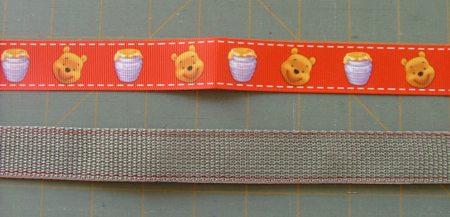
Topstitch the trim to the webbing. This will be the handle.

Step Eight: Position the handle over the bag, 4 1/2" from each side edge. The distance between the two ends of the handle should be 8". Pin. Topstitch both sides of the handle to the quilted part of the bag.
Place another piece of trim along the upper edge of the quilted part and topstitch in place.
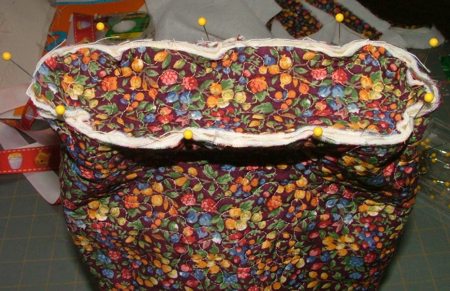
Step Nine: Fold the bag face inwards, and align the edges of the quilted part. Pin. Topstitch with seam allowance 1/2". Unfold the seam and press.
Step Ten: Take the bottom and pin it to the lower edge of the bag. Align the short sides of the bottom with the handles.
Topstitch with seam allowance 1/4". Finish the raw edge with a zig-zag stitch.
Step Eleven: Now fold the upper fabric part back and cover with its edge the unfinished seam. Hand-stitch in place.
Step Twelve: Turn the bag right side out. On your sewing machine, topstitch along the upper edge of the fabric, 1/2" from the edge.
Step 1/2" from the first stitch and topstitch again.
Insert a craft cord through the 1/2" hem.
Step Thirteen: In order to make the cord from pulling out of the hem, cut 2 small pieces of trim and sew them to the ends of the cord.
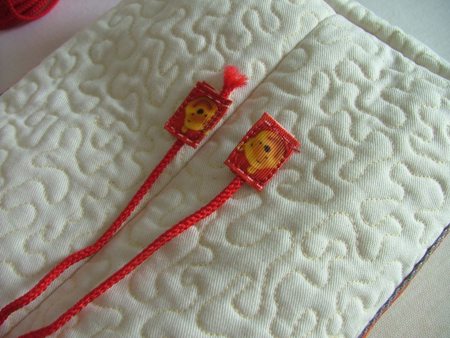
Pull the ends of the cord and tie.