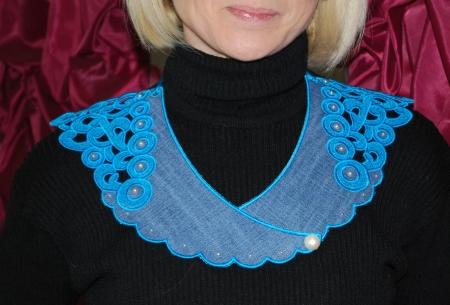
Peter Pan collars have recently grown in popularity. Making a Peter Pan collar on your embroidery machine is a snap using our design Freestanding Cutwork Lace Applique Peter Pan Collar.
You will get two files which are mirror images of each other. Both files are embroidered in the same way.
You will need fabric for the applique part, water-soluble fabric-like stabilizer (such as Fabri-Solvy by Sulky, Avalon Plus by Madeira, Wash-Away or Aqua Magic), sharp scissors for the cutwork and embroidery polyester thread.
Please note, we DO NOT recommend to use rayon embroidery threads with water soluble mesh because the chemicals ruin the thread.
To finish the collar you will need a small button, ribbon and hot-fix crystals (optional).

Step One: Thread a polyester embroidery thread. Hoop 2 layers of water soluble mesh. Upload one of the files into your machine.
Start the machine. It will embroider the outline of the design and stop.
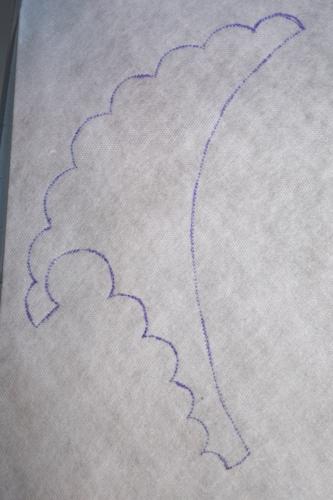
Step Two: Cover the hoop with applique fabric and start the machine again. It will embroider the same outline over the fabric and stop.
NOTE: To keep the applique fabric in place, you can either pin it outside the embroidry area, or apply a very small amount of fabric glue inside the embroidered outline.
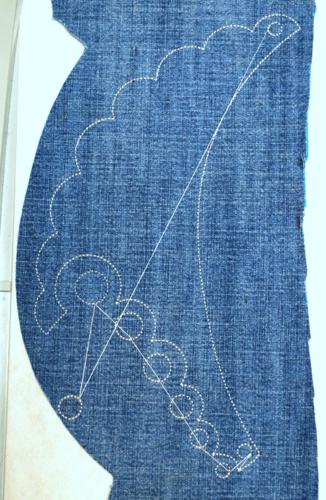
Step Three: Take the hoop from the machine. With a pair of sharp scissors cut away the applique fabric as shown on the picture.
Cut the fabric as close to the stitches as possible, but try not to cut though the stabilizer.
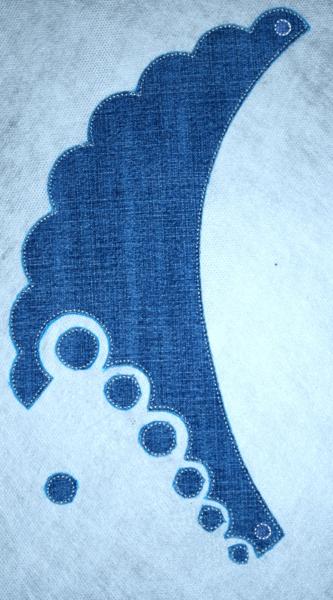
Step Four: Return the hoop to the machine and finish embroidering.
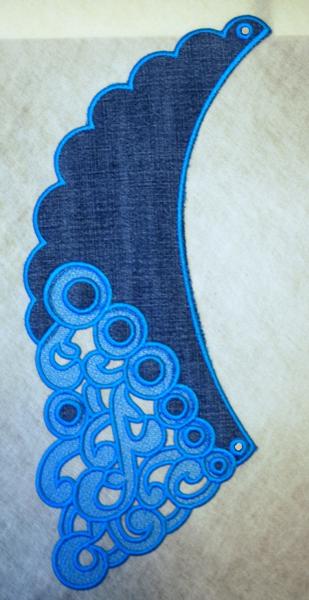
Step Five: Wash away the stabilizer, neatly spread on a flat surface and leave to air dry. Press if needed.
Embroider the second file in the same way.
You can decorate the collar with hot-fix crystals or small beads.
Tie a ribbon through the small holes in the front of the collar.
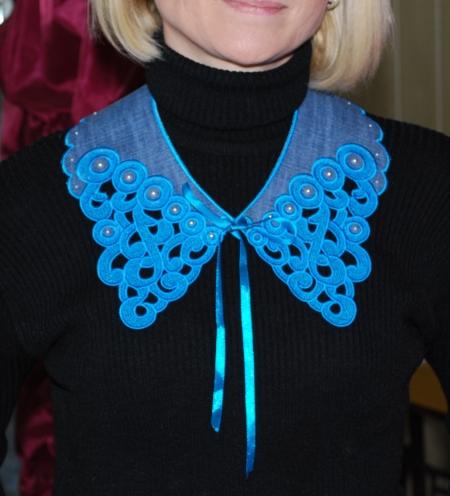
To fasten the collar on the back, add a small button.
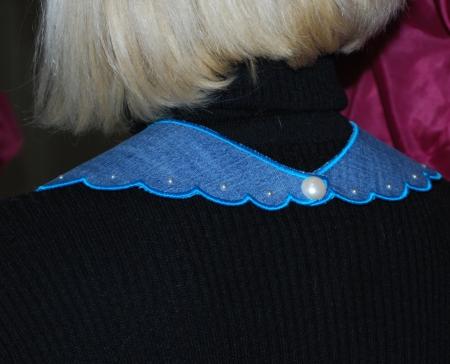
You can also wear the collar another way for a completely different style. Here we've sewn the flaps of the collar to shoulder seams:
