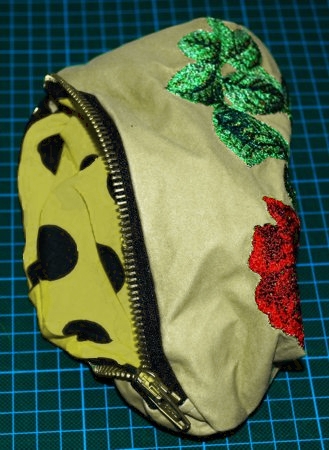
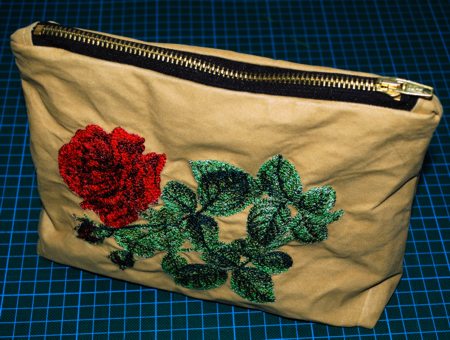
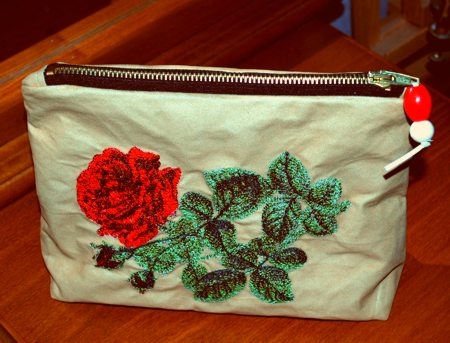
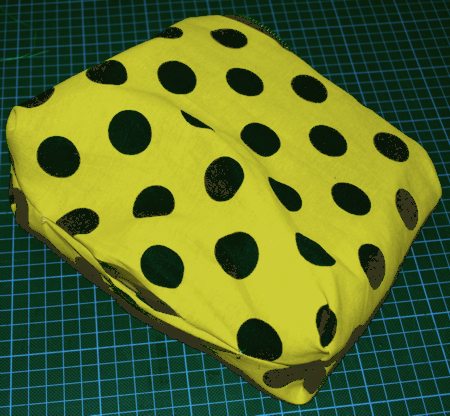
This elegant makeup case features The Dark Lady Rose design for a large (5" x 7") hoop in the photo-stitch technique.
The finished size of the case is about 10" x 7" x 3".
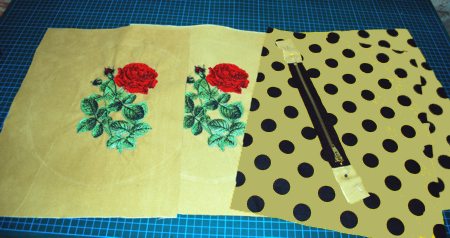
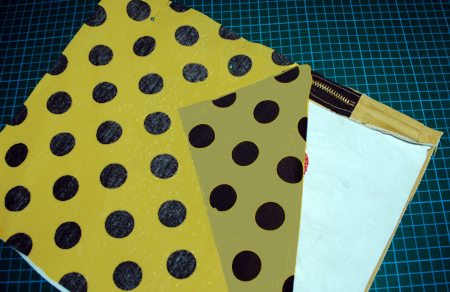
For the project you will need a 8"-long zipper, polyester suede fabric, cotton fabric for the lining. For embroidery you will need embroidery threads and medium-weight iron-on cut-away stabilizer.
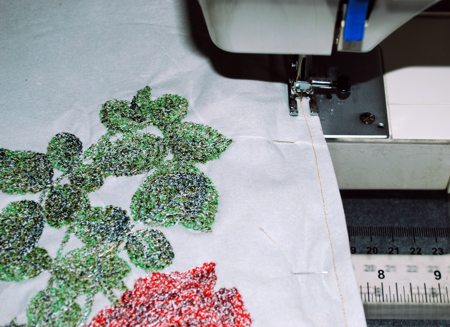
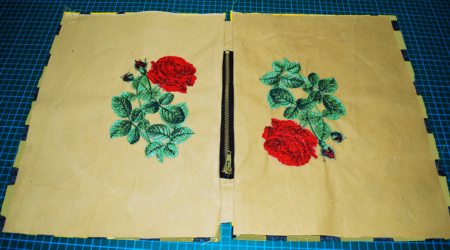
Out of suede, cut out 2 pieces about 10" x 12". Stabilize each piece with the medium-weight iron-on cut-away stabilizer. Make the embroidery of The Dark Lady Rose on both pieces.
Place the embroidered pieces aside for a meanwhile.
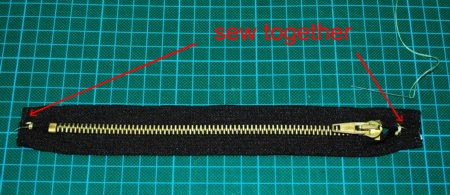
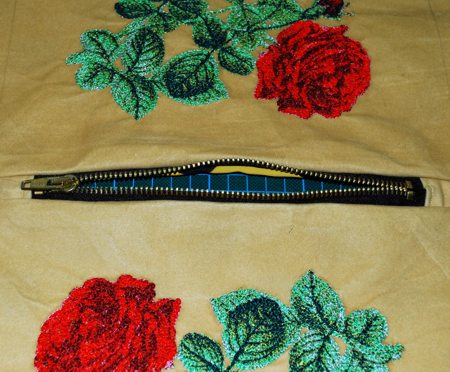
Manually sew the zipper's fabric ends together.
Out of suede, cut out 4 pieces measuring about 2" x 2". Position the pieces face to face on the ends of the zipper, with the zipper sandwiched in between. Pin in place.
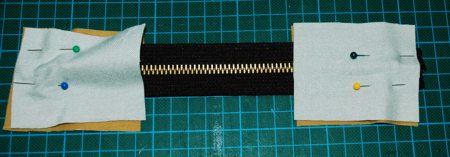
Machine-stitch 1/4" from the edge.
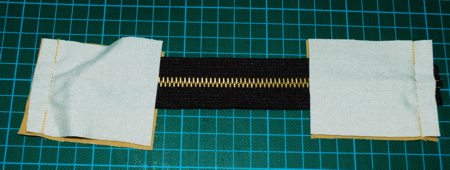
Unfold the pieces. Pin the pieces together. Topstitch 1/8" from the seam.
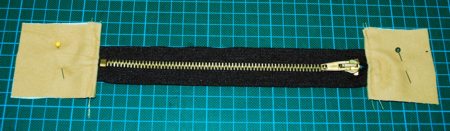
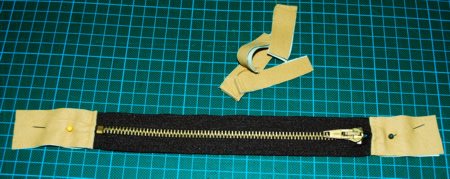
Cut the pieces to make them the same width as the zipper.
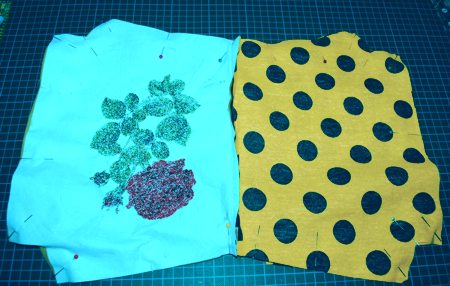
Prepare 2 embroidered pieces measuring 10" x 12" and 2 pieces of lining measuring 10 x 12".
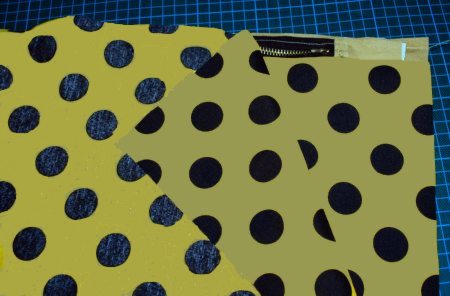
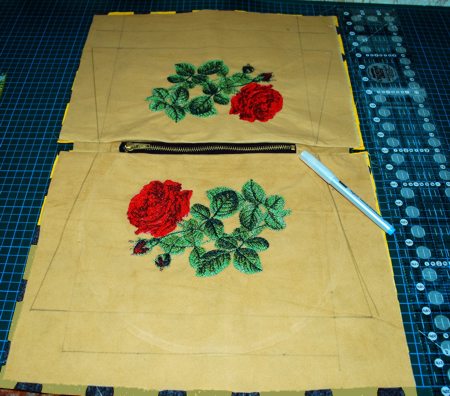
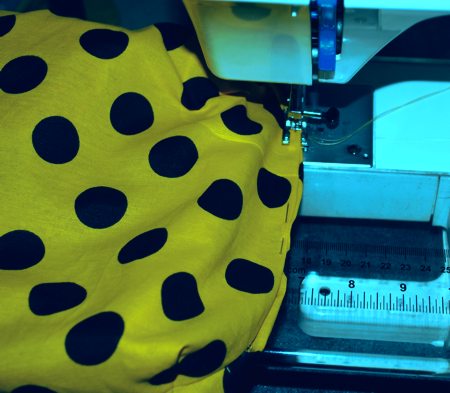
Place the zipper, face down, on the upper edge of one embroidered piece. Align the edges. Pin the zipper in place. Machine stitch the edges together.
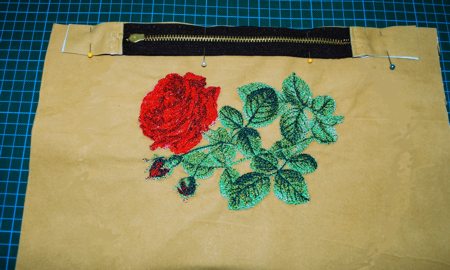
In the same way sew the second embroidered piece to the other side of the zipper.
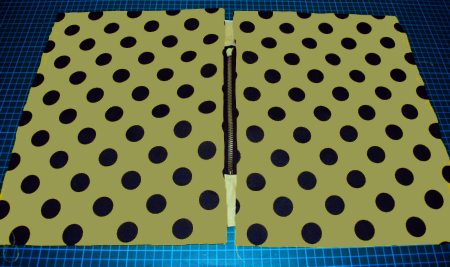
Unfold and press. The working piece will look like this.
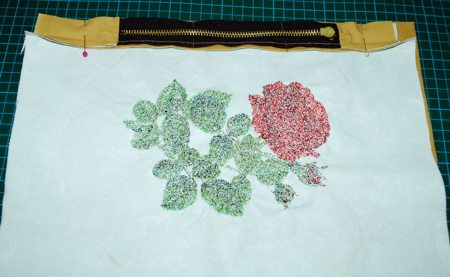
Fold the working piece face inwards. Position the first piece of lining, face down, along the edge of the zipper. Pin.
Machine stitch the lining from the side of the embroidered piece along the same stitch that connects the zipper with the embroidered piece.
Repeat for the second piece of the lining, but on the other side of the zipper
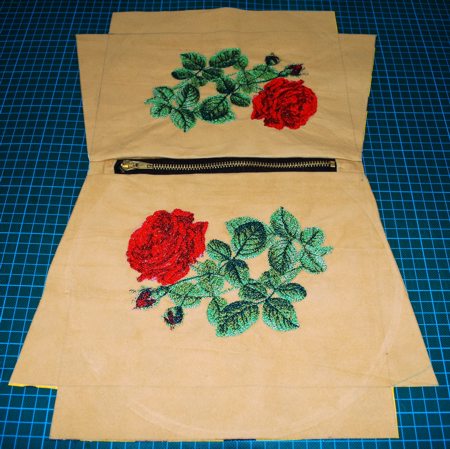
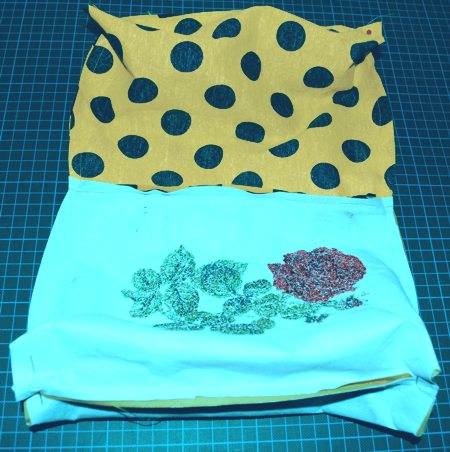
This is what the work looks like from the side of the lining.
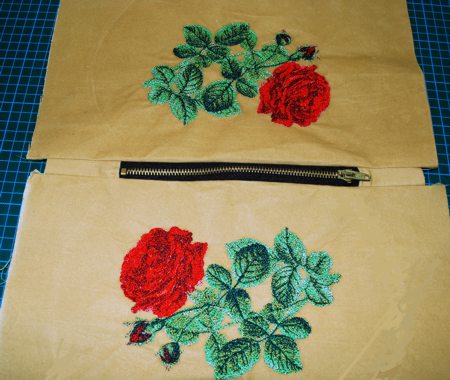
This is what the work looks like from the embroidered side.
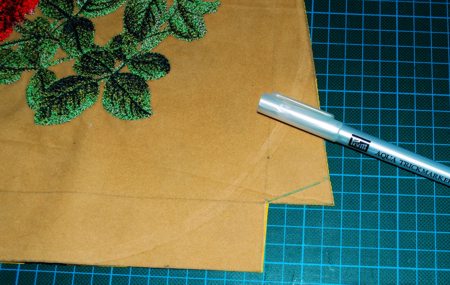
Now spread the working piece on a table, face up. With a disappearing fabric marker draw a rectangle measuring 10 1/2" x 8" on each panel.
Extend each side line another 1 1/2". Connect the end points of the lines.
Now extend the bottom line of the rectangle 1 1/2" in every direction. Join the end of that line with the upper corners of the rectangle, like so:
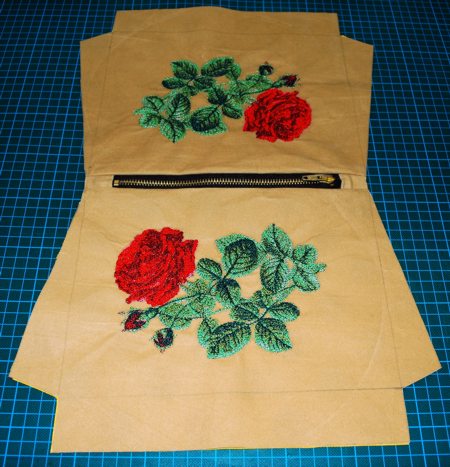
Cut out along the outer marked lines:

Cut the corner off each of the side flaps. The angle of the cut is about 30 degrees. This is easy to do with a quilting ruler, or just measure 5/8" up the side of the flap, mark the point, draw a line to the inner corner of the flap, and cut along the line.
The working piece will lool like this:
Open the zipper. This is important, because once you sew the top of the bag together, it will be very difficult to get to the zipper!
Fold the outer panels face to face. Fold the lining back away from the outer panels. Align all the edges and pin them together
.
Machine stitch the sides of the outer panel, the sides of the lining and the bottom of the outer case with 1/4" seam allowance. Do not stitch the bottom of the lining or the corners at the bottom of both parts. The edges to stitch are marked in red on the diagram below:
Fold the corners at the bottom, align the side seams with the bottom seams. Pin. Stitch them closed.
Turn the wotk right side out through the opening in bottom of the lining.
Topstitch the opening in the lining closed.
Insert the lining into the case via the open zipper. This is why it was important to open the zipper before!