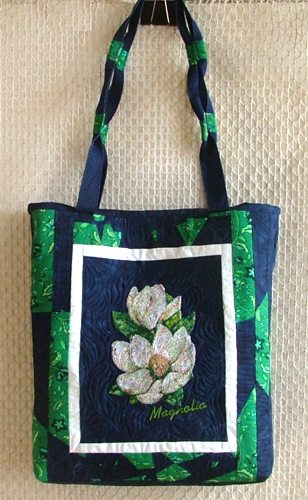
We haven't seen much of winter this year, so we decided to skip right along to spring with this Quilted Tote Bag. To piece the tote we used a combination of blue and green fabrics. This is a great way to use up scraps left over from other projects.
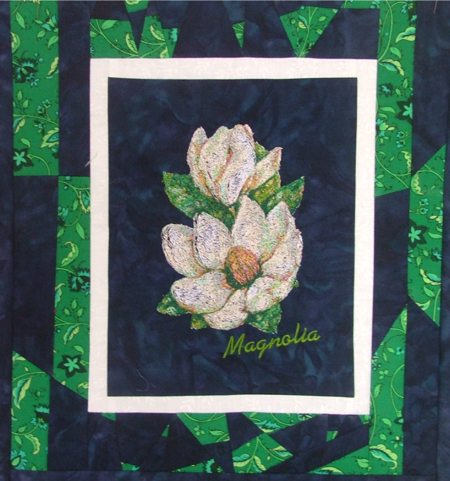
To embellish the tote, we used the Magnolia design but practically any other flower design from our store can be used instead.
We used:
For the embroidery, we used polyester craft felt as stabilizer, polyester embroidery threads, and an 80/12 embroidery needle. You can use any medium-weight iron-on cut-away or tear away stabilizer.
Out of dark blue fabric, cut
Sew the 1" x 7 1/2" white strips to the upper and lower edges of the 7 1/2" x 9 1/2" blue rectangle.
Sew the 1" x 10 1/2" white strips to the left and right edges of the rectangle.

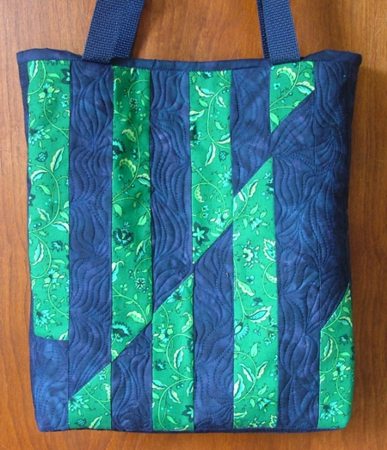
Take one each of the long green and blue strips measuring 1 1/2" wide and place them face-to-face at a 90-degree angle. Sew through the area where they overlap at a 45-degree angle. Unfold the seam to get a long two-color strip.

Keep adding green and blue strips at random to make the two-color strip longer (the image below is not to scale):
Now cut the long two-color strip into 16 strips 14 1/2" long. Make the cuts at random so that there are different amounts of green and blue fabric in each strip:
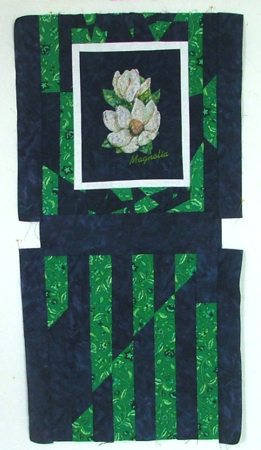
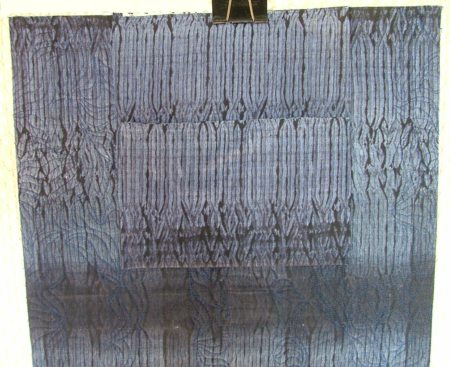
Sew 12 of the strips into the back panel of the tote.

Sew the remaining 4 strips into two pairs.

Use the remaining green and blue scraps to sew them into 2 strips 2 1/2" wide and 8 1/2" long.

Sew these strips to the upper and lower edges of the central panel.
Sew the paired strips to the left and right edges of the central panel.
Sew the 3 1/2" x 12 1/2" blue strip between the front and back panels.

Sew the 2" x 14 1/2" blue strips to the left and right edges of the front and back panels.
Stabilize the central panel and do the embroidery. Please note that when you do the embroidery over a dark background it's recommended to use a topping stabilizer. Otherwise, the fabric will be visible through the embroidery. Place a layer of light-weight cut-away stabilizer over the hoop, embroider the first 1-2 colors. Cut away the topping stabilizer around the embroidery, close to the stitches. Go on embroidering until finished. Remove the embroidery from the hoop and cut away the stabilizer on the back of the embroidery.
Now place the backing on a flat surface (table) face down. Cover with batting. Spread your panels over it.
Pin all three layers together with 1" pins. Quilt around the embroidery and them all over the tote in a free-motion style.
After the quilting is finished, press the work with heavy steam and trim the work - the opposite sides should be straight and of the same length.
To make the pocket, out of the fabric for the lining, cut a piece measuring 16" x 15".
Fold the piece in half widthwise, face inwards. Sew the side and the bottom edges with 1/4" seam allowance.
Turn right side out. Press.
Fold the bottom edge 5" onto the rest of the working piece to make a pocket and pin. Topstitch both sides 1/8" from the edges.
Position the pocket with its unfinished edge on the back panel about 3" from each side. Align the upper edges of the tote and the pocket. Pin. Topstitch in place 1/4" from the edge.
Cut the webbing into 2 pieces each 28" long. Use the remaining green scraps: you will need 8 squares measuring 1 1/2" x 1 1/2" or a strip measuring 1 1/2" x 12".
Fold the long edges of the strip 1/4" back and press.
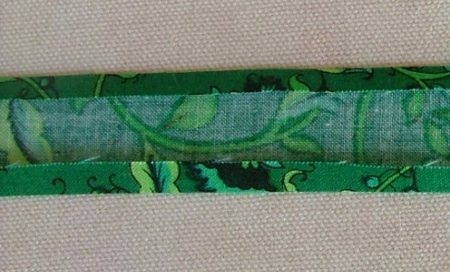
Cut the strip into 8 pieces 1 1/2" long. Position the pieces along the webbing as shown. Pin the first group 3 1/2" from the ends, and the second group 3" from the first group.
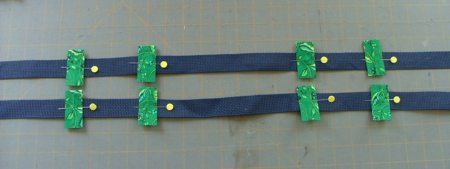
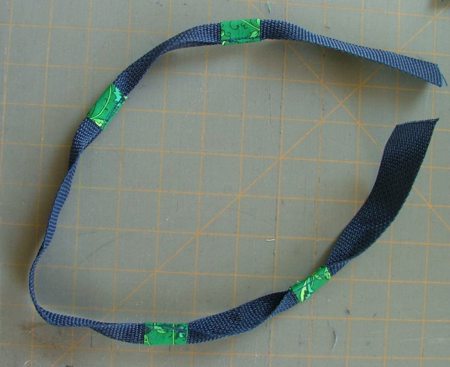
Fold the webbing in the spots with the green fabric in half, tuck the unfinished protruding edges of the green pieces inside and topstitch these parts of the webbing.
Pin the handles to the front panel 3 1/2" from each side. Topstitch 1/4" from the edge.
Repeat for the back panel.

Fold the tote, face inwards. Align all edges. Pin the sides together. Stitch 1/4" from the edges, then 3/8" from the edges.
To shape the bottom, pinch the corners as shown in the diagram below. Pin. Stitch them closed.
Finish the raw edges either with zig-zag or with binding.
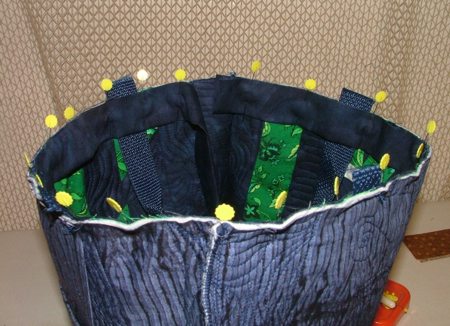
To finish the upper edge of the tote, take the remaining dark blue strip measuring 3" x 33". Fold it in half lengthwise, wrong side inside. Press.
Pin the strip along the upper edge of the tote, aligning the raw edge of the tote and the strip. Start from one of the sides and leave about 1/2" of the strip beyond the side seam. Leave the second end loose.
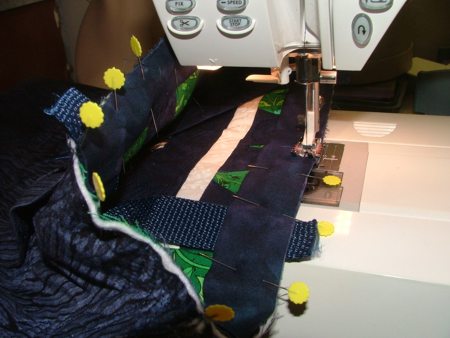
Topstitch the strip to the tote with 1/4" seam allowance. Start about 2" from one end and finish about 3" from the second end.
Adjust the length of the strip - the ends should overlap about 1/2". Fold the short edge of the second end 1/4", press. Insert the first end into the second one. Topstitch.
Pin the unstitched part of the strip to the tote and topstitch.
Fold the strip back onto the lining. Pin. Topstitch 1/4" from the edge.
Turn the tote bag right side out. It's ready.


