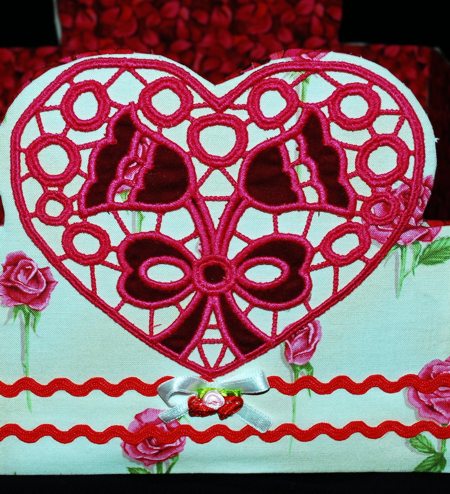
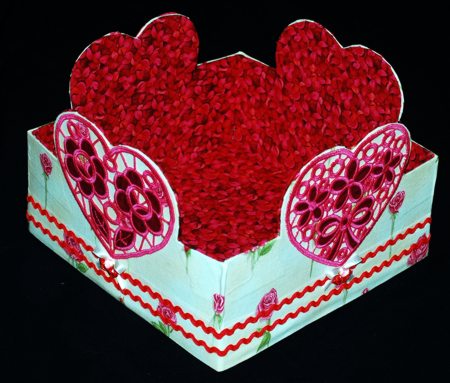
This charming Valentine's Day gift box is great for packaging your gifts. It features the Valentine Hearts Cutwork.
For the project you will need:
Embroider the designs for a large hoop from the Valentine Hearts Cutwork Set as freestanding ornaments. See the instructions. You will need 4 stitch-outs.
Out of cardboard, cut
Out of bright-colored fabric, cut
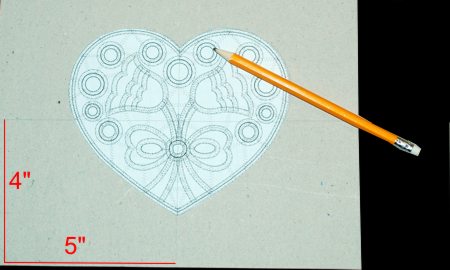
Print out a screenshot of any of the hearts from the set. If you don't have a printer, use a stitch-out of the design as a template.
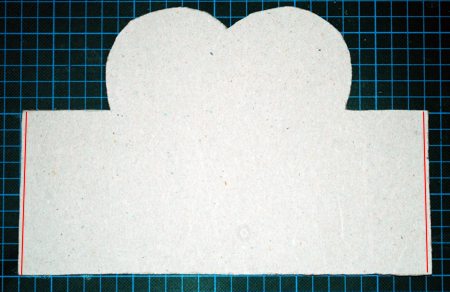
Take the 10" x 8" rectangles. Find the centers of each of the side, and draw lines through the center of the sheet.
Place the print-out or stitch-out on the intersection of the lines and trace the upper part of the heart.
With a pair of scissors, cut out the panel. Make 8 panels like this.
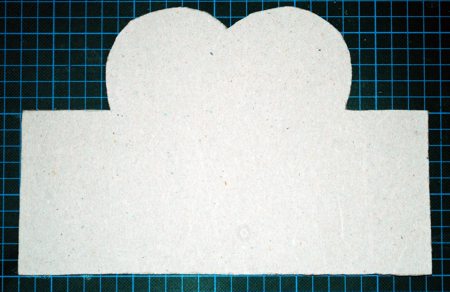
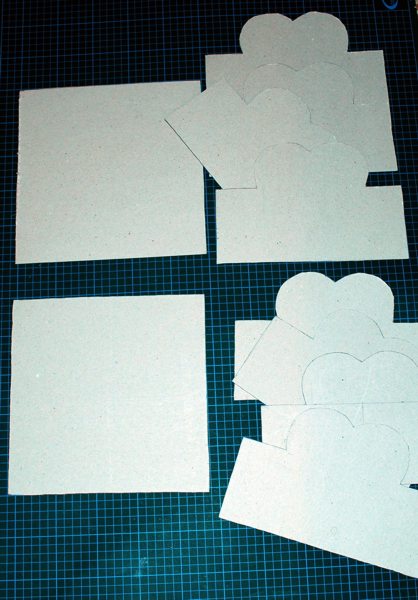
Take 4 of the panels, measure 1/8" from the short edges and cut. These will be the inner panels. They are 1/4" narrower than the outer panels.
Now you have:
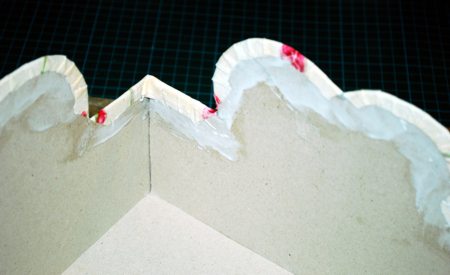
Place the 10" x 10" carboard square and the corresponding panels on your working table. With painter's tape, connect the panels to the square.
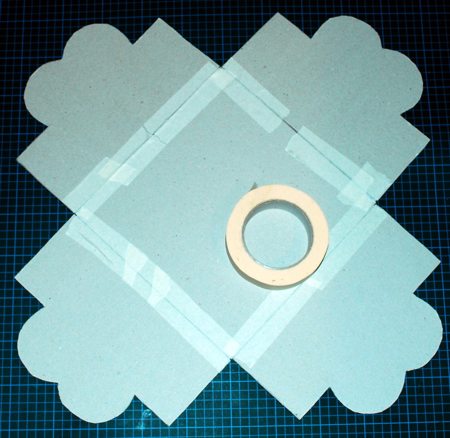
Fold the panels up and tape the corners with the painter's tape.
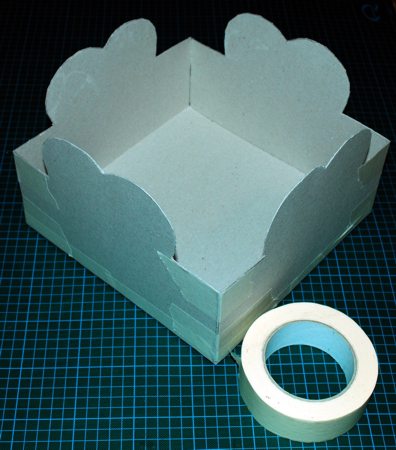
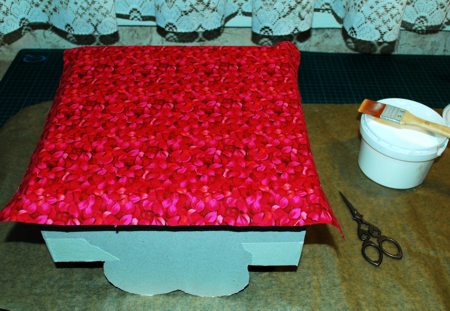
Turn the box upside down and spread glue over the bottom.

Position the 12" x 12" square over the glue. Press with your hands, and neatly work out all creases. Leave to air dry.
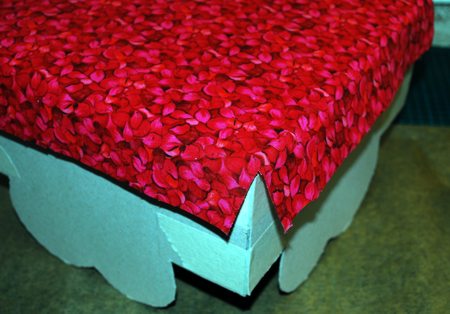
Cut out the small squares in the corners to allow the fabric to fold neatly onto the panels.
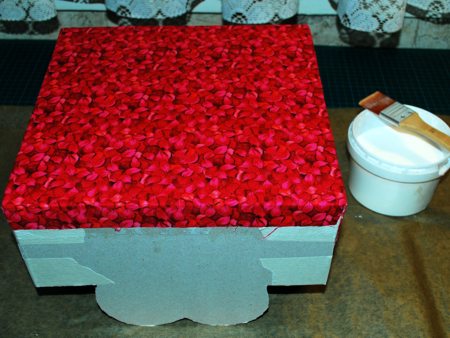
Place glue on the panels under the fabric. Adhere the fabric to the panels. Lave to air dry.
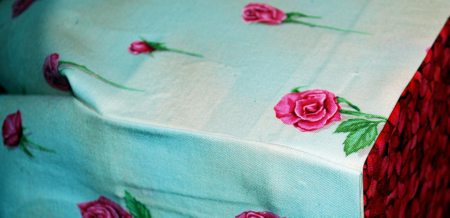
Take the 8" x 42" light colored piece. Fold the lower long edge 1" back and press.
Fold the right short edge 1" back and press.
Working with one panel at a time, cover the first panel with glue, place the glue over the fabric close to the bottom edge as well.
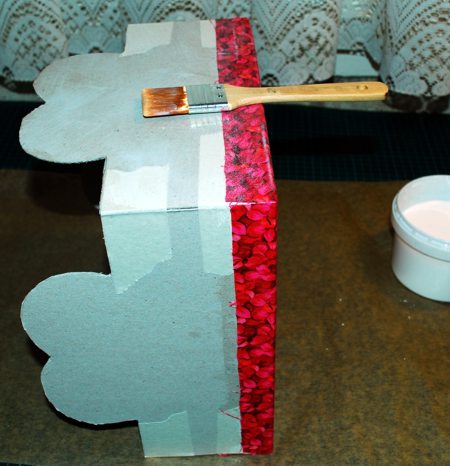
Position the the fabric strip over the glued panel - the left short edge should protrude 1" from the panel. Align the lower, folded, edge with the bottom edge of the panel.
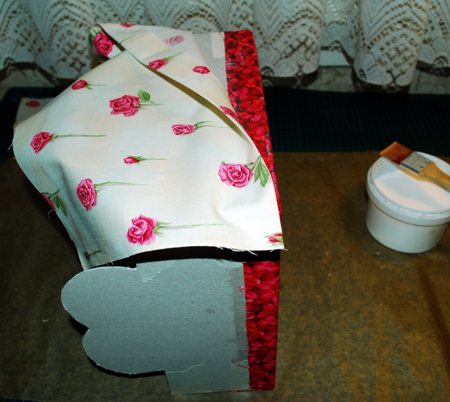
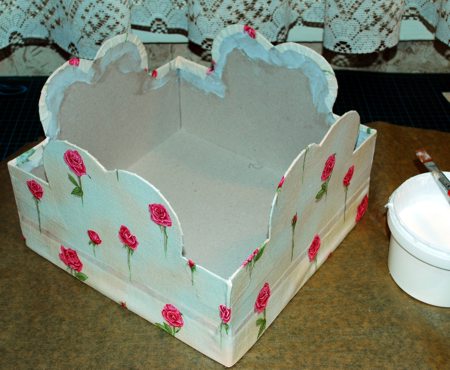
Go all the way around the box, attaching the fabric in this way. When you come to the last, forth, panel, spread the glue on it and first fold the unfinished edge onto the glue. Then spread glue over this fabric piece and attach the remaining fabric over the panel.
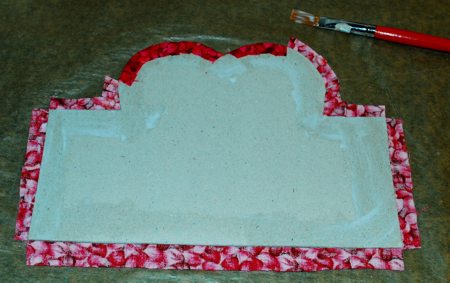
After the glue is dry, your working piece will look like this:
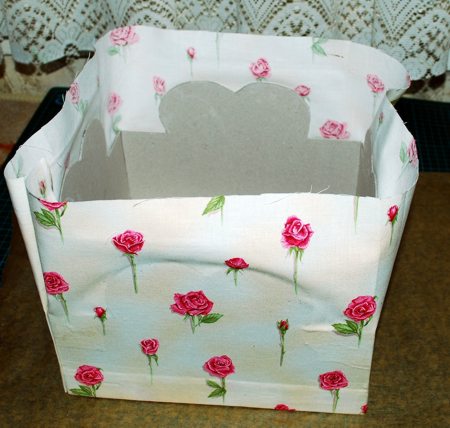
With scissors, cut away the access fabric following the outline of the panels and leaving about 3/8" of seam allowance.
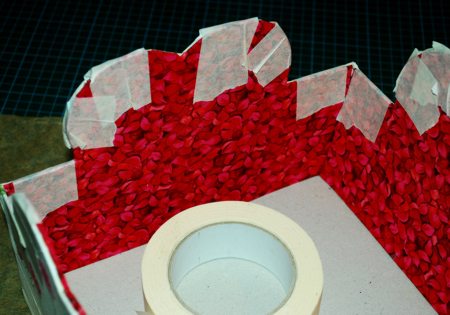
Notch the edge
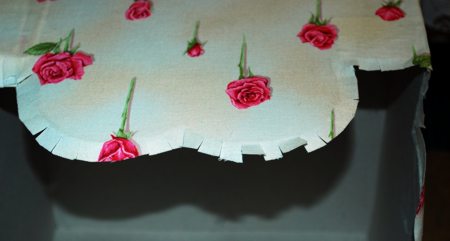
Place a liberal amount of glue on the inner edge of the panels. Fold the fabric onto the glue.
Leave to dry.
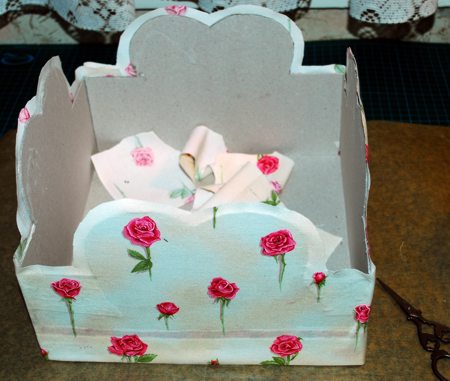
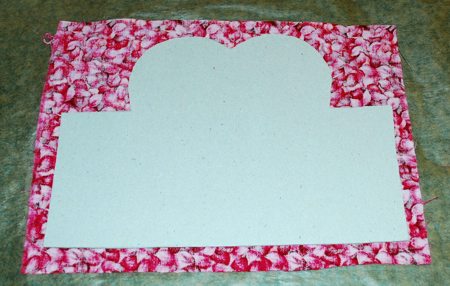
Take the 8" x 11" pieces of bright fabric. Place the fabric on the table, face down. Position an inner panel over it. Cut out the fabric about 3/4" larger than thehe panel. Notch the seam allowance around the heart shape.
Place some glue along the panel's edges. Fold the fabric over the glue. Press with your fingers. Leave to air dry.
Make 4 inner panels.
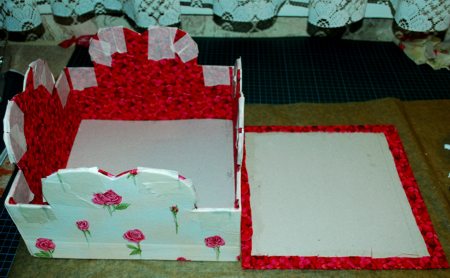
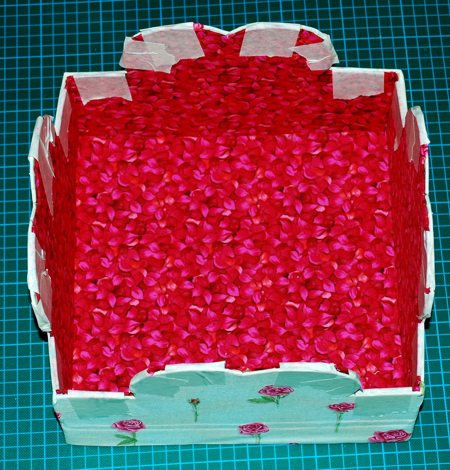
Cover the wrong side of the inner panels with liberal amounts of glue and place them inside the box. To make the glue adhere better, put some painter's tape temporarily over the edges. You can also use large paper clips for this purpose.
To finish the interior of the box, take the remaining cardboard square and the fabric square. Position the fabric on your working table, face down. Position the cardboard square over it. Cover the edges with glue. Fold the fabric over the edges. Leave to air dry.
Place some glue on the bottom from the inside. Place the square over it. Press with your hands. Leave to air dry.
Spread some glue over the stitch-outs. Attach the stitch-outs to the panels.
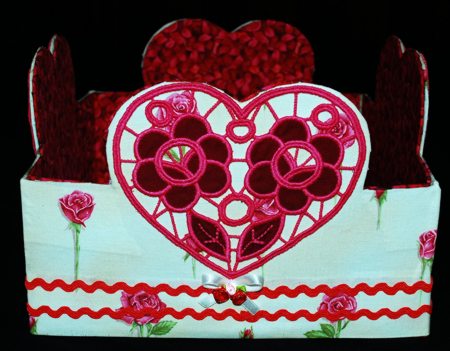
You can further deocrate the box with the rick-rack, small bows, etc.