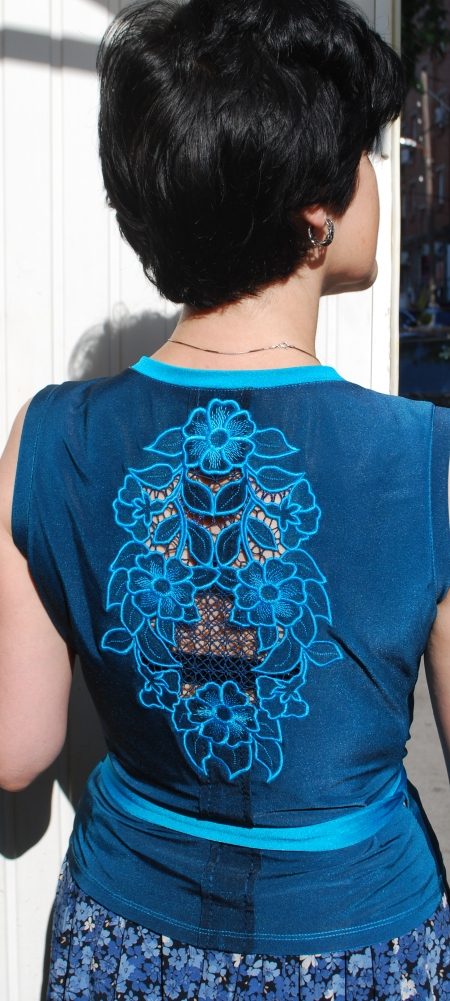
Cutwork lace designs are very popular to use on clothes. In this project we show how to turn a simple blouse into a unique and elegant top. If you're working with a cotton or polyester woven fabric, the project is very simple and straightforward.
Our task was a little more complicated - we embroidered the Wild Rose Cutwork Lace Insert design on a blouse of stretchy light jersey.
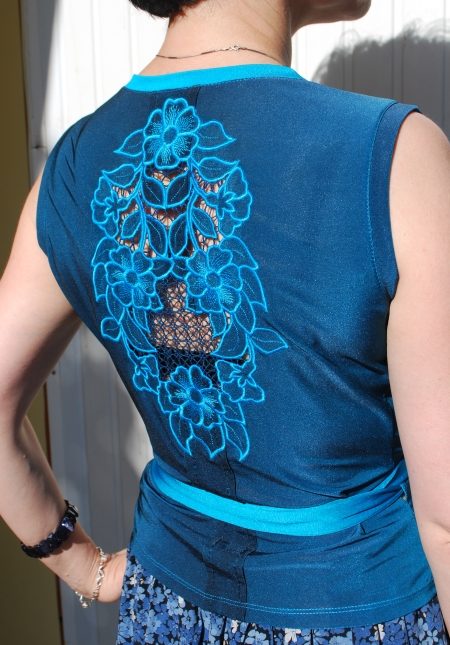
You will need water soluble mesh stabilizer and polyester embroidery threads. You can read about how to embroider the Wild Rose Cutwork Lace Insert on the instructions page.
When you embroider on knits or jersey fabric (T-shirts, light sweaters) you need additional light-weight cut-away stabilizer under the fabric. We recommend such stabilizers as Soft 'n Sheer, or Soft 'n Sheer Extra by Sulky, No Show Nylon Mesh or Diamond Mesh by Floriani, No Show Fusible or Iron-on Fusible by Marathon, Fixier-Stickvlies Fuse-n-Tear from Germany, and similar stabilizers by other companies.
Whichever brand you use, we recommend iron-on or fusible stabilizer. It forms one layer with the fabric, which makes it easier to do the cutwork. If your stabilizer does not have an adhesive surface, use a temporary fabric adhesive.
Our blouse is embroidered on Soft 'n Sheer Extra by Sulky. We highly recommend that you make a test stitchout of the design on a piece of knit fabric before you start embroidering on a garment.
The 3D flower is optional. If you don't want to add it, skip ahead.
For the freestanding flower you can use organza, organdy or any other fine fabric. It doesn't have to be sheer, but we think sheer fabrics look best.
Hoop organza with a layer of water soluble mesh. Embroider the files with petals.
Cut out the petals. Wash away the stabilizer. Place the two sets of petals one over another.
We embroidered the insert on the back of the blouse, so we did not use the 3D flowers.
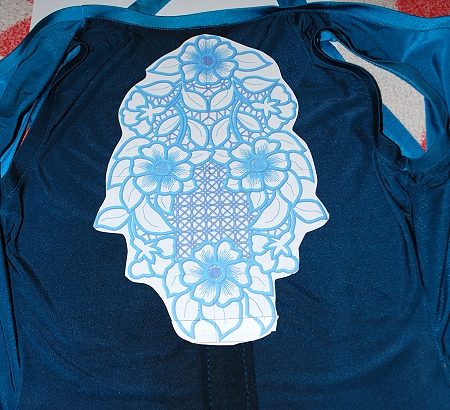
Step One: Print out a screenshot of the design. With its help choose the position of the embroidery on your garment.
Stabilize this portion of your garment with light-weight iron-on cut-away stabilizer. If you do not have an iron-on stabilizer, use a temporary fabric adhesive.
Cut a piece of water-soluble mesh large enough to be hooped. Place the piece over the lower frame of the hoop. Place the stabilized garment over the watersoluble mesh. Hoop. Tighten the frame. The fabric and stabilizers should be tight, without any creases, but the knit fabric should not be distorted.
Step Two: Upload the design into your machine. Start the machine and embroider the outline of the the whole design.With this outline, check that the position of the design is correct.
Start the machine again and embroider the stems and flowers.
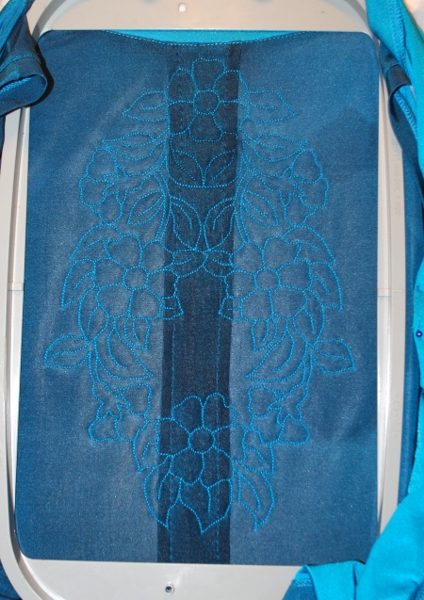
Step Three: Take the hoop from the machine. With a pair of sharp scissors cut away the knit fabric together with the fusible stabilizer between the leaves, stems and the flower outline. Leave the water-soluble stabilizer intact!
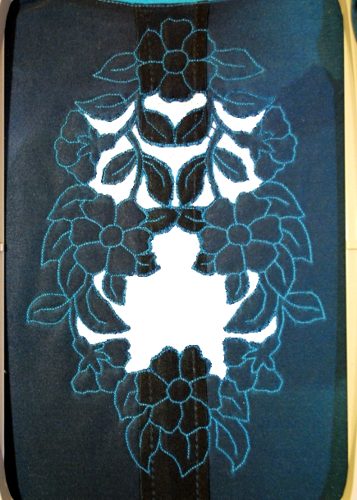
Step Four: Embroider the next color, which is the "bridges".
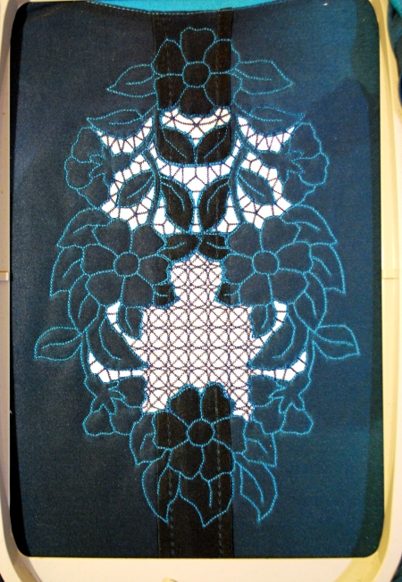
The next color finishes the raw edges of the design. Usually, you can embroider both the "bridges" and the edge finish with the same thread.
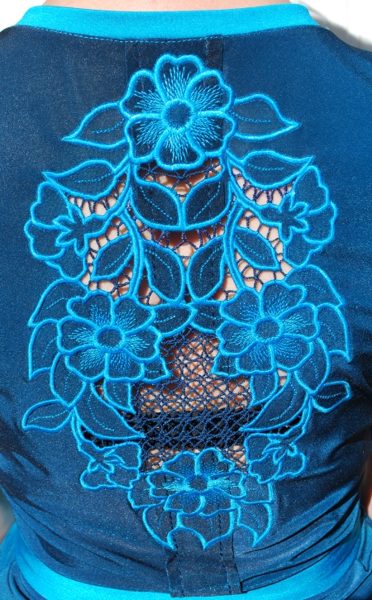
Cut away the excess water soluble stabilizer. Cut away the excess fusible stabilizer around the design as close to the stitches as possible.
Wash away the water soluble stabilizer. Neatly spread the garment on a flat surface and leave to air dry. Press with a warm iron if needed.
