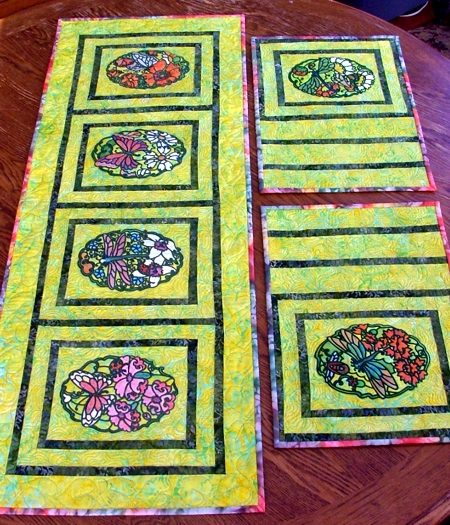
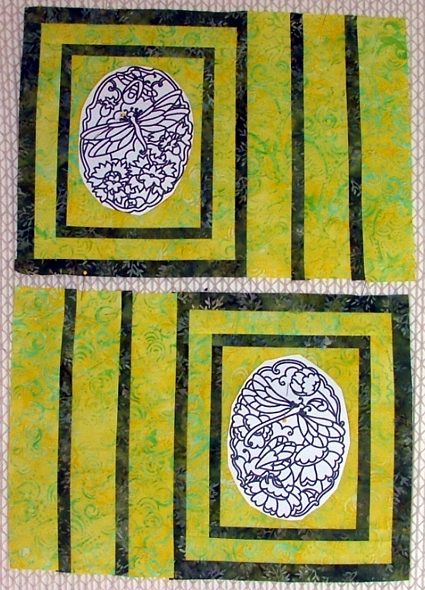
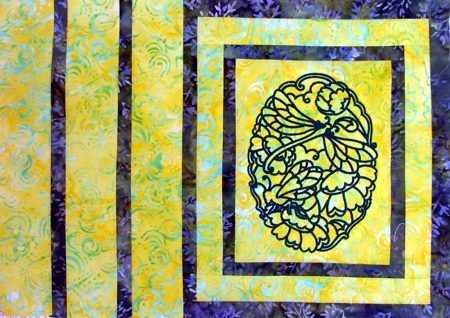
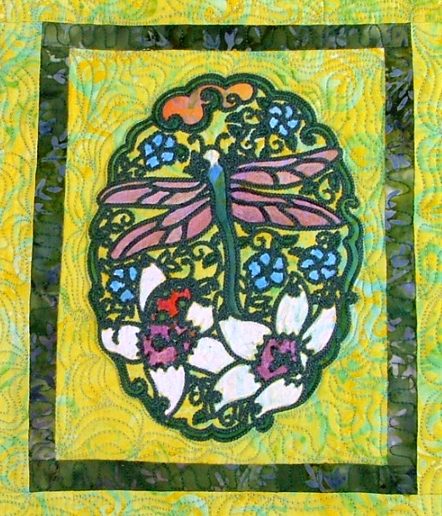
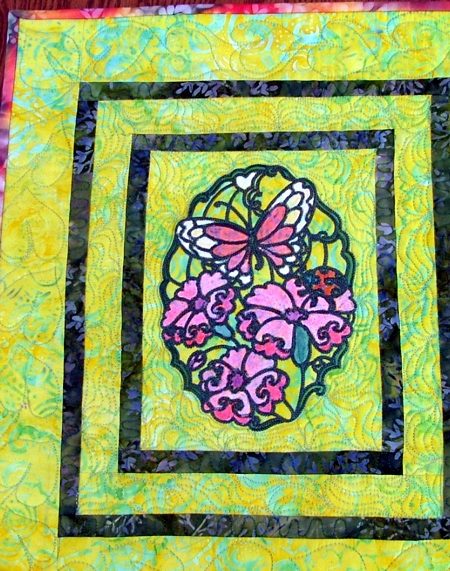
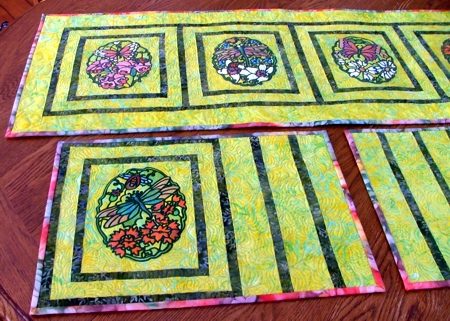
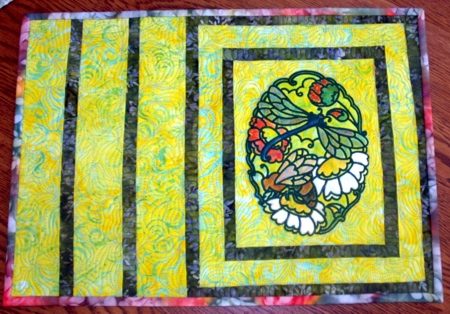
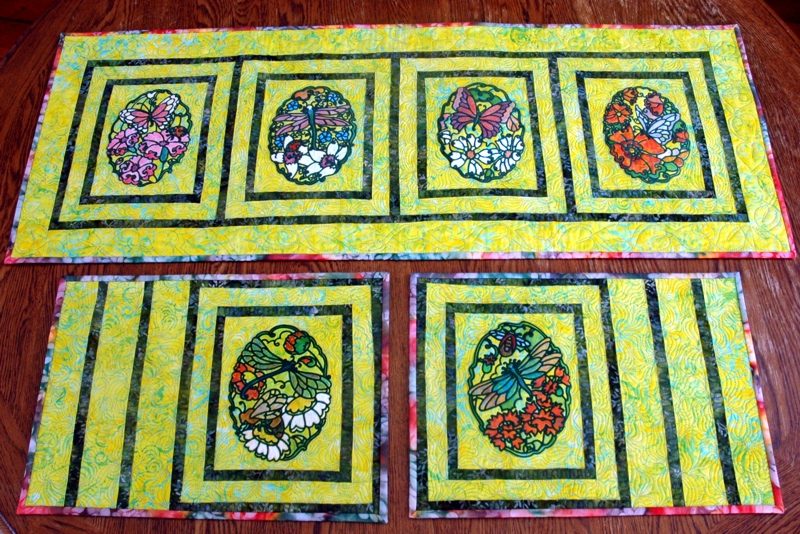
For this spring themed table set we used the designs of the One-Color Spring Ovals for a large (5" x7") hoop. We used fabric markers to color the ovals and make them look like stained-glass.
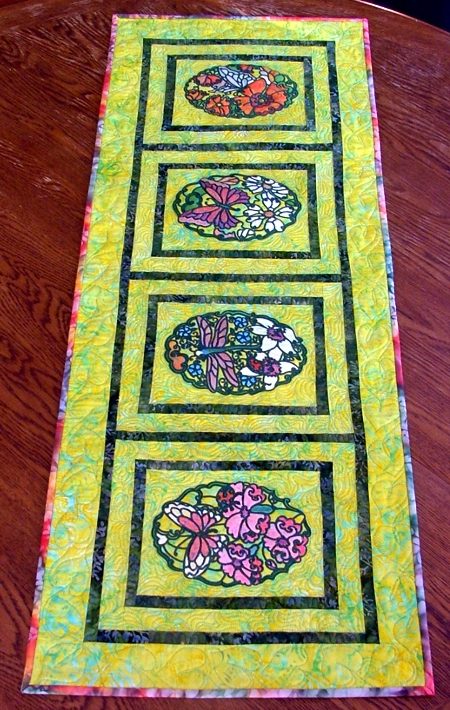
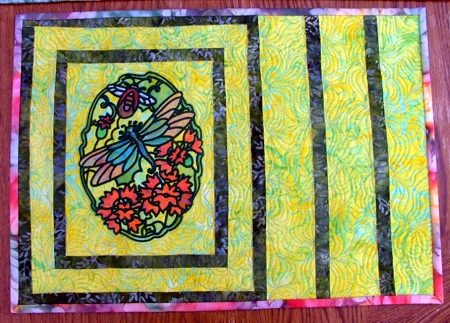
The table runner measures 16" x 42" and you can easily make it longer or shorter to fit your table. The placemats measure 12" x 17'.
Besides embroidery threads (either polyesyer or rayon), you will need cut-away stabilizer, fabric for the top, binding and backing and batting.
For the top of 1 table tunner and 4 mats we used about 1 1/2 yard of bright yellow batik and 1/2 yard of green batik. For the binding we used 1/2" yard of batik with yellow, red, pink and green colors to match the colors inside the embroidery.
Cutting:
For the table runner,
Out of yellow batik, cut:
For each place mat,
Out of yellow batik, cut
Assembly:
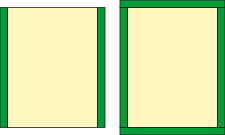
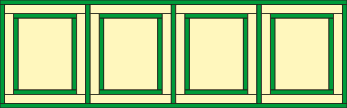
Both for the table runner and mats: Sew the green 1" x 8 1/2" strips to the left and right edges of the 6 1/2" x 8 1/2" yellow rectangles. Then sew the 1" x 7 1/2" strips to the upper and lower edges of the rectangle.
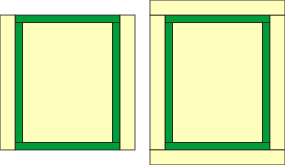
Sew the yellow 1 1/2" x 9 1/2" strips to the left and right edges of the rectangle, then sew the remaining yellow 1 1/2" x 9 1/2" strips to the upper and lower edges.
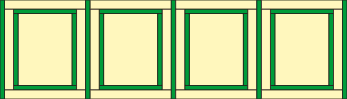
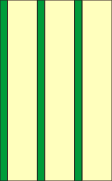
For the table runner: sew the green 1" x 11 1/2" strips between the 4 blocks and to the right and left edges of the first and last blocks in the row.
Sew the green 1" x 39" strips to the upper and lower edges of the working piece.
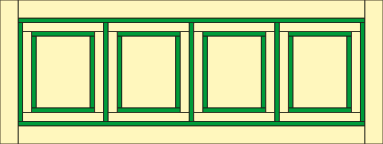
Sew the yellow 2 1/2" x 39" strips to the upper and lower edges.
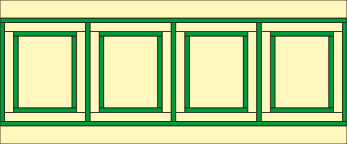
Sew the yellow 2 1/2" x 16 1/2" strips to the left and right edges.
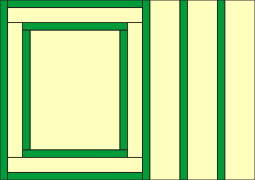
For the place mat: Sew the green 1 x 9 1/2" strips to the upper and lower edges of the rectangle.
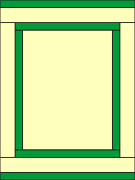
Sew the yellow 2 1/2" x 12 1/2" strips and green 1" x 12 1/2" strips together, alternating between the two colors. Start with a yellow strip and end with a green strip.
Sew the new unit to either the left or right edge of the block.
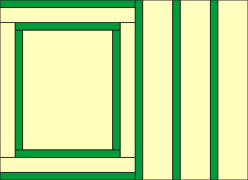
Sew the remaining green 1" x 12" strip to the opposite edge of the block.
Embroidery:
Stabilize the central rectangle on each block with cut-away stabilizer. You can mark the position of the embroidery with paper print-outs.
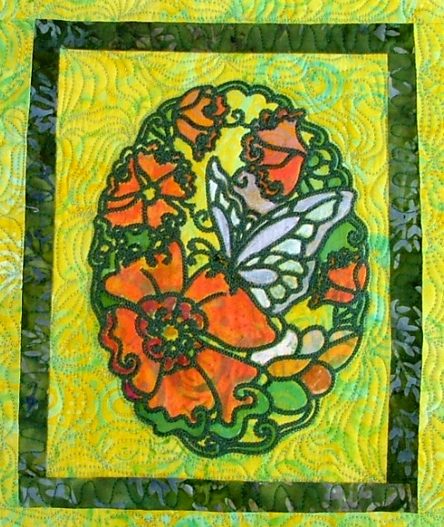
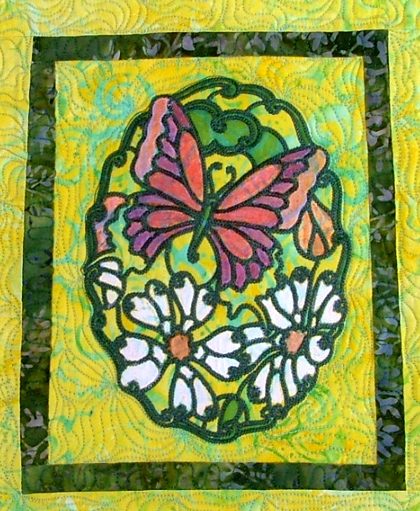
Embroider designs from the One-Color Spring Oval Set .

Quilting and Finishing:
Spread the backing on your table, face down. Cover with the working piece. The felt will work now as batting. Pin all three layers together with 1" pins.
We quilted around the embroidery and all over the quilt in a free-motion style with floral patterns. Remove the pins while working.
Press the work with heavy steam.
Now pretend the embroideries are pages from a coloring book. Color the ovals using whatever fabric colors you prefer - markers, pencils, inks. Follow the manufacturer's directions.
When you are finished, press the work with heavy steam again and square the work -- all corners should be 90 degrees and opposite sides should be of the same length. Finish the raw edges with the binding.


