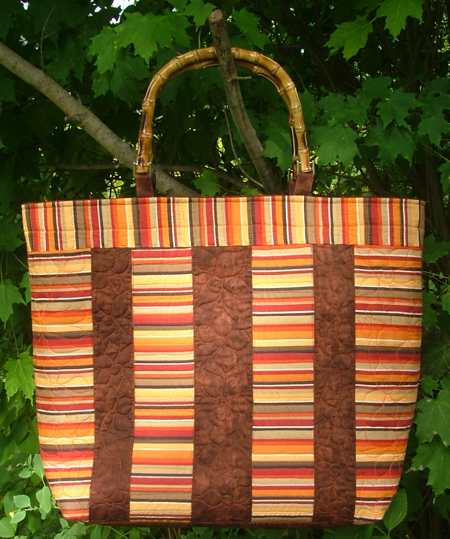
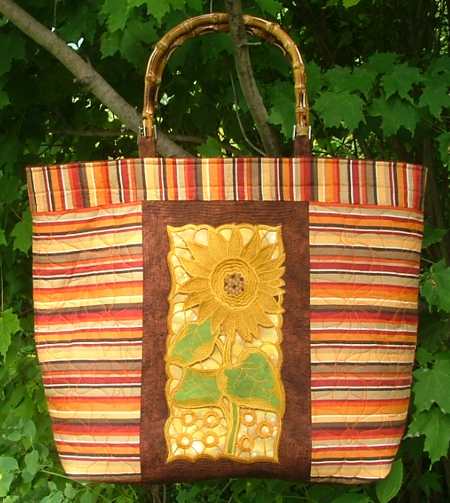
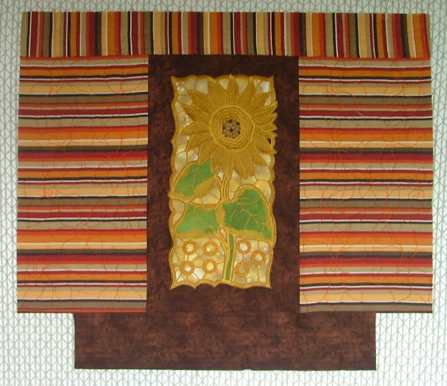
This roomy but charming tote is quite simple to make. We used only 2 types of fabric, plus a scrap of fabric for the cutwork. The front panel of the tote is decorated with the Cutwork Lace Applique Sunflower Panel.
The finished size of the tote is about 17" high x 19" wide x 5" deep. The original tote is available for sale in our Etsy store!
For the embroidery you will need embroidery thread, water-soluble stabilizer and base and applique fabric. For the tote you will need:
Cutting:
For the front panel:
Out of the striped fabric, cut
Embroidery
Embroider the Sunflower design on the piece of brown fabric measuring 15" x 22", as described in the instructions.
We chose the design for a commercial size hoop. However, you can use a stitch-out for a smaller hoop.
Position the piece of pale yellow fabric underneath the stitch-out, pin and stitch in a free-motion style along the outline of the embroidery.
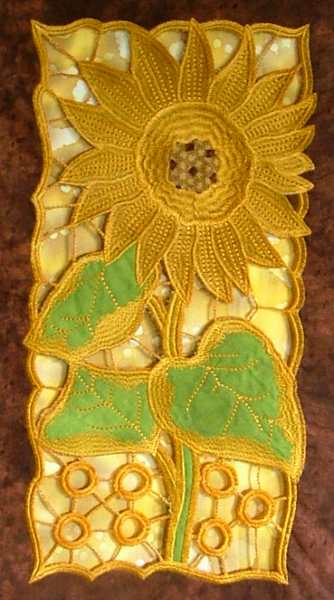
Trim the embroidered block to 8 1/2" x 14 1/2".
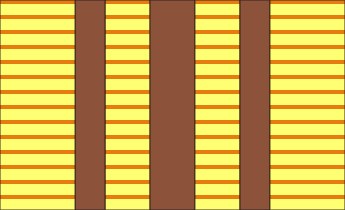
Assembly of the Panels. The Front Panel.
Sew the striped 7 1/2" x 14 1/2" pieces to the left and right edges of the embroidered panel.
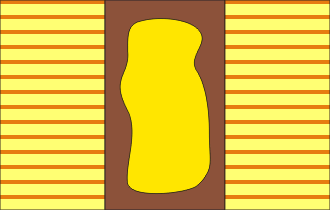
Sew the striped 3" x 22 1/2" strip to the upper edge and the brown 3 1/2" x 22 1/2" strip to the lower edge of the working piece.
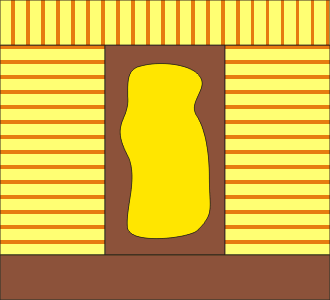
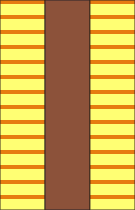
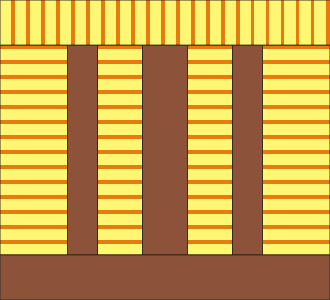
The Back Panel:
The brown 3 1/2" x 14 1/2" strip will be the central part on the back panel. Sew the striped 3 1/2" x 14 1/2" strips to the right and left edges of the brown strip.
Sew the brown 2 1/2" x 14 1/2" strips to the left and right edges of the working piece.
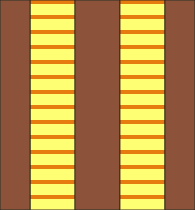
Sew the striped 5" x 14 1/2" strips to the left and right edges of the working piece.
Sew the striped 3" x 22 1/2" strip to the upper edge and the brown 3 1/2" x 22 1/2" strip to the lower edge of the working piece.
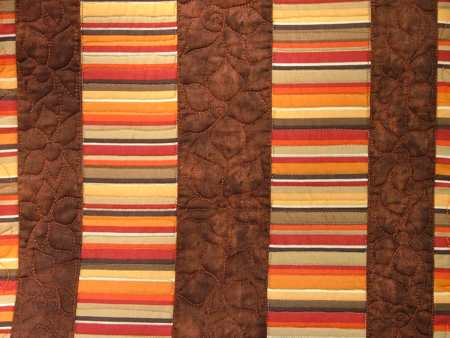
Quilting the Panels.
Spread the fabric for the lining on your working table, face down. Cover it with batting. Spread the pieced front panel over the batting. Pin all three layers together with 1" pins.
Repeat for the back panel.
We quilted around the embroidery and all over the quilt in a free-motion style. Remove the pins while quilting.
Press the work with heavy steam and square the work -- all corners should be 90 degrees and opposite sides should be of the same length. Trim the sides to 19" high and 22" wide.
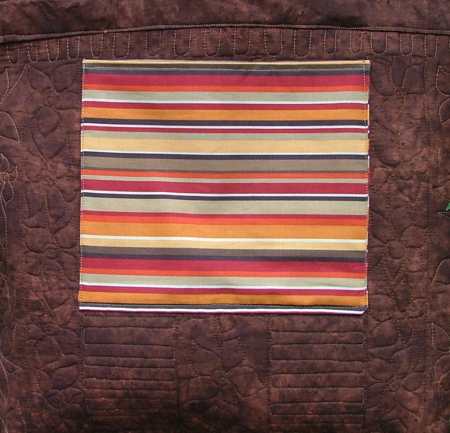
The Inside Pocket:
Fold the striped 9 1/2" x 16" widthwise, face inwards. Stitch the sides. Turn the work right side out. Press. Tuck the raw edges 1/2" inside. Press. Topstitch 1/8" from the edge.
Position the pocket on the lining of the back panel. about 3" from the upper edge and on equal distance from the side edges. Pin, then topstitch in place.
Sewing the Bag:
On both, front and back, panels cut a 3" square from each corner of the lower edge of both panels.
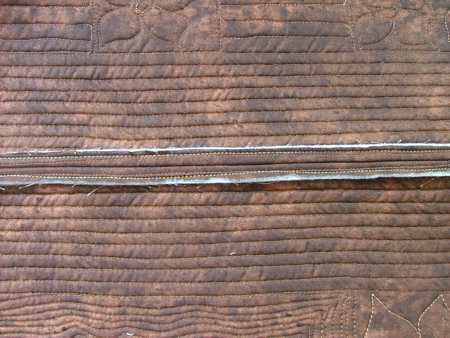
Position both panels face to face and align all edges. Topstitch along the bottom, 1/2" from the edge.
Open the seam and press.
Topstitch 1/4" on each side from the seam.
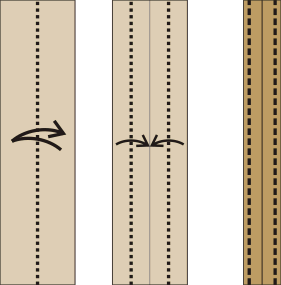
Take the 2" x 16 1/2" strips, fold them to make the long edges meet in the center and press.
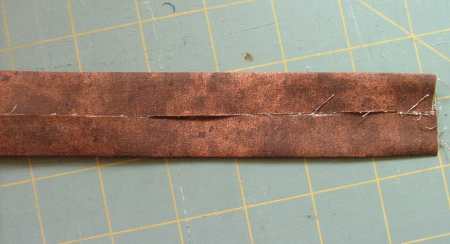
Position the first strip over the bottom edge and topstitch it in place. Thus you have finished the "raw" bottom seam.
Fold the bag with face inwards and align the edges. Stitch one of the sides. Finish it as the bottom seam.
Repeat for the second side.
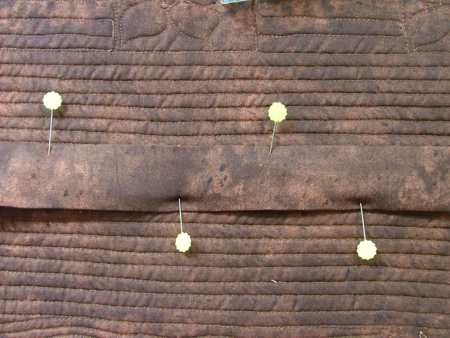
Now align and pin the side and the bottom seams. Stitch 1/2" from the edges. Finish the raw edges either with zig-zag stitch or with binding.
Attaching the Handles:
Stabilize the brown 3" x 10" strips with light-weight iron-on interfacing.
Fold the strips in half lengthwise, with the interfacing on the inside. Press. Unfold.
Turn the raw edges inside to the folded line. Press again.
Topstitch along both long edges 1/8" from the edge.
Cut each strip in half. You'll get 4 strips measuring 3/4" x 5".
Insert the strips into the handle rings. Align the raw edges of the strip and topstitch 1/4" from the edge.
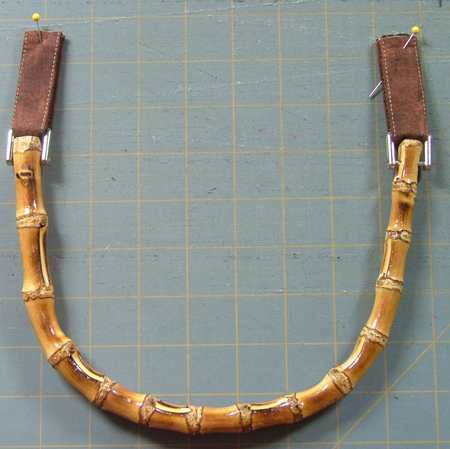
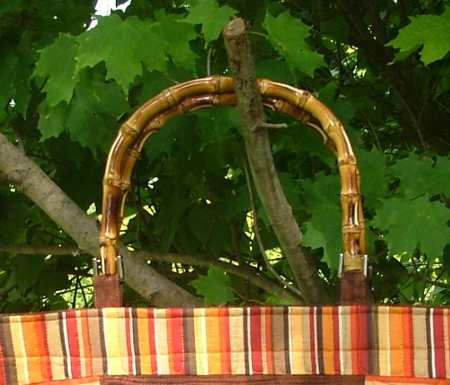
Position the first handle as shown on the photo below: about 6" from the side seams and with the ends of the strips protruding 1" beyond the upper edge of the bag. Pin.
Topstitch in place 1/4" from the upper edge of the bag.
Repeat with the second handle.

Finishing the Upper Edge:
Measure the upper circumference of the tote. In our case it's 43". Cut a strip 2" longer than the circumference and 3" wide. Ours measured 3" x 45". If needed,, cut 2 shorter strips and sew in one.
Stabilise the strip with light-weight iron-on interfacing.
Fold one of the short edges of the strip 1/2" back and press.
Starting with this folded end, pin the strip along the upper edge of the bag, face to face. The strip is longer than the upper edge, leave the last 4" unpinned.
Topstitch the strip to the bag with seam allowance 1/4". Start from the folded and pined end.
When you come to the unpinned end, pin it along the edge and it will overlap the folded edge. Topstitch in place.
Unfold the strip and the handles. Press. Topstitch 1/4" from the upper edge.
Tuck the raw edge of the strip 1/2" inside and pin. Topstitch 1/8" from the edge.
Your tote is ready!
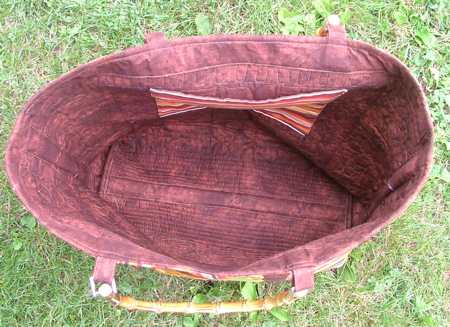
This is what it looks like on the back and inside.