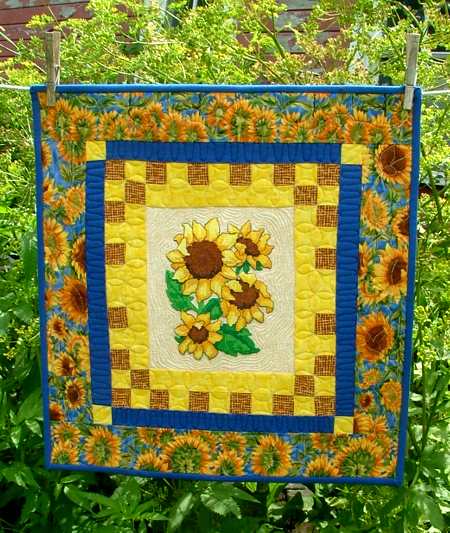
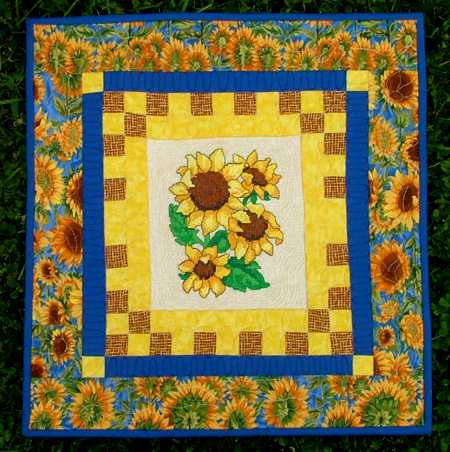
This charming rustic wall hanging features the Four Sunflowers design in the cross stitch technique.
The finished size of the wall hanging is about 17 1/2" x 18 1/2".
|
|
Besides embroidery thread (either polyester or rayon), you will need
- medium-weight iron-on cut-away stabilizer,
- cotton quiting fabrics:
- a piece of light cream for the embroidery, large enough to be hooped;
- scraps of bright yellow and brown fabrics,
- 1/8 yard of bright blue for sashing and binding and
- a fat quarter of patterned fabric for the borders.
We recommend to select fabrics after you make the embroidery, to match the colors of the embroidery.
You will also need fabric for the backing, 1 fat quater, and batting. |
| Embroidery |
We get many e-mails asking whether you need special software to embroider cross stitch. You do not need any special software. Usually there are more stitches and jumps in cross-stitch designs, than in satin stitch designs of the same size. The cross-stitch designs are denser and need good stabilizing.
Stabilize the fabric with iron-on cut-away stabilizer. Tighten the hoop/frame as far as it will go.
|
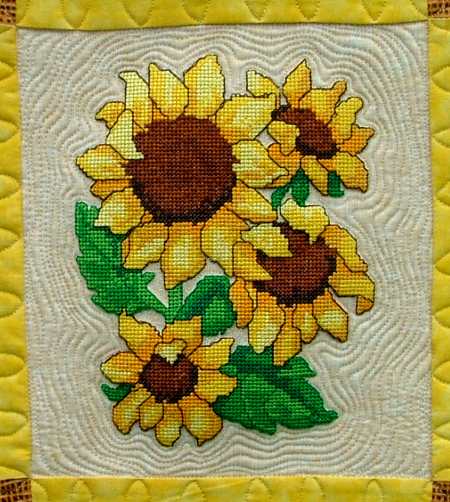
Embroider the Four Sunflowers design. Cut the jump stitches after every color. Be very careful when you take the frame from the machine. If you bump or move the carriage, the machine may misplace stitches and you will have missing stitches in the finished pattern.
The stitch-out should look like this: |
|
| Cutting: |
After the embroidery is finished, press it and trim the fabric to 7 1/2" x 8 1/2".
Out of yellow fabric, cut
- 2 strips measuring 1 1/2" x 7 1/2",
- 2 strips measuring 1 1/2" x 8 1/2",
- 1 strip measuring 1 1/2" x 24",
- 2 strips measuring 1 1/2" x 2 1/2" and
- 6 squares measuring 1 1/2" x 1 1/2".
Out of brown fabric cut
- a strip 1 1/2" x 24" and
- 8 squares measuring 1 1/2" x 1 1/2".
Out of blue fabric, cut
- 1 strip measuring 1 1/2" x 11" and
- 1 strip measuring 1 1/2" x 12".
Use the rest of the blue fabric for binding.
Out of the fabric for the borders, cut
- 2 strips measuring 3 x 19" and
- 2 strips measuring 3" x 14 1/2".
|
Sewing:
|
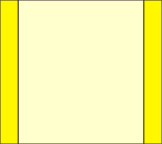
| Sew the yellow 1 1/2" x 8 1/2" strips to the left and right edges of the embroidered panel. |
|
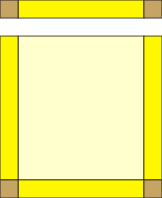
| Sew 1 1/2" brown squares to the ends of the 1 1/2" x 7 1/2" yellow strips. Sew the strips to the upper and lower edges of the central part. |
 |
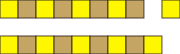
Sew the yellow and brown 1 1/2" x 24" strips together lengthwise. Press the seam towards brown strip. Subcut the strip into 16 yellow-brown strips measuring 1 1/2" x 2 1/2".
|
 |
Sew 4 yellow-brown strips into a long strip. Sew a 1 1/2" yellow square to the brown end of the strip.
Repeat for a second strip. |
 |
| Sew the strips to the upper and lower edges of the working piece. |
|
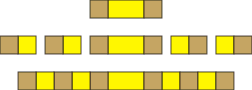
Sew the brown squares to the ends of the yellow 1 1/2" x 2 1/2" strips.
Add 2 yellow-brown strips to each end of the the strips you just made. |
|
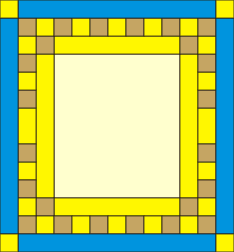
Sew the strips to the left and right edges of the central panel.
|
|
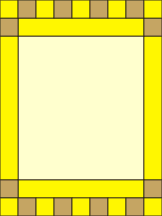
| Sew the blue 12" strips to the left and right edges of the central panel. |
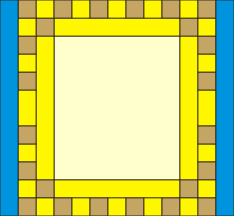
|
| Sew the yellow sqiares to the ends of the 11" blue strips. |
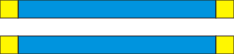
|
| Sew the strips to the upper and lower edges of the central panel. |
|
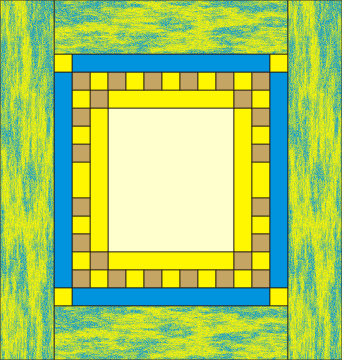
| Sew the 3" x 14 1/2" borders to the left and right edges. |
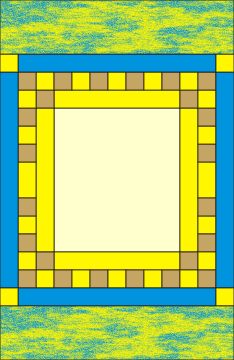
|
| Sew the 3" x 19" borders to the upper and lower edges. |
|
| Quilting and Finishing: |
Spread the backing on your table, face down. Cover the backing with batting. Cover with the working piece. Pin all three layers together with 1" pins.
We quilted around the embroidery and all over the quilt in a free-motion style. Remove the pins while quilting.
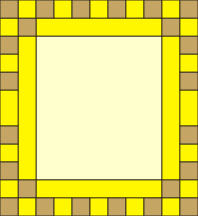
Press the work with heavy steam and square the work -- all corners should be 90 degrees and opposite sides should be of the same length. Finish the raw edges with binding. |
| Your wall hanging is ready! |
|
|
|
Enjoy!
|
|
Happy Stitching!
|
|
Back to Four Sunflowers
|
|
Back to Projects Page
|


