Mobile Menu IconMenu
Advanced Embroidery Designs -- Online Center for Machine Embroidery Designs

Crown-in-the-Hoop for American Girl Doll

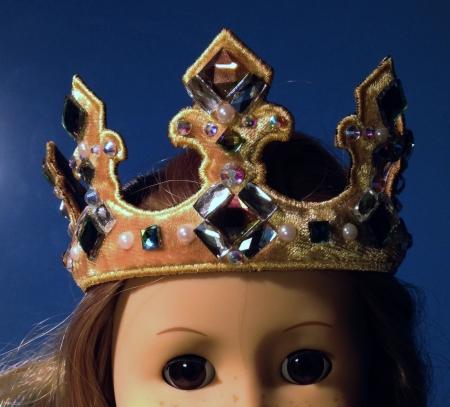
These are instructions of how to embroider the Crown- in-the-Hoop for 18-inch dolls.
The design is for machines with commercial size size, not less than 8" x 12".

Crown-in-the-Hoop for American Girl Doll image 1

Besides embroidery thread (either polyester or rayon), you will need

  • light- to medium-weight tear-away stabilizer,
  • Puffy Foam by Sulky,
  • a piece of stretching fabric for the top,
  • a piece of light-weight polyester leatherette fabric for the lining,
  • rhinestones and beads for decorating the crown,
  • glue to attach the rhinestones (altenatively you can sew them on)

Crown-in-the-Hoop for American Girl Doll image 2

Emboridery

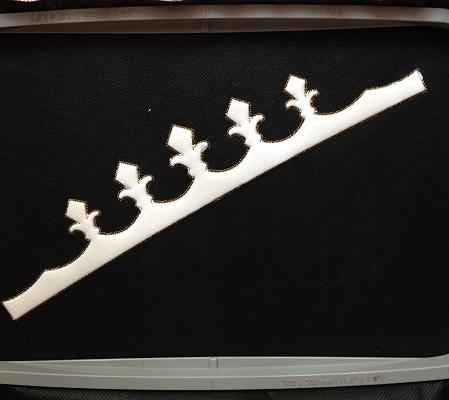
Step One: Hoop tear-away stabilizer. Start the machine. The first color will embroider the outline of the design and stop.

Step Two: Place a piece of Puffy Foam on the outline and start the machine. It will embroider the same outline and stop.

Crown-in-the-Hoop for American Girl Doll image 3

Remove the foam outside the crown.

Crown-in-the-Hoop for American Girl Doll image 4

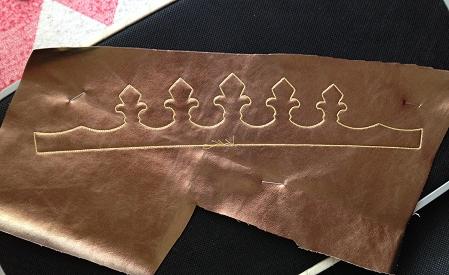
Step Three: Take the hoop from the machine, cover the back of the hoop with a piece of leatherette. Pin it in place from the right side outside the embroidery. Return the hoop to the machine and start it.

Crown-in-the-Hoop for American Girl Doll image 5

The third color embroiders the same outline.

Crown-in-the-Hoop for American Girl Doll image 6

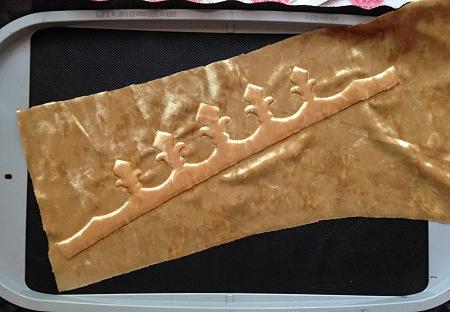
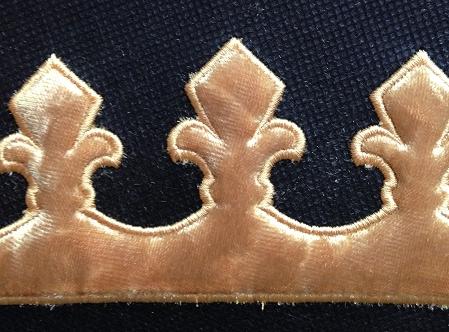
Step Four: On the right side, cover the puffy foam with a piece of stretching fabric (we used stretching velvet). Start the machine.

Crown-in-the-Hoop for American Girl Doll image 7

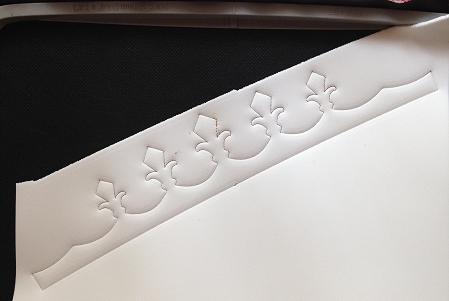
Step Five: Take the hoop from the machine and with a pair of sharp scissors, cut away the excess fabric both on the right and wrong sides. Do not open the hoop!

The right side:

Crown-in-the-Hoop for American Girl Doll image 8

The wrong side/lining:

Crown-in-the-Hoop for American Girl Doll image 9

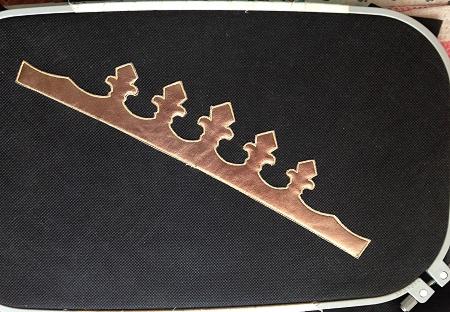
Step Six: Return the hoop to the machine and finish embroidery. The last color will finish the raw edges.

Crown-in-the-Hoop for American Girl Doll image 10

Step Seven: Remove the excess stabilizer.

Crown-in-the-Hoop for American Girl Doll image 11

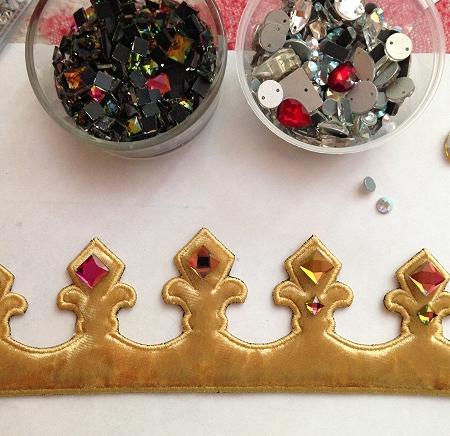
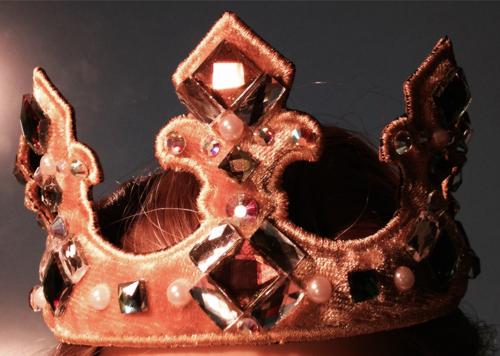
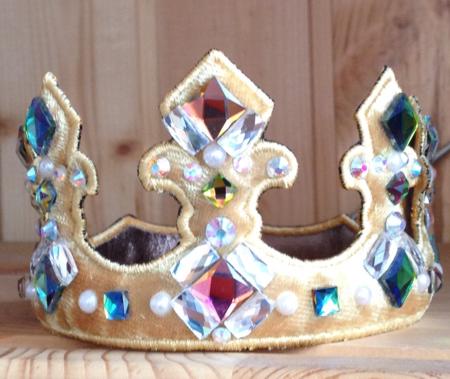
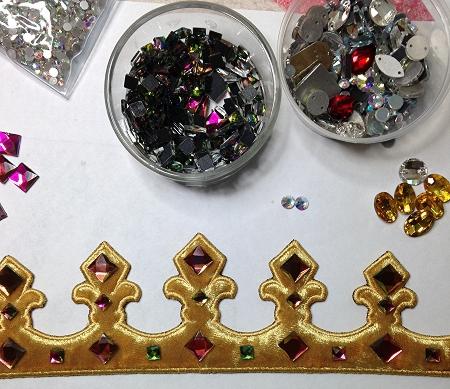
Step Eight: Decorate the crown with rhinestones and beads to your taste.

Crown-in-the-Hoop for American Girl Doll image 12

Step Nine: Fold the crown in a ring and sew the short ends.

Crown-in-the-Hoop for American Girl Doll image 13

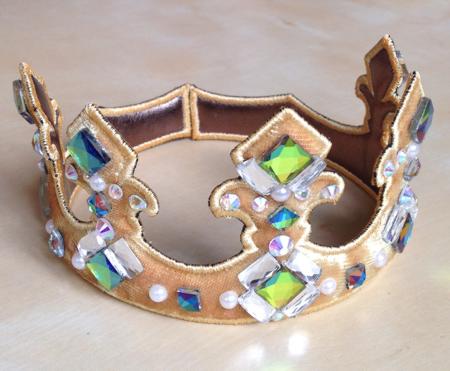
The crown is ready. Enjoy!

Crown-in-the-Hoop for American Girl Doll image 14


Enjoy!

Happy Stitching!

Back to Crown in-the-Hoop for 18-inch dolls.


Mailing List
Enter your e-mail for news, discounts and exclusive special offers.


Find us on Twitter

Special Offers
Bonus design on all orders over $50
Ivy Vine Border Set

Shop Now!

Announcement
Best Project Contest
The results are in!
Featured Project
Check out our latest project Birds and Blooms Quilted Tablerunner
Tutorials
Never heard of photo stitch? - Check out our What is Photo Stitch? page
Most Popular Designs
|| Home || Shop || Free Designs || New Designs ||
|| Projects || Tutorials || Links || About Us || Contact Us ||
|| Store Policy || Licensing || Accessibility ||

Social Media:

Copyright © Advanced Embroidery Designs. All Rights Reserved.