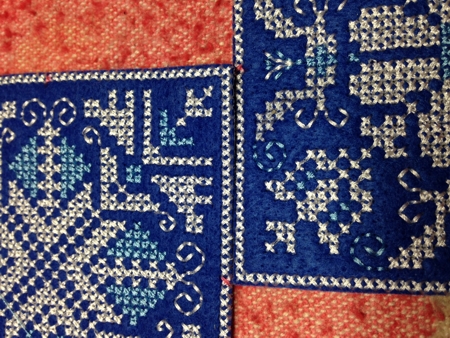
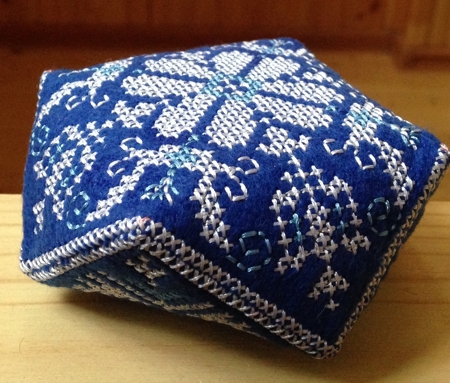
The Biscornu is a traditional European style of pin cushion. These embroidered biscornus look quaint and are sure to be appreciated by any of your crafty friends.
You will need
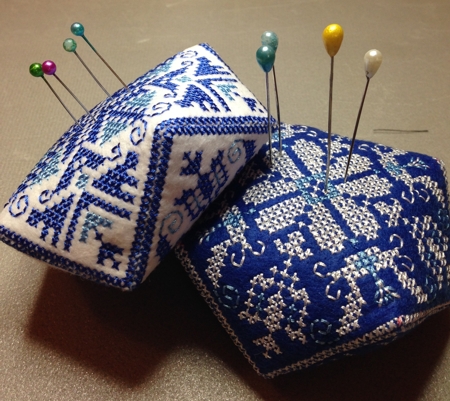
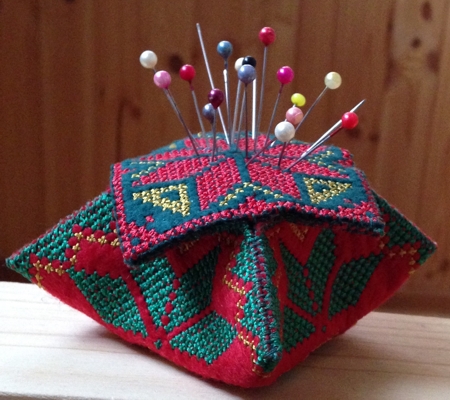
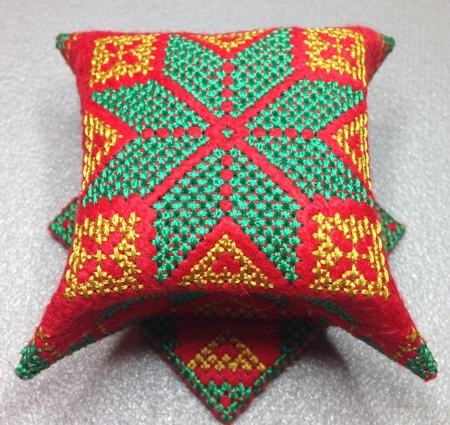
The first two files from the set are for classic biscornus. Classic biscornus are made from two embroidered squares sewn together at an offset to each other. We'll show you how to do that. However you are not limited to that shape only - you can sew the squares together to form small cushions, or a pyramid.
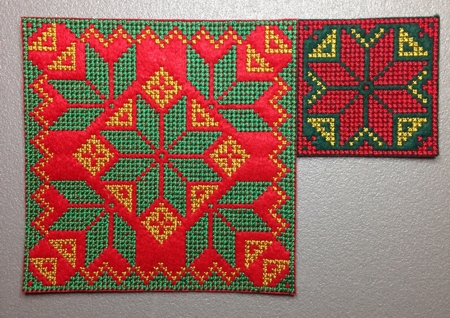
The third file can also be used for making a classic biscornu, or together with the fourth file, it can be used to make a slightly different style of biscornu.
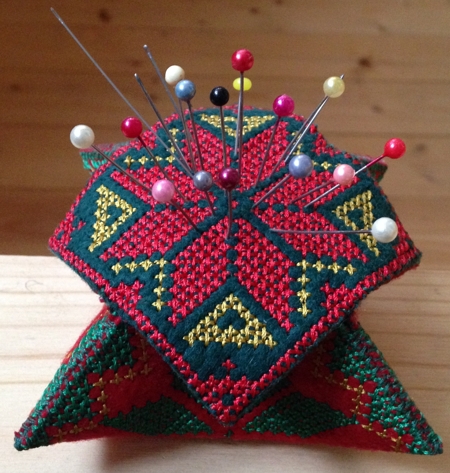
Classic Biscornu
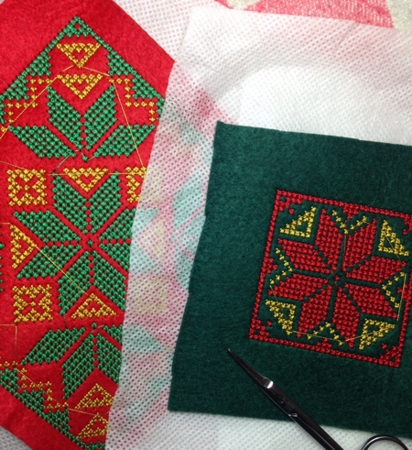
Step One: Stabilize your fabric with cut-away or tear-away stabilizer. Embroider each design (files 1, 2 or 3) twice.
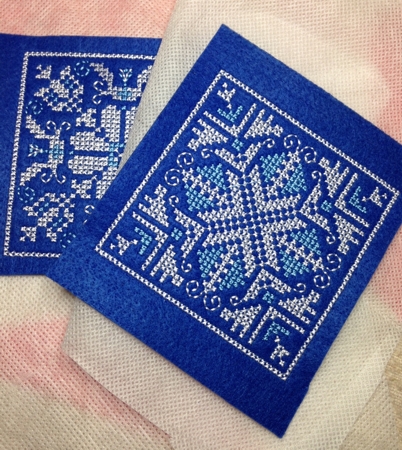
Step Two: Cut/tear away the stabilizer. If you use cotton fabric, cut away the fabric around the square outline of the designs leaving 1/4-1/2" seam allowance. Fold the seam allowance back and press.
If you use crafter's felt, cut very close to the stitches.
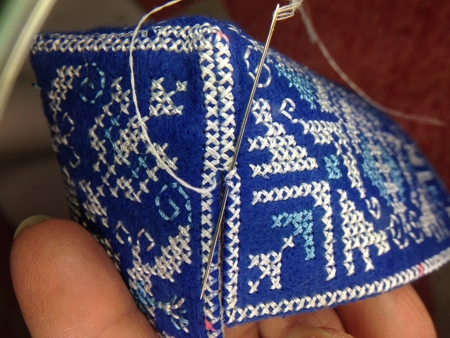
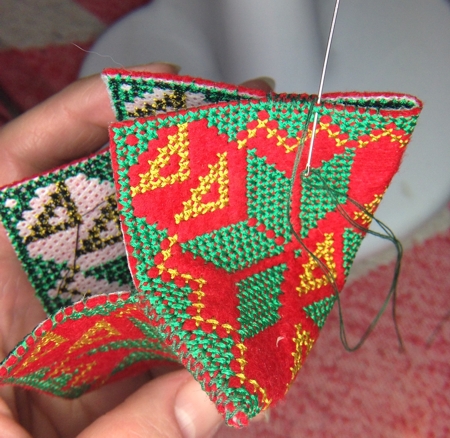
Step Three: Find and mark the center of each side of the squares. Match the corner of one square to the center of one of the sides of the second square.
Handstitch them together, using whip stitch. Start from the center and go to the corner.
When you reach the corner, fold the second square and match its corner with the center of the first square's side.
Whip stitch through the outermost line of stitches on each motif, try not to pierce the fabric underneath.
If you want to use seed beads for embellishment, stitch them on as you work.
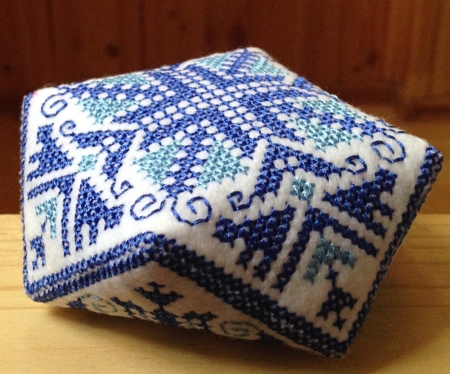
Step Four: Work through seven sides. Leave the eighth side open. Insert stuffing into the opening, then sew it closed.
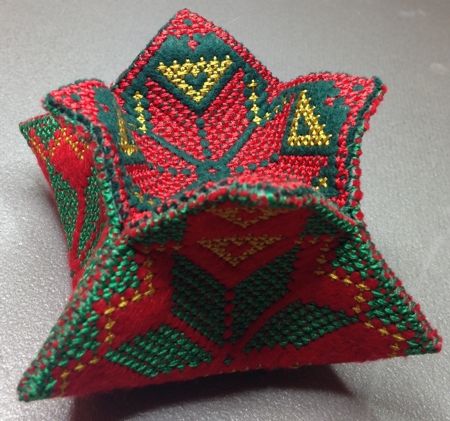
"Flower" Biscornu
Step One: Embroider files 3 and 4 once.
Step Two: Cut/tear away the stabilizer. If you use cotton fabric, cut away the fabric around the square outline of the designs leaving 1/4"-1/2" seam allowance. Fold the seam allowance back and press.
If you use crafter's felt, cut very close to the stitches.
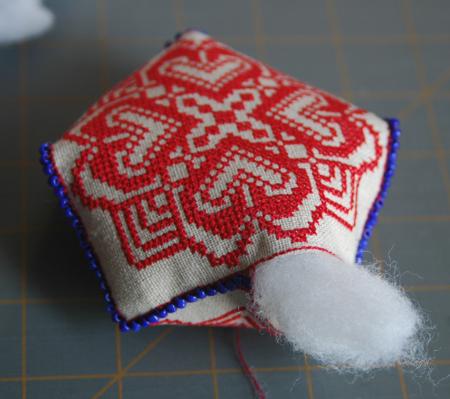
Step Three: Fold the large square in half, align the edges. Whip-stitch the short sides 1/2 of their lengths.
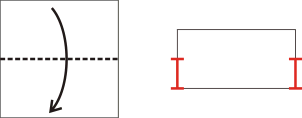
Now fold the long sides in half and whip-stitch them 1/2 of their lengths.
You will get a shape as shown below. Plese note that if you continue sewing the sides clowed you'll get a pyramid. However, we are making a different shape.
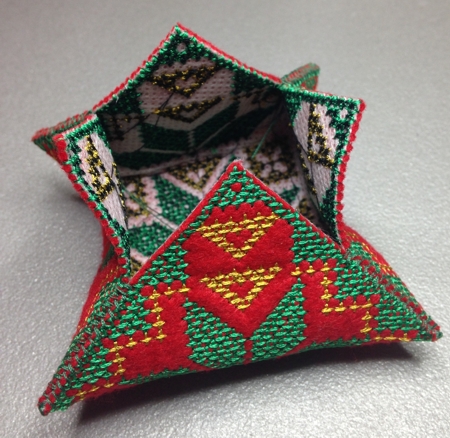
Fill the shape with stuffing. Position the small square over the bottom shape, align the corners. Handstitch them together using whip-stitch.
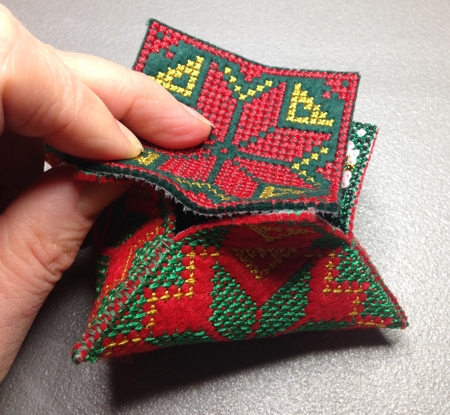
You can use either the bottom of this shape...
Or the top.
Your pincushions are ready. Enjoy!


