These are instructions on how to embroider the Carnival Doll Masks. The masks fit 18" - 20" dolls.
You will need
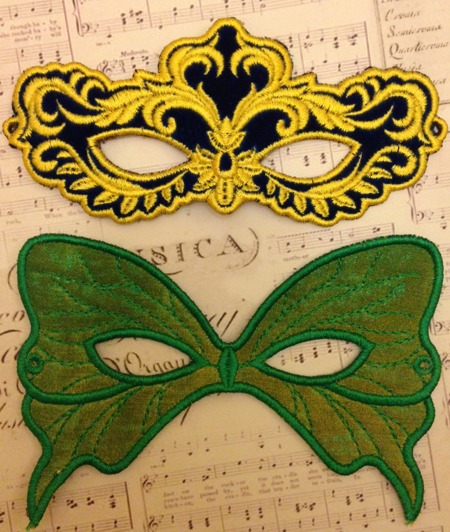
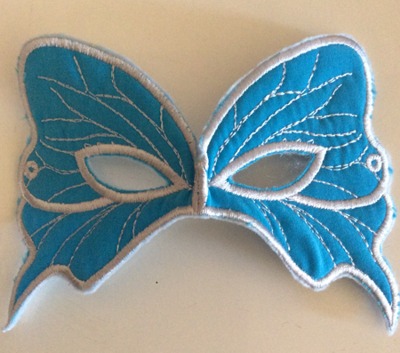
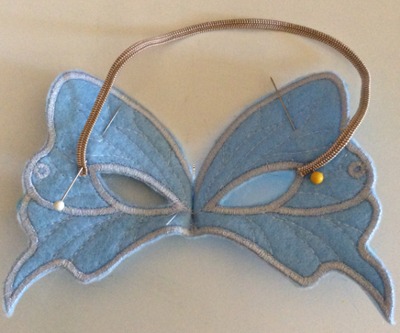
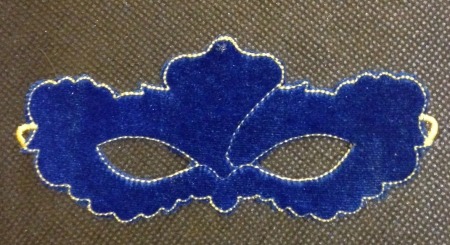
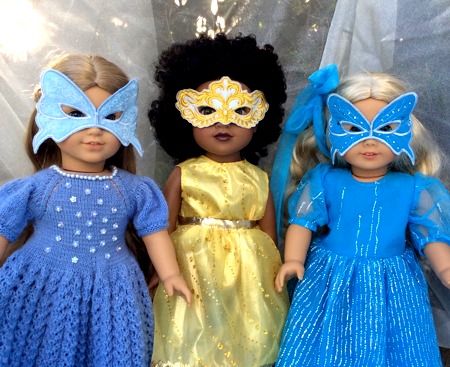
Butterfly Mask
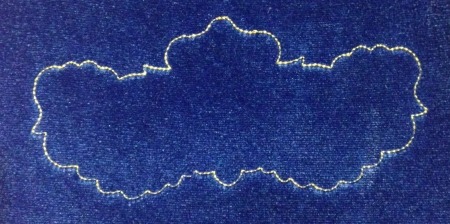
Step One: Hoop the light-weight cut-away stabilizer. Upload the file. Start the machine. The first color will embroider the outline of the design.
Step Two: Place a piece of fabric over the outline.
Start the machine. It will embroider the outline and veins over the fabric.
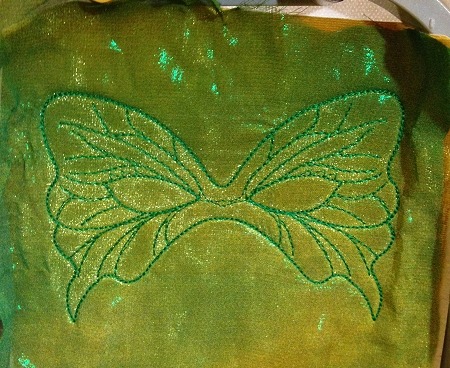
We used stretch velvet for this mask
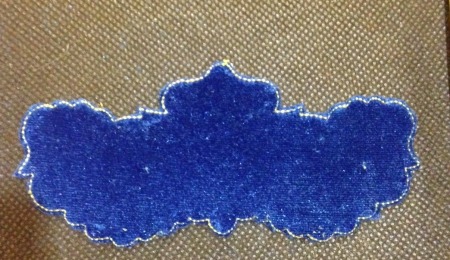
Step Three: With a pair of sharp scissors, cut away the fabric around the outline and inside the eye openning as close to the stitches as possible. Take care not to cut through the stitches.
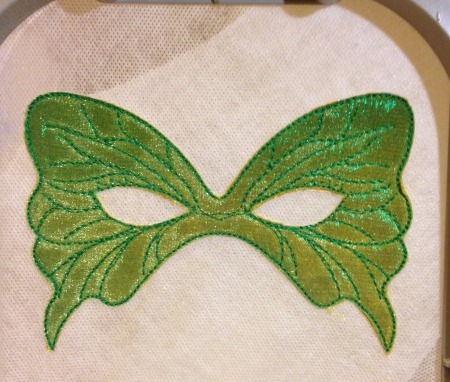
Step Four: The last color will finish the raw edges.
Step Five: Remove the stabilizer from the eye openings. Fold the mask in half.
Using matching thread, either on your machine, or by hand, topstitch stitch both halves in the area marked red. It's a small line, about 1/4".
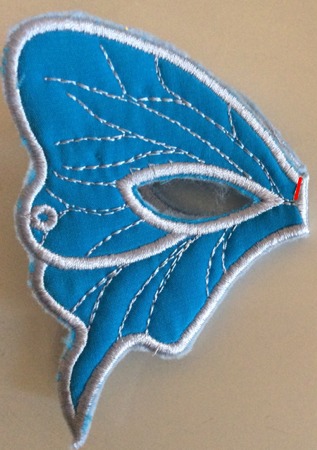
This small stitch will shape the mask to better fit the doll's face.
Finishing: You have a couple of options for attaching the elastic. To have the mask form to the face, use a needle to punch holes through the stabilizer in the embroidered eyelets and insert the elastic through them.
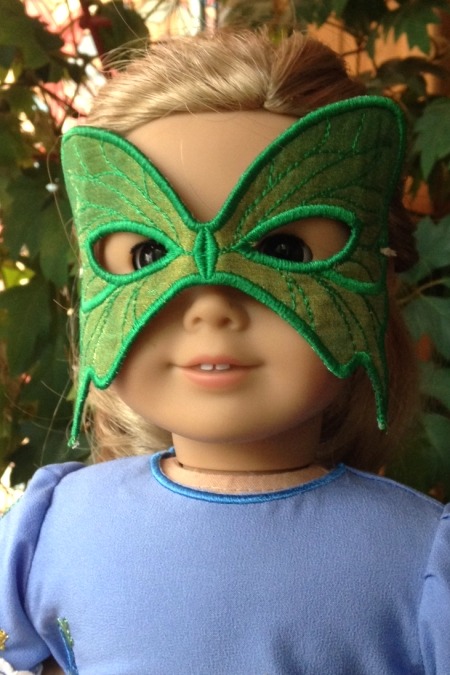
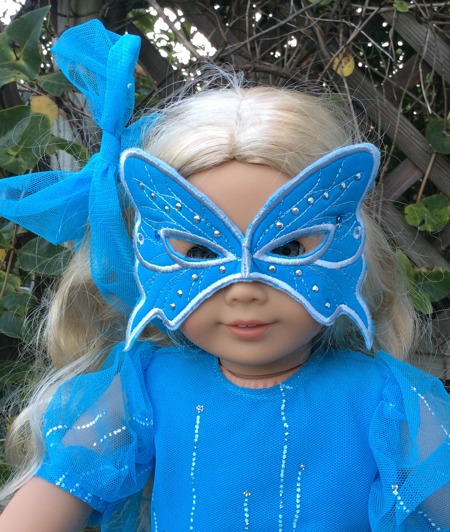
If you would like the edges of the mask to protrude so it appears more like a butterfly, stitch the elastic to the back of the mask at the edges of the eye openings.
You can also decorate the mask with beads or hot fix crystals, feathers, glitter, etc.
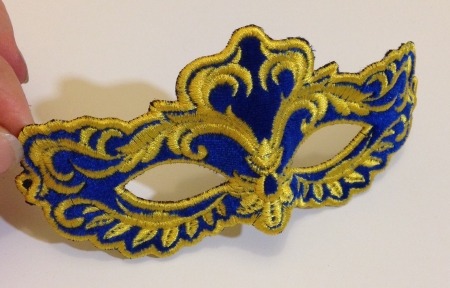
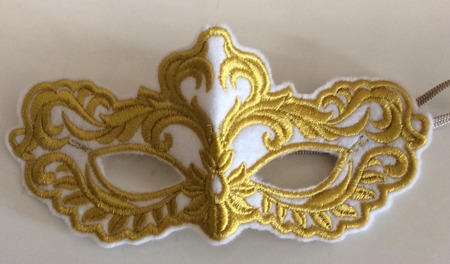
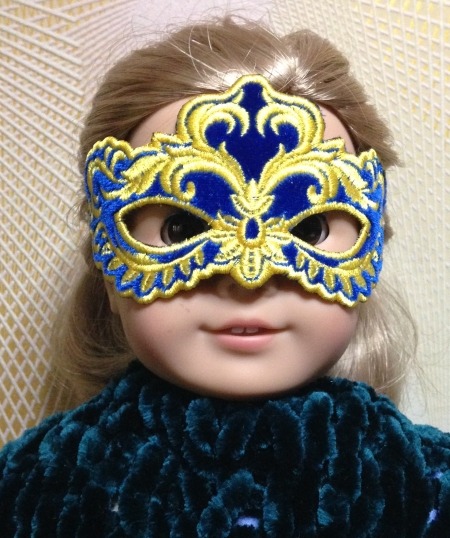
French Empire Mask
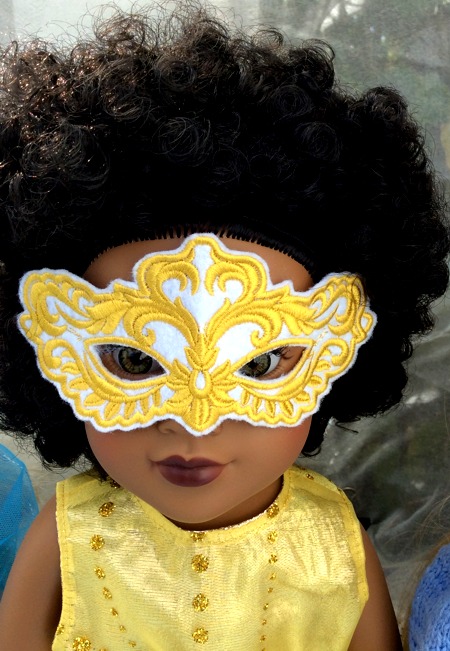
A Journey Girl Doll is modelling for this mask.
Step One: Hoop light-weight cut-away stabilizer. Upload the file. Start the machine. The first color will embroider the outline of the design.
Step Two: Place a piece of fabric over the outline.
Start the machine. It will embroider the outline over the fabric.
With a pair of sharp scissors, cut away the fabric around the outline.
Step Three: Color 3 will embroider the openings for the eyes and eyelets for elastic.
With a pair of sharp scissors, cut away the fabric inside the outline of the eye opening.
Step Four: Color 4 will finish the raw edges.
Step Five: Color 5 will embroider the motif over the mask.
Remove the stabilizer from the eye openings.
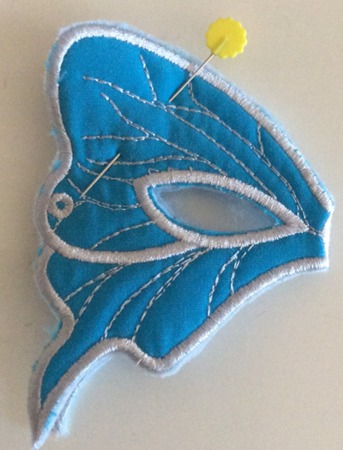
Step Six: Fold the mask in half.
Using matching thread, either on your machine, or by hand, topstitch stitch both halves in the sport marked with the pin. You need to stitch only about 1/8".
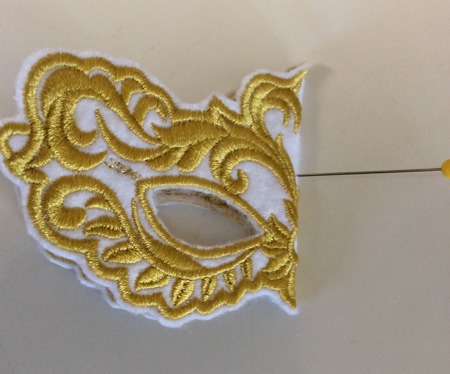
This small stitch will shape the mask to fit the doll's face.
Finishing: You have a couple of options for attaching the elastic. Option one is to use a needle to punch holes through the stabilizer in the embroidered eyelets and insert elastic. The mask will lay close/cling to the face.
Alternately, if you would like the edges of the mask to protrude, stitch the elastic to the back of the mask at the edges of the eye openings.
You can also embroider both masks on a piece of craft polyester felt, not as applique, but as a regular pattern, and cut them out afterwards. You do not need to use stabilizer in this case. This is quicker, but you have to be careful when cutting the mask out.


