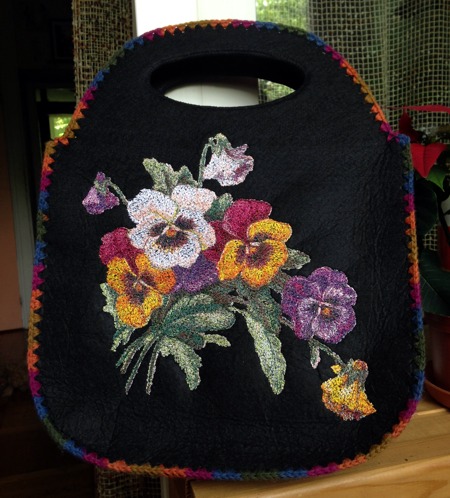
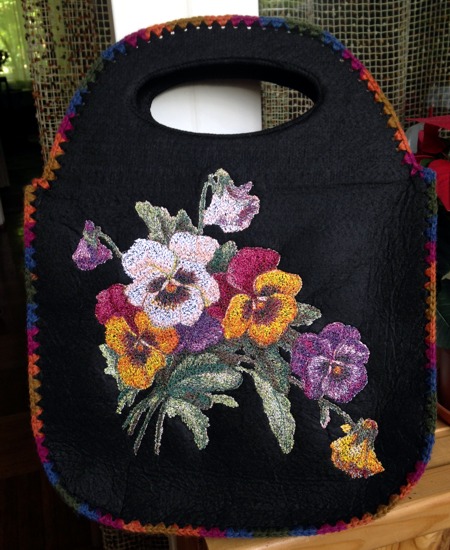
We used the photo-stitch design Pansies to make this small, simple purse or mini-tote. With our free templates, making this project is a cinch!
The finished size of the purse is about 11" wide x 16" high x 3 1/2" deep.
You will need
Embroidery:
Upload the file Pansies into the machine. Stabilize a piece of felt with medium-weight cut-away stabilizer, and embroider the design.
Cutting:
Download the template file. To open and print the template, which is a PDF file, you will need Adobe Reader or a similar program. The program is free to download and install.
Print out the templates. The templates are given in halves, the dotted line shows the location of the fold.
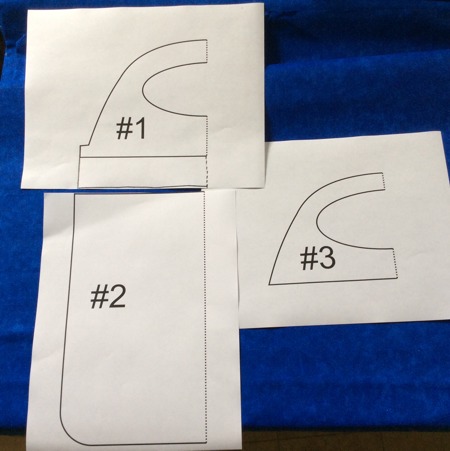
Cut the templates out. You can either trace the half-templates onto a large sheet of paper and use them to make full templates (this is what we did), or you can print 2 copies of each template and glue or tape them together.
Using template #1, out of felt, cut 2 parts for the handle lining.

Then, using tape or glue, join templates #1 and #2.
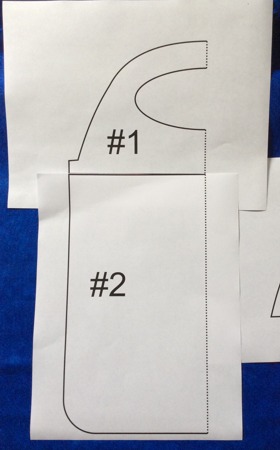
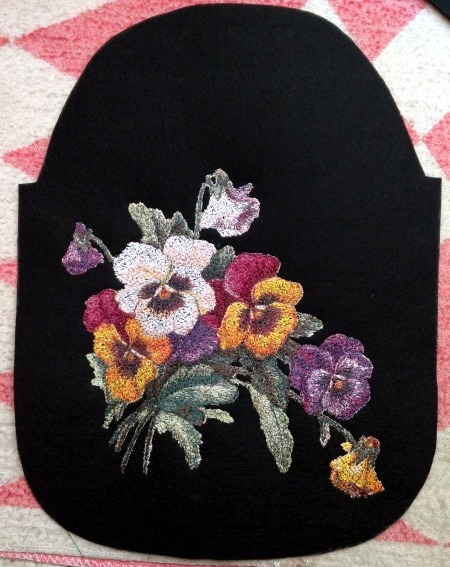
Using this template, out of the piece with the stitch-out, cut the front panel. Using the same template cut the back panel out of a piece of blank felt.
Using template #3, cut 2 pieces out of Pellon Peltex-70 stabilizer. These will be the handle reinforcement.

Measure the outer edge of the front panel (ours is 33" long). Out of felt, cut a strip measuring 4" x 33" for the side and bottom of the purse, and a strip measuring 5" x 8" for the inner pocket.
Assembly of the Purse:
Lay the front panel on the table, face down. Position the reinforcement piece over the handle.
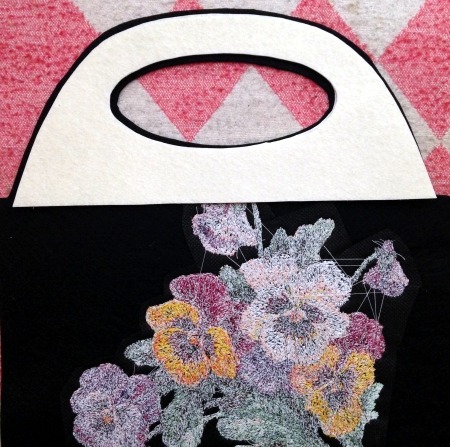
Cover with the handle lining.
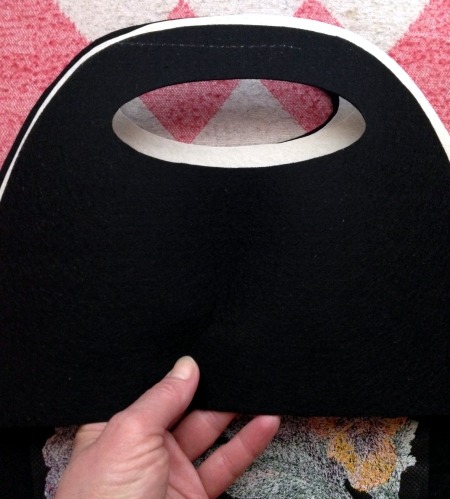
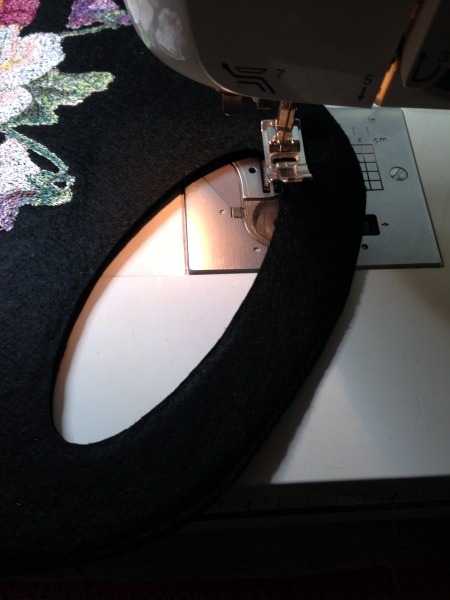
On your sewing machine, using dense zig-zag, stitch the parts together along all the edges (inner edges and outer edges).
Repeat for the back panel.
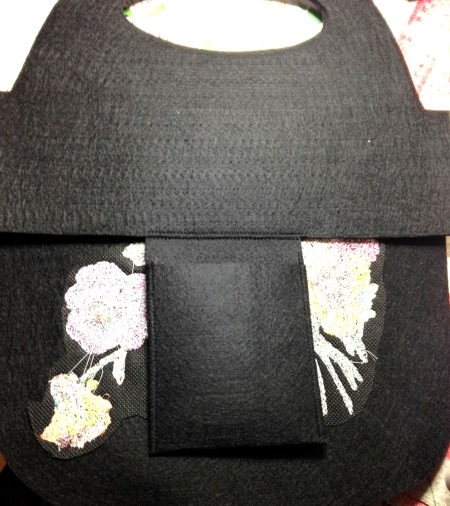
Fold one of the short sides of the 5" x 8" strip approximately 6"-7" back. Topstitch the sides together.
Position the upper edge of the pocket under the handle lining and topstitch in place.
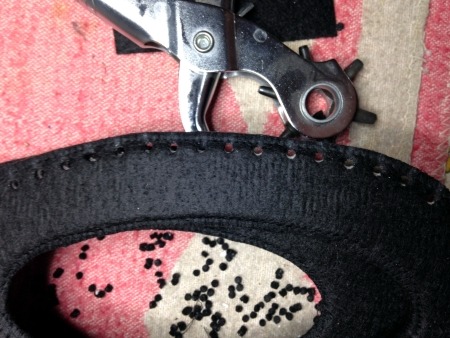
With the hole punch set to the smallest size, punch holes along the edges of both panels approximately 1/4" from the edge. The spacing of the holes should be 1/4".
Make similar holes along all of the edges of the 4" x 30" strip.
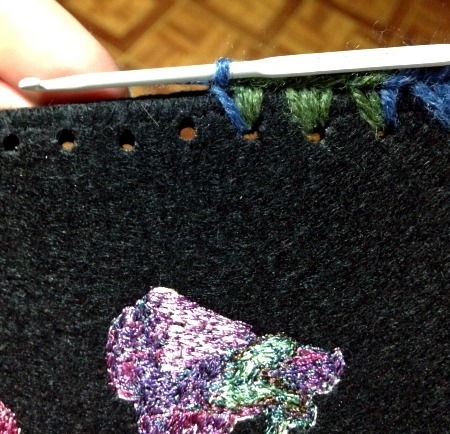
Position the strip next to the front panel, aligning the side edges. Using multi-colored yarn and the crochet hook, crochet the parts together, going all the way along the strip.
Alternately, you can use a tapestry needle and connect the parts using a blanket stitch.
Attach the back panel in the same way. To decorate the purse, crochet (or blanket stitch) along all the edges.
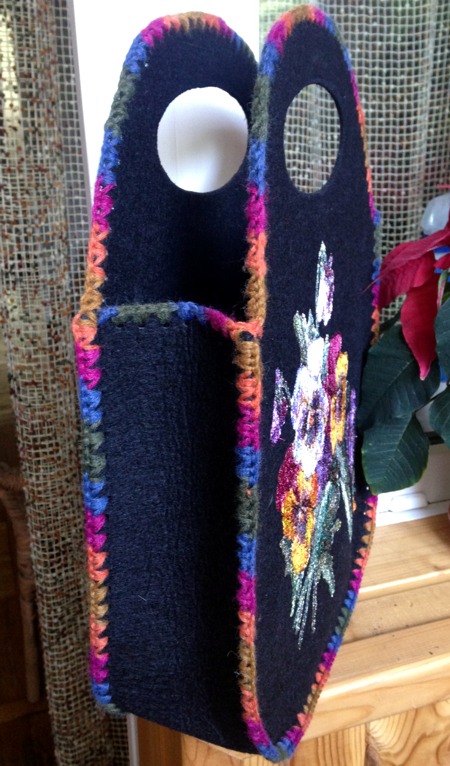
The purse is finished. Enjoy!


